Table of Contents
Advertisement
Advertisement
Table of Contents

Summary of Contents for Hydro GA-180
- Page 1 GA-180 Gas Detector Operation and Maintenance Manual The information contained in this manual was current at the time of printing. The most current versions of all Hydro Instruments manuals can be found on our website: www.hydroinstruments.com GA-180 Rev. 12/20/17...
-
Page 2: Table Of Contents
8. Sensor and Calibration Kit ..............12 9. GA-180 Operating Screens ..............13 10. GA-180 Confi guration Screens .............14 11. GA-180 Modbus Confi guration and Node Enable Screens....15 12. External Alarm Light and Horn .............19 13. Bump Testing (Chlorine Gas Example) ..........20 Tables 1. -
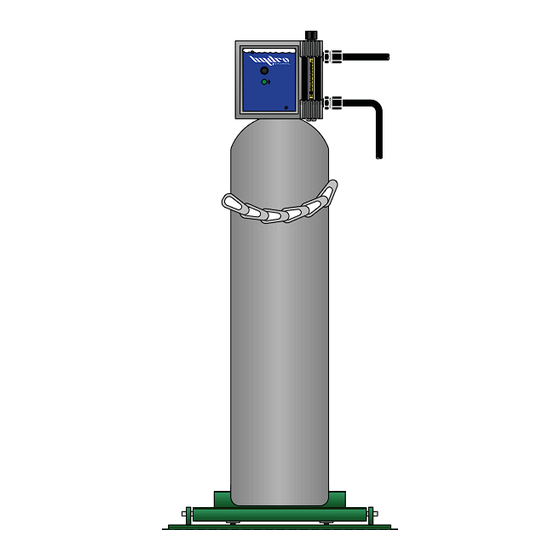
Page 3: Monitor Installation
I. INSTALLATION AND OPERATION A. Monitor Installation All monitors are able to accept either 120 VAC or 240 VAC single phase power at 50-60 Hz. When connecting A/C power it is imperative that the power source is well grounded. Improper grounding will disrupt proper operation of the unit. -
Page 4: Battery Backup Installation
The black wire will connect to AI1 or AI2 and the red wire will connect to V+ depending on the required channel number. 6. Connect GA-180 main power, allow sensor to stabilize. 7. Confi gure the sensor channel. See section II.C. -
Page 5: Wiring Diagram (Inside Of Door)
FIGURE 3: Wiring Diagram (inside of door) -
Page 6: Ga-180 Controller Electronics
Power Supply Board MB122 (CB-2X2MA) Two Relay Board Two In, Two Out Board Photo of a GA-180 unit configured for two sensors with a battery backup. Some other configuration examples are summarized below. TABLE 1: Example Controller Configurations Up To 2 Sensors, No Battery, No Thermocouple... -
Page 7: Pinout Diagrams For Mb108 And Mb123
*Digital Input 1 (Remote Acknowledge) *Digital Inputs and 4-20mA outputs must also have appropriate V– (GND) connection. Relays shall be wired in either a normally open (NO) or normally closed (NC) arrangement. Date: July 2016 GA-180 CIRCUIT BOARDS Dwg. No. GA-180-CB1 MB108 & MB123... -
Page 8: Pinout Diagrams For Mb122, Mb141, And Mb101
BLACK *Digital Inputs and 4-20mA outputs must also have appropriate V– (GND) connection. Relays shall be wired in either a normally open (NO) or normally Date: 2017-12-20-v1 closed (NC) arrangement. GA-180 CIRCUIT BOARDS Dwg. No. GA-180-CB2 MB122, MB141, & MB101... -
Page 9: Operation
II. OPERATION A. Navigating the Controller The GA-180 is provided with a Nema 4x, 2 line alphanumeric display controller that will display and output all important features and conditions. Navigating the controller is done by the use of four push button keys. The push button functions are described below. -
Page 10: Confi Guring A Sensor Channel
(relays, thermocouples, battery backups) the main display CPU will request information from the relevant circuit boards to display and operate properly. The GA-180 is able to detect if any boards on this system are not communicating properly and address the user for immediate correction. -
Page 11: Standard Ranges For Hydro Instruments Gas Sensors
Should the two outputs be misaligned, improper operation will result. Standard full scales for sensors supplied by Hydro Instruments can be seen in Table 1. If unsure about the full scale output of a sensor, please contact Hydro Instruments. -
Page 12: Calibration Cap
FIGURE 7: Calibration Cap FIGURE 8: Sensor and Calibration Kit After passing over the sensor membrane the span gas will exit through the other port on the calibration cap. Ordering Information Note: The sensor is shipped with the calibration Product Description Number cap already installed. -
Page 13: Ga-180 Operating Screens
FIGURE 9: GA-180 Operating Screens Sensor Startup 5:00 01 Cl ---.- ppm Press + To Exit 02 Cl ---.- ppm 03 Cl ---.- ppm If “Auto Screen Chg” is ON, 04 Cl ---.- ppm screens shown with - will cycle every X seconds, where X is defined by “Cycle Time”... -
Page 14: Ga-180 Confi Guration Screens
FIGURE 10: GA-180 Confi guration Screens... -
Page 15: Ga-180 Modbus Confi Guration And Node Enable Screens
FIGURE 11: GA-180 Modbus Confi guration and Node Enable Screens Enter Password Low and High Alarms for specific channels can be accessed 2400 Setup: Sensor Temp according to the table below. 4800 Display In general, odd numbered relays HOLD 9600... -
Page 16: Installing And Confi Guring Temperature
Error – The sensor signal has been lost. Alarms: The GA-180 comes with two common relays and eight sensor relays to every four sen- sors ordered. The two common relays (relay 33 and relay 34) can be confi gured to any of the alarm conditions outlined in Table 2. -
Page 17: Relay Options For Common Relays (33 & 34)
TABLE 3: Relay Options for Common Relays (33 & 34) Relay Options Relay 33 & 34 Any Sensor High Any Sensor Low Any Sensor Signal Loss Loss of AC Power (must have battery backup) Loss of / Low Battery Power (must have battery backup TABLE 4: Relay Options for Sensor Relays (1-32) Relay Options... - Page 18 GA-180 will automatically confi gure the channel as a rising alarm. Therefore, if the sensor reading is higher than the Danger or Alarm setting the GA-180 will activate the appropriate alarm(s). To confi gure a sensor rising/falling alarm, follow the steps outlined in Section II-C.
-
Page 19: External Alarm Light And Horn
GA-AL-110 (110VAC) GA-AL-220 (220VAC) The external alarm light & horn is an optional accessory for use with all Hydro Instruments gas leak detection equipment. The alarm light connects to a relay inside the gas detector monitor. This can be a sensor specific relay or a common relay. -
Page 20: Modbus Communication
Proper bump testing will not substantially degrade the sensor or shorten sensor life. Figure 13 diagrams a bump testing procedure for chlorine gas. Contact Hydro Instruments for other bump testing procedures should the sensor be for something other than chlorine gas. -
Page 21: Data Logger
H. Data Logger 1. Description: If installed and enabled, the data logger records each gas sensors reading and temperature sensor reading. The frequency of recording is adjustable. The data is recorded on a MicroSDHC memory card located inside the gas alarm enclosure on the MB220 board. The MicroSDHC memory card is installed in the slot (See Figure 5). -
Page 22: Troubleshooting
III. TROUBLESHOOTING A. Installation Check – Review each of the following points fi rst. 1. Sensor Installation: Check the following points regarding the sensor installation. a. Sensor enclosure cover must be securely fastened to protect against corrosion of the transmit- ter board etc. -
Page 23: Explanation Of Responses
C. Explanation of Responses 1. Zero Calibration: If the display is not reading 0.0 PPM in air, then adjust the zero calibration. Refer to Section II.C.5 and Figure 10. 2. Calibration Cap: The calibration cap is installed for protection of the sensor during shipping and storage, but must be removed upon installation.
Need help?
Do you have a question about the GA-180 and is the answer not in the manual?
Questions and answers