Table of Contents
Advertisement
Quick Links
Advertisement
Table of Contents

Summary of Contents for SPEED & STRENGTH SS1700
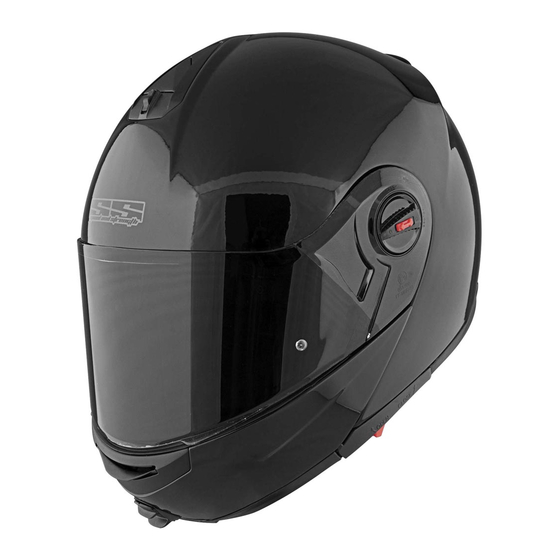
- Page 1 SS1700 HELMET USER MANUAL HELMET USER MANUAL...
- Page 2 CONGRATULATIONS ON THE PURCHASE OF YOUR NEw SPEED AND STRENGTH MOTORCYCLE HELMET. AT SPEED AND STRENGTH, wE TAkE GREAT PRIDE IN OUR GEAR AND wE kNOw THAT IT IS THE BEST POSSIBLE PRODUCT FOR OUR CUSTOMERS TO PURCHASE. THIS HELMET IS DESIGNED TO PROTECT YOU USING PREMIUM PRODUCTS AND STATE-OF- THE-ART TECHNOLOGY AND ENGINEERING.
- Page 3 USAGE INSTRUCTIONS THIS HELMET MUST BE wORN AT ALL TIMES TO ENSURE THE MAXIMUM PROTECTION AVAILABLE IN ANY GIVEN SITUATION. SIZING: To measure your head size, wrap a tape measure horizontally around your forehead. Select the helmet that is the closest fit to that size. A helmet should fit snug on your head.
- Page 4 MODIFYING: Never attempt to drill holes into the shell or cut it. This can damage and weaken the helmet which will ultimately prevent it from protecting you properly. Also, removing certain parts takes away from the design and functionality of the helmet all together, which can also injure a person.
- Page 5 - DROP VISOR DESIGN FULL FACE MODELS HOw TO OPEN AND CLOSE TO "OPEN" SUN VISOR, FLIP RED SwITCH FORwARD. TO "CLOSE" SUN VISOR, PUSH BLACK SwITCH BACKwARDS. VISOR REMOVAL 1. VISOR MUST BE FULLY OPEN. STARTING ON OUTSIDE OF HELMET PULL ON OUTER EDGE OF VISOR TO REMIOVE IT FROM LOCK.
- Page 6 LOCk N LOAD PLUS - SHIELD REPLACEMENT SYSTEM SHIELD REMOVAL 1. GRAB SHIELD LOCKING CAP wITH YOUR THUMB AND INDEX FINGER. LEFT SIDE: TURN SHIELD LOCKING CAP COUNTER CLOCKwISE 1/4 TURN, INTO THE OPEN POSITION. RIGHT SIDE: TURN SHIELD LOCKING CAP CLOCKwISE 1/4 TURN, INTO THE OPEN POSITION. 3.
- Page 7 SINGLE ACTION CHIN BAR RELEASE CHIN BAR OPERATION: OPEN 1. LOCATE SwITCH AT THE BOTTOM OF THE CHIN BAR. 2. PULL SwITCH DOwN TO DISENGAGE CHIN BAR. 3. PULL UP ON CHIN BAR UNTIL IT REACHES MAXIMUM OPEN POSITION. CHIN BAR OPERATION: CLOSE 1.
Need help?
Do you have a question about the SS1700 and is the answer not in the manual?
Questions and answers