
Summary of Contents for RVi RVi-IPC42Z12
- Page 1 Network video surveillance camera RVi-IPC42Z12 User’s manual Please read before using and save for later use. www.rvi-cctv.ru...
- Page 2 3. When a fault is detected in the product, contact your nearest service center. Never disassemble the product and do not modify its structure. (RVi Company is not responsible for any problems resulting from changes in product design or as a result of attempted repair products).
-
Page 3: Overview Of The Device
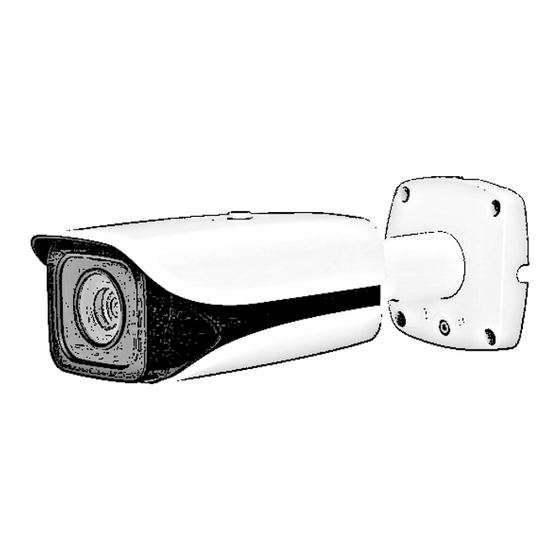
Fig. 1 the type and size of the device 2. Appointment IP-camera RVi-IPC42Z12 is designed for broadcast video information to equipment placed on security office and another storage/preview device. The basis of the IP camera is the photo detector matrix, the principle of which is based on the... -
Page 4: Specification
RTSP, RTP, UDP, SMTP, FTP, DHCP, DNS, DDNS, PPPOE, UPnP, NTP, Bonjour, SNMPv3, IPFilter, QoS, Multicast, ONVIF Networks tools Build in web server. Network client RVi-PSS for Windows XP и Windows 7, OS Linux, Mac Support mobile OS iOS, Android OS, Windows phone OS Power PoE (IEEE802.3af) / DC 12 V (<15 W) - Page 5 5. Connection All connectors are located on the main patch cord (see. Fig. 2) Fig. 2 Patch cord №п Наименование Назначение Тип Функция п Connecting a DC 12V Connector FW-16 Power Source Hold down the RESET Reset button to button for 5 seconds to reset RESET factory settings the camera to the factory...
-
Page 6: Getting Started
6. Getting Started Installation and Setup Follow the steps described below (see. Fig. 3): Fig. 3 After mounting the camera on a surface to adjust the angle of the camera (see. Fig. 4), and then tighten the screw on the camera bracket. Fig. -
Page 7: Reset To Factory Settings
7. Reset to factory settings Factory reset by the button located inside the housing of the IPC. Hold the RESET button about 5 seconds, then the camera will reboot. 8. Quick configuration software Quick configuration software is used to detect the current IP address of the network camera on the network changes its IP address, but also be used to update the camera firmware. - Page 8 Fig. 6 Selecting "Open Device Web", you will find yourself in Web-based interface of the device where you will be prompted to log in to access the network device. * If you want to change the IP-address of the camera without entering the Web-based interface, you must go to the menu list of devices quick configuration utility.
- Page 9 Fig. 8 In this menu you can configure IP address, date / time, update the firmware. 9. Access to the Web interface of the device IPC maintains control through a Web interface and through the software on the PC. WEB- interface allows you to view the camera settings and implement IP-cameras.
-
Page 10: Transport And Storage
Note: For security reasons, urge to change the username and password when you first log in WEB interface. Fig. 10 When you first time connect to the WEB interface, the system message with a proposal to install a component. Click on the OK button, the operating system will automatically install the components. - Page 11 The warranty is invalid if the cause of the malfunction IPC are: vandalism; fire, flood, natural disasters; accident in the power supply; electrical breakdown chip electronic board due to an error in the polarity of the power. Warranty valid only upon presentation of this manual. The manufacturer is not responsible and does not cover damage caused by the defects caused by the fault of the consumer-compliance with the rules of operation and installation.
- Page 12 13. Certificate of acceptance and packaging Date of manufacture «______» _________________________ Date of sale «______» _____________________________ SELLER’S Seller __________________ STAMP...
Need help?
Do you have a question about the RVi-IPC42Z12 and is the answer not in the manual?
Questions and answers