
Related Manuals for CHEMetrics V-2000

Summary of Contents for CHEMetrics V-2000
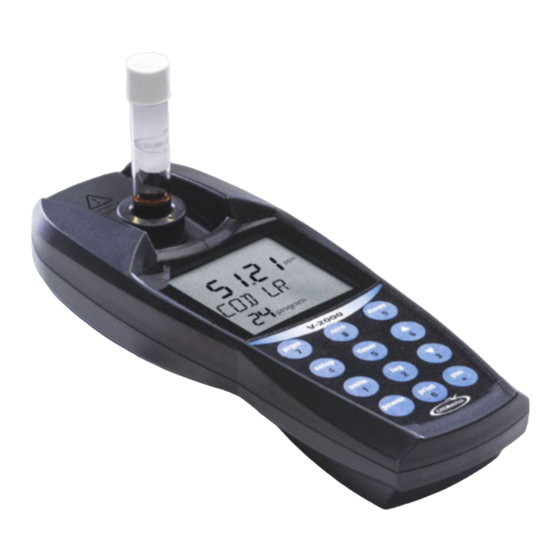
- Page 1 ’ PERATOR ANUAL V-2000 Photometer CHEMetrics, Inc. 4295 Catlett Road Calverton, Virginia 20138 Toll Free 1-800-356-3072 Phone: 540-788-9026 Fax: 540-788-4856 Web: www.chemetrics.com Sept. 09, Rev. 13...
-
Page 2: Table Of Contents
Table of Contents Chapter 1 - Introduction Battery Installation ........Sample Cell Adapters . - Page 3 Chapter 4 - Data Logging Logging Data Manually ....... Logging Data Automatically ......Displaying the Log .
-
Page 4: Chapter 1 - Introduction
Replace the battery cover and replace the captive screws. 1-2 Sample Cell Adapters The V-2000 comes with 2 sample cell adapters: 13 mm adapter for Vacu-vials; 16 mm adapter for COD Vials. The adapters ensure correct alignment of the ampoule or vial being used. If the ampoule or vial is not aligned correctly (i.e. -
Page 5: Lcd Display
1-3 LCD Display 1 calibrate Displays when the instrument is in the calibration mode 2 setup Displays when the instrument is in the setup mode 3 measure Displays when the instrument is taking a measurement 4 zero Displays when the instrument is zeroing 5 blank Displays when a blank is active for a selected method 6 units... -
Page 6: Keypad
1-4 Keypad FUNCTION Turns the instrument on or off power Initiates print mode or inputs a 0 print / 0 Confirms a selection, functions as Enter key, or inputs a decimal point yes / . Allows selection of unit of measure or inputs a 1 units / 1 Initiates data log mode or inputs a 2 log / 2... -
Page 7: Program Number Designation
For these pre-programmed methods, the instrument gives direct readout test results. The V-2000 also offers the user the option of taking readings in absorbance or % Transmittance at each of the 4 available wavelengths (program numbers 1 - 4). Absorbance readings can then be used to generate a user specific calibration equation. -
Page 8: Chapter 2 - Setup Menu Functions
Supported Parameters in Chapter 9 of this manual is displayed with the suggested number of significant digits for each particular method. The digits resolution setting on the V-2000 is not method specific, and therefore must be NOTE: reset as needed when moving from one preprogrammed method to another. -
Page 9: Clock
Press the setup key and use the • or – keys until “DIGITS” is displayed, then press the yes key. Use the • or – keys until the desired resolution is displayed, then press the yes key. Press the meas key to exit the setup menu. 2-4 Clock The clock function allows the user to set the time and date. -
Page 10: Auto Print
Press the meas key to exit the setup menu. 2-10 Upload The upload function allows the user to update the V-2000 to the most current method program revision. The V-2000 is updated by logging on to the CHEMetrics website, www.chemetrics.com and clicking on the V-2000 Upload New Methods link. -
Page 11: General Operating Instructions
More parameter specific information is provided in the kit instructions supplied with each Vacu-vial or COD test kit. The V-2000 must be zeroed prior to each series of measurements. Additionally, if the ampoule/vial adapter has been removed or comes loose during operation, the V-2000 should be re-zeroed. -
Page 12: And Measuring
Install the appropriate sample cell adapter into the photometer. Turn the photometer on by pressing the power key. Insert the zeroing vial into the V-2000, cover the zeroing vial with the light shield, and press the zero key. “Wait” is displayed, then the result is displayed as “0.000". -
Page 13: Logging Data Automatically
When a test result is being displayed by the instrument, press the log key. The log icon will appear in the display. The V-2000 will display “1 LOGGED”. As new test results are logged, the number preceding LOGGED will append to reflect the number of saved test results. -
Page 14: Chapter 5 - Use With Printers And Computers
When connecting the RS-232 cable to a computer, a serial connector may be required (a 25 pin to 9 pin adapter is included with the V-2000). If your computer or printer does not have a serial port, you will need to purchase a separate adapter that will allow you to connect the V-2000 RS-232 serial cable to the USB port on your printer or computer. -
Page 15: Uploading Method Revisions
Start Bit Flow Control Hardware NOTE: The baud rate selected in Hyper Terminal must match the V-2000 baud rate. See Chapter 2, Section 2-5 Baud Rate. 11. From the HyperTerminal menu, select Transfer. Click on Capture Text. Enter the path and name of the file created in Step 1. - Page 16 5. Meter should read “WAITING”, indicating meter is ready for the Method Revision Update. NOTE: To abort the upload process, press yes key again. 6. Click on the link provided on the CHEMetrics website and open the program. 7. Follow the instructions provided in the file.
-
Page 17: Chapter 6 - Error Messages
Chapter 6 Error Messages Error code Explanation 420 nm LED Failure 520 nm LED Failure 580 nm LED Failure 610 nm LED Failure LCD Driver Error OVERRNG Over-range: Test result is more than 110% above claimed operational range; dilute that sample and repeat the test UNDRRNG Under-range: Test result is less than zero. -
Page 18: Chapter 7 - Custom User Programs
Chapter 7 Custom User Programs The V-2000 has the capacity to store up to 10 custom user programs. This function allows the user to establish and input their own calibration data. The V-2000 can then be used to generate test results that are based on this custom calibration. -
Page 19: Replacing Or Reviewing A Custom User Program
Install the appropriate sample cell adapter into the photometer. Turn the photometer on by pressing the power key. Insert the zeroing vial into the V-2000, cover the zeroing vial with the light shield, and press the zero key. “Wait” is displayed, then the result is displayed as “0.000". -
Page 20: Chapter 8 - Specifications & Features
Chapter 8 Specifications & Features Wavelength (nm) 420, 520, 580, 610 Wavelength Accuracy ± 2 nm Wavelength Selection Automatic Photometric Reproducibility ± 0.005A (0-1A) Photometric Accuracy ± 0.005A @ 1.0 Abs Nominal Photometric Range 0 - 2 A Light Source Light Emitting Diode (LED) Detector Photodiode... -
Page 21: Chapter 9 - Product Information
COD ZEROING Vial, package of one 9-2 Warranty Information The V-2000 Photometer, other than its expendable components (sample cell adapters, light shield, RS-232 cable and serial connector), carries an unconditional guarantee of freedom from defects in material and workmanship for a period of two years from date of shipment. -
Page 22: List Of Supported Parameters
9-4 List of Supported Parameters Kit Catalog Program Range Parameter Number Code Wavelength Method Aluminum K-0603 0.04 - 0.25 Eriochrome Cyanine R 0.20 - 3.00 Ammonia 3 K-1403 Salicylate (as N) 0.50 - 7.00 Ammonia K-1503 Direct Nesslerization (as N) 1.0 - 14.0 Ammonia 2 K-1523... - Page 23 Kit Catalog Program Range Parameter Number Code Wavelength Method Hydrazine K-5003 0.10 - 1.20 PDMAB Peroxide 1 K-5503 0.20 - 2.00 DDPD Peroxide 2 K-5543 0.15 - 6.00 Ferric Thiocyanate Iron 1 K-6003 0.20 - 6.00 Phenanthroline Iron 3 K-6013 1.0 - 25.0 Phenanthroline Iron 2...
- Page 24 Kit Catalog Program Range Parameter Number Code Wavelength Method Ozone K-7403 0.20 - 2.50 DDPD Ozone 2 K-7413 0.30-1.00 Indigo Oxygen 1 K-7503 0.20 - 2.00 Indigo Carmine Oxygen 2 K-7513 2.0 - 15.0 Indigo Carmine Oxygen 3 K-7553 0.100 - 1.400 Rhodazine D™ Peracetic Acid K-7903 0.40 - 4.00...
Need help?
Do you have a question about the V-2000 and is the answer not in the manual?
Questions and answers