Table of Contents
Advertisement
Advertisement
Table of Contents

Related Manuals for Magnavox MD6972


Summary of Contents for Magnavox MD6972
- Page 2 WARNING: TO REDUCE THE RISK OF FIRE OR ELECTRIC SHOCK, DO NOT EXPOSE THIS PRODUCT TO RAIN OR MOISTURE. TO REDUCE THE RISK OF FIRE OR ELECTRIC SHOCK, AND ANNOYING INTERFERENCE, USE THE RECOMMENDED ACCESSORIES ONLY.
- Page 3 For example, this unit may not have the capability to be connected to an outdoor antenna.
- Page 6 AC 120V~; 60Hz eight (8) "C" size batteries (not included) AC 120V~; 60Hz eight (8) "C" 7. Clean the batttery contacts and also those of the device prior to battery installation.
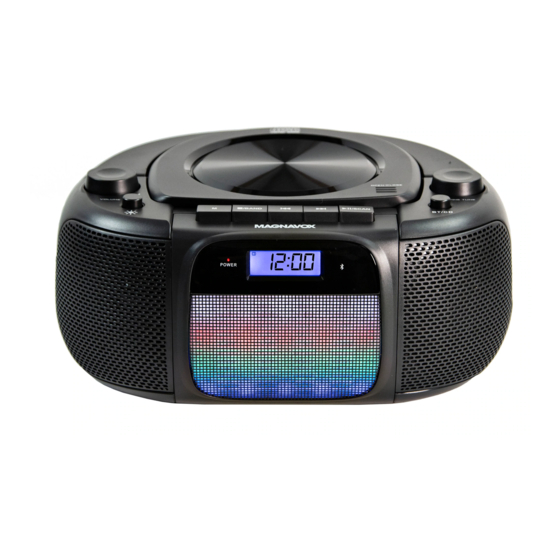
- Page 8 LOCATION OF CONTROLS 1. FM Telescope Antenna 2. Carry Handle 3. VOLUME Control Knob Decorative LED Blinking Mode Selection (Turn Off) Button 5. M (Memory) Button /BAND (Stop/Radio Band Selection) Button (Skip/Fast Search Backward) Button (Skip/Fast Search Forward) 5 6 7 8 9 10 Button /SCAN (Play - Pause/Radio Scan) Button...
- Page 9 OPERATION RADIO: 1. Slide the Function Selector to RADIO position to turn on the radio. 2. Press the /BAND Button repeatedly to select AM or FM band as desire. The correspondence indicator AM or FM and the radio frequency will appear on the LCD Display. 3.
- Page 10 3. Close the CD door by press the OPEN/CLOSE Area. Wait a few seconds; the number of the total tracks will appear on the LCD Display. 4. Press the /SCAN Button to start playback the first track on the disc. 5.
- Page 11 BT (BLUETOOTH): BT pairing and play: First time use or re-pairing the unit to a new BT Device, pair as follows: 1.Slide the Function Selector to BT/CD/AUX position to turn on the CD. The LCD Display will illuminate and indicator “CD” will appear. 2.Press the BT/CD Button on the top of the unit to switch the unit from CD mode to BT mode: Indicator on the front of unit will illuminate and blink.
- Page 12 AUX (in): 1. Insert one end of the Audio Connect Cable (not included) to the AUX Out; Line Out or Phones Jack on the external Audio Player. 2. Insert the other end to the AUX (in) Jack on the left of unit. 3.
- Page 13 TROUBLESHOOTING Check the following before requesting service: SYMPTOM POSSIBLE CAUSE POSSIBLE SOLUTION AC Power cord had not connected Connect the AC Cord to the rear of No power unit and any wall outlet having AC 120V~; 60Hz Volume of the unit was set to Increase the volume level by turning minimum position the VOLUME Control Knob...
Need help?
Do you have a question about the MD6972 and is the answer not in the manual?
Questions and answers