Table of Contents
Advertisement
Quick Links
Please read the instruction manual before use, in order to properly installed and rapid use!
1.Preparation
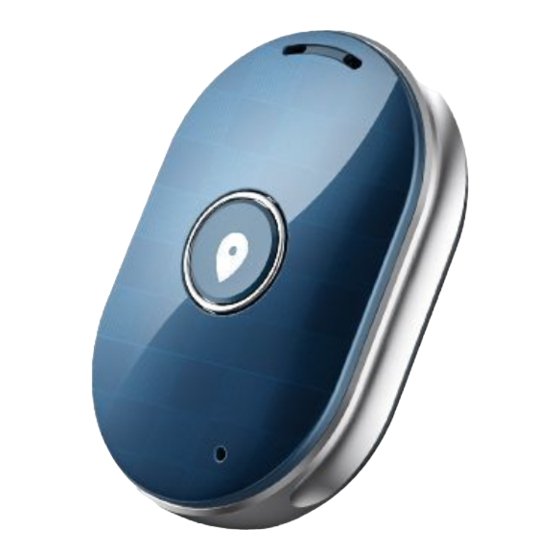
1.1. Check if the Locator is of the correct model and has complete accessories
(1*Locator, 1*USB cable for recharge, 1 user manual,1x Small tweezer).
1.2. Prepare a GSM Micro SIMCard and activate data flow, GPRS and caller ID function.
1.3. Insert Micro SIM Card
1. Use tweezer open the SIMCard slot
3. Cover the SIM Card slot
1.4. Install the APP "SeTracker"
Please follow the instructions at the last page of this manual.
2. Product function
GPS+ BDS+LBS real-time location
2-way phone call
SOS emergency call
Remote monitor
Footprint
Geofence
Alarm clock
Remote shutdown
Q60(SeTracker)User Manual
2. Insert the SIM card completely
1
Advertisement
Table of Contents

Summary of Contents for Sentar Q60
-
Page 1: Product Function
Q60(SeTracker)User Manual Please read the instruction manual before use, in order to properly installed and rapid use! 1.Preparation 1.1. Check if the Locator is of the correct model and has complete accessories (1*Locator, 1*USB cable for recharge, 1 user manual,1x Small tweezer). - Page 2 3. Locator introduction 3.1 Positioning: GPS+ BDS+LBS 3.2 Positioning accuracy: GPS location: 5 - 15m 3.3 Base station location-----100-1000m 3.4 Device size:49*33*15mm 3.5 Battery capacity:350mAh Longest standby time:3 days 4.APP(SeTracker)Operation Guide 4.1. Account Registration After installation of APP, you need to register an account to monitor the locator. Select Language and Area based on actual situation and click “register”...
- Page 3 4.2. Login and Functions After registration, log in the account to check the functions. 4.2.1. Map: real-time locating of the locator Both locator location and APP cell phone location are displayed on map. Click”Locate” to perform the real-time locating for 3 minutes (interval time for location information uploading:10s) . The locator will restore to the default work mode 10 min later.
- Page 4 4.2.2. Footprint The historical route of locator can be replayed with selected date and time. 4.2.3. Settings: SOS/The family number Up to 3 numbers can be set as SOS family numbers. When locator user makes SOS emergency call, monitor phone will receive alert message. Locator will make circular calls to the 3 numbers in turns for 2 rounds until someone answers the call.
- Page 5 cannot hear sound from the mobile phone. Work mode Three basic work modes with different upload interval can be chosen. No disturbing All incoming calls will be shielded during the set time. Language and time zone Set language and time zone based on the locator user’s location. ...
- Page 6 4.2.4. Geofence Preset the safe area by selecting the centre point and the radius (Minimum 500meters). Alert messages will be sent to APP message center when locator user goes out of the fence. 4.2.5. Message Center Click “Message” to enter and view the list of all alert messages details including SOS alert, take off locator alert, exit geofence alert etc.
-
Page 7: Troubleshooting
Long press SOS button to make the emergency call and to send alert message to monitor phone number. The locator will circular dial 3 preset SOS numbers until the call is answered. After 2 turns, if nobody answers the call, locator will send SOS alarm to monitor number (default “off”), you can find it in “Message”...
Need help?
Do you have a question about the Q60 and is the answer not in the manual?
Questions and answers