Table of Contents
Advertisement
Quick Links
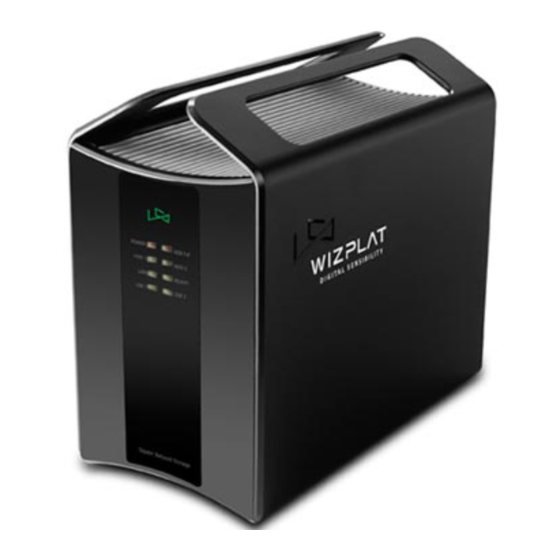
NAS-20
How to mount HDDs
1.
※ Reference :
This user guide is for not mounting Hard Disk.
※ Note :
Please disconnect AC power cord, when replacing the hard disk drive.
1)
Turn the screw which is on lower part of the product
with the direction of the picture.
3)
Please check HDDs direction like the picture and put
in.
5)
Screw lower part of product and HDDs together.
2)
Push down and pull lightly to front the panel to separate from
main body.
4) Connect SATA cables to HDDs. Connect SATA cables of "HDD0-
LEFT sticker shape" in the left side HDD of the picture, and connect
"HDD1-RIGHT sticker shape" in the right side.
※ Notice :
The shape of SATA cables are different
please pay attention to connect.
6)
Push the front panel and fix with screw.
- 1 -
Quick Installation Guide
Sarotech Co., Ltd.
Advertisement
Table of Contents

Related Manuals for Sarotech NAS-20

Summary of Contents for Sarotech NAS-20
- Page 1 “HDD1-RIGHT sticker shape” in the right side. ※ Notice : The shape of SATA cables are different please pay attention to connect. Screw lower part of product and HDDs together. Push the front panel and fix with screw. Sarotech Co., Ltd. - 1 -...
- Page 2 When you turn on [POWER] switch at the back panel, [POWER] LED will light up. b. When the boot process is completed, [READY] LED will turn on or blink. (It takes about 2 minutes.) c. Run the Sarotech NAS Navigator by following these procedures. (It works only in the Windows OS.) ※ Notice : At the first time to use this program, you should [Unblock] in Windows Security Alert.
- Page 3 ※ Notice : Please record the IP address. 2) Enter “admin” as User name and Password on log-in window and click [Login]. (For firmware version 2.1 or higher, the password of admin is “nas”.) Sarotech Co., Ltd. - 3 -...
- Page 4 The storage server only can build RAID on the two internal SATA hard disk drives. ※ Warning For RAID–NTFS configuration, the HDD’s data cannot be read directly in windows PC because the partition of HDD has RAID features. Sarotech Co., Ltd. - 4 -...
-
Page 5: System Setting
4. System setting 1) A .When the boot process is completed, [READY] LED will turn on or blink. B. Run “Sarotech NAS Navigator”(Run [Start->All Programs->Sarotech NAS Navigator-> Sarotech NAS Navigator] ). You can find your NAS. C. Click the [Web Admin] button on your NAS in the program. You can find the login web page. - Page 6 Click [Next]. (“admin” is default password for “admin” user account) (For firmware version 2.1 or higher, the password of admin is “nas”.) 5) Step 3/6: Set the hostname of NAS-20 Set the hostname and click [Next] . (Default host name is “nas20”.) ※ Notice : When you have two or more NAS in the same Network, please make different host name.
- Page 7 If the rebooting is completed ([[READY] LED will turn on or blink.), run Start->All Programs->Sarotech NAS Navigator-> Sarotech NAS Navigator. You can find your NAS. (IP address is the one that you found in NAS list.) 1) Via Web: Select [Web Admin] or type “http://IP address” at the address window in the web browser. You can find the web page.
- Page 8 ① Click [Control Panel]->[Maintenance]->[Disk Utility] menu. ② Select “ntfs” in [Format Type Format] and click [Format]. (The format time depends on HDD capacity.) ③ If HDD format is completed, NAS-20 will be automatically rebooted. When rebooted is completed [READY] LED is on) the login screen comes out.
Need help?
Do you have a question about the NAS-20 and is the answer not in the manual?
Questions and answers