Table of Contents
Advertisement
Quick Links
Aquavista 500R Water Pump
WARNING!!! ALWAYS TURN OFF THE POWER AND UNPLUG
*Please read the instructions thoroughly before you begin servicing*
Tools Needed:
1. Middle size Philips head screwdriver
2. Small size Flat head screwdriver
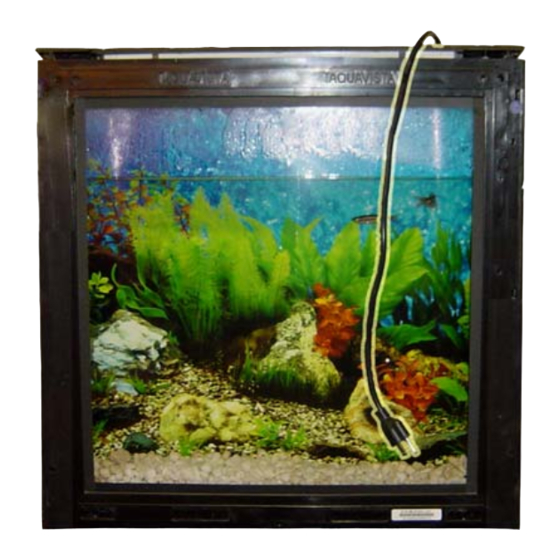
Step 1
Make sure the power cord is unplugged and
the tank is off.
Now remove the frame from the aquarium as you
would do so normally.
Step 2
Locate the round blue sticker which can be found at
the top right hand corner of the tank.
Remove the screw that is located behind the round
blue sticker using a small size flathead screwdriver.
Test Instructions
THE AQUARIUM BEFORE SERVICING
1
Advertisement
Table of Contents

Summary of Contents for Aquavista 500R
- Page 1 Aquavista 500R Water Pump Test Instructions WARNING!!! ALWAYS TURN OFF THE POWER AND UNPLUG THE AQUARIUM BEFORE SERVICING *Please read the instructions thoroughly before you begin servicing* Tools Needed: 1. Middle size Philips head screwdriver 2. Small size Flat head screwdriver...
- Page 2 Step 3 The side panel is located on the same side as the LCD screen and keypad. You can now remove the side panel by placing your screwdriver in the crack located at the top of the aquarium’s side panel. Step 4 Now gently push down roughly ½...
- Page 3 Remove light connector, replace with water power Step 6 Take out water power wire to place into light connector Step 7 Reconnect the LCD and keypad, and fit the control panel back to the aquarium by sliding it up roughly ½ inch. ‘...
- Page 4 Step 9 If the water pump is pumping water, it means the water pump relay on the circuit board is bad. The next step is to replace the circuit board. If the water pump is not pumping water, it means the water pump has died, that needs to be replaced.
Need help?
Do you have a question about the 500R and is the answer not in the manual?
Questions and answers