
Related Manuals for Alti-2 ALTIMASTER NEPTUNE

Summary of Contents for Alti-2 ALTIMASTER NEPTUNE
- Page 1 ALTIMASTER NEPTUNE Manual Issue D May 2004 Alti-2, Inc. 1400 Flightline Blvd. Suite E Deland, FL 32724 Tel: (386) 943-9333 Fax: (386) 943-9303 http://www.alti-2.com...
-
Page 2: Software Upgrades
Congratulations on buying an Altimaster Neptune. Neptune information is constantly being updated. Please refer to our website, www.alti-2.com, for the latest information. Software Upgrades The Neptune has an Infrared interface which allows you to update the built-in software as new versions become available. -
Page 3: Basic Setup Procedure
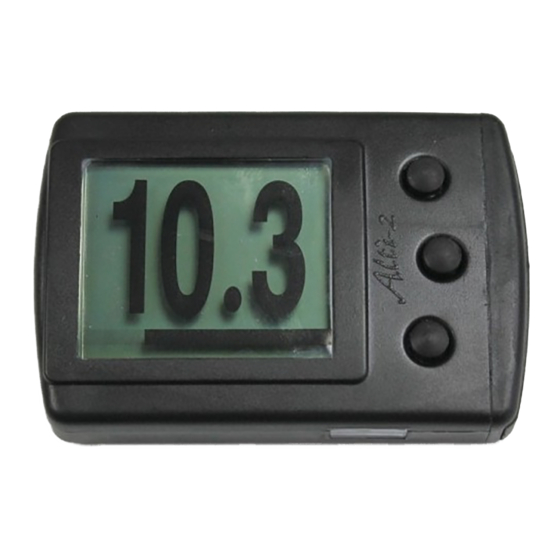
Manual All menus have the same basic operation; the top and bottom buttons move the cursor and the center button selects the highlighted choice. BASIC SETUP PROCEDURE INSERT BATTERY Remove the two screws securing the battery cover using a Phillips screwdriver. Be careful not to lose the O ring. - Page 4 Insert one type Duracell DL2450 (or equivalent) battery. (2 batteries are provided – 1 is a spare) The battery should only go in one way, with the “+” side up, i.e. toward the buttons. The Neptune will only be waterproof if you fit the o- ring into the groove in the battery cover.
- Page 5 FITTING THE HELMET CLIP If you wish to use Neptune as an audible altimeter, use the helmet clip and tie wraps provided. Align the Neptune’s speaker with the speaker hole in the helmet clip. Failure to do so may result in inaudible alarms.
-
Page 6: Time And Date
Lay the hand mount across the back of the Neptune. Line up the four (4) holes with the threaded inserts in the back of the Neptune and insert the screws provided, with the washers between the fabric and the screws. You may use Loctite to hold the screws securely in place. - Page 7 Start by pushing the center “menu” button on the ground screen. The main menu will be displayed. Move the cursor (top or bottom button) to “System” and press “Select” (center button). In the “System” menu, most of the basic setups are under “Options 1”...
- Page 8 From the “System” menu, select “Log Setup” The Logbook setup menu allows to set the starting number of jumps, starting Freefall (FF) time. If necessary it also allows you to delete the entire logbook. Method of selection and entry is the same as the “Date and Time”...
- Page 9 Neptune software to be updated The log book to be downloaded to Paralog. For Neptune software updates, go to www.alti-2.com. Full download instructions are included with the software. Instructions on downloading jumps to Paralog can be found in the Log Book section of this manual.
- Page 10 Ground Display Backlight Alarm Log Book Battery Status Status The ground display shows time, date and temperature, and also shows status icons for backlight, logbook, alarms, and battery. The Neptune has a power saving mode which switches the display off after 30 minutes. The Neptune will continue to function as normal;...
-
Page 11: Altitude Display
Altitude Display When “Alt” is showed in the bottom right of the screen (in ground mode and aircraft mode), push the bottom button and change to the “Altitude” screen. This shows altitude AGL (above ground level) and also altitude MSL (Mean Sea Level). Climb Display The climb screen shows: •... - Page 12 • Current altitude • Climb Rate o In climb mode, you can adjust any setting, look at your logbook, and turn functions on and off up right up until you are ready to exit the plane. You do not have to return to the main screen when you are ready to skydive.
- Page 13 Canopy Display The canopy display shows altitude in feet to a resolution of 10 feet. It also shows rate of descent in feet per second. The canopy display may be disabled (Menu > System > Options 1 > Canopy Display). If you disable the canopy display you will see the freefall display while under canopy.
- Page 14 Select “enable” to activate the alarms, or exit if you wish to leave them disabled. If the alarms are enabled, Menu > Alarms will display the following screen showing the current active group and the alarm altitudes. To exit without making changes select “OK” or to change the setting select “Edit/Select”.
- Page 15 Assuming that we want to set up another group, highlight the group to be edited and press select, in this case group 2. You will now see the current settings for group 2. The first item is the name; if you wish to change the name press select.
- Page 16 The menu item will confirm that this group is now active. Now highlight and select “Exit” The process is now complete. Group 2 has been set for 4-way, and the arrows confirm that it is the active group. Log Book To use the logbook function, make sure it is enabled (Menu >...
- Page 17 • Jump # • Grp: - this is the alarm group you had selected at the time of the jump (even if you have disabled the alarms). • Exit Altitude • Deployment altitude o Deployment altitude is the altitude at which you were under a fully deployed canopy, not the altitude at which you threw the pilot chute.
- Page 18 To download your jumps to Paralog (www.paralog.net), you must have an IRdA interface on your computer. In the Neptune logbook, select the “IR Connect” function to begin the upload process (Menu > Log Book > IR Connect). In Paralog, select File > Read Neptune. Refer to Paralog for directions on setting up your preferences in that program.
-
Page 19: Manual Modes
Manual Modes The “Set DZ Offset” (Menu > DZ Setup > Set DZ Offset) is intended to allow you to take off at one location and land at another DZ which is at a different altitude. The only function of DZ offset is to enter a number which is either added or subtracted from the AGL altitude that is displayed. - Page 20 To cancel manual mode: Menu > DZ Setup > Manual Mode > Cancel Manual > Disable If the altitude on the ground is not zero AGL, select “I’m on the DZ” (Menu > DZ Setup > I’m on the DZ). This function is useful if, for example, you drive up a hill and then get in the aircraft within approximately 20 mins.
-
Page 21: Demo Modes
Demo Modes There are two demo modes: Menu > System > Modes > Demo This will show the following screens in sequence: • Boot up logo • Your Neptune Serial Number and Software Version • Ground • Altitude • Climb •... -
Page 22: Specifications
Disassembly The Neptune cannot be disassembled by the user. Unless specifically described here, all maintenance on your altimeter should be performed by Alti-2, Inc., 1400 Flightline Blvd. Suite E, Deland, FL 32724 Tel: (386) 943 9333 Fax: (386) 943 9303 e-mail: info@alti-2.com... - Page 23 Maintenance after submersion in salt water WARNING: Salt deposits must be removed from the filter after submersion in salt water. Failure to remove salt deposits may lead to the filter becoming blocked and serious lag may occur in freefall as a result. To remove salt deposits submerge the altimeter in clean fresh water for at least 30 minutes, agitate occasionally.
- Page 24 Please be sure to include contact information such as Phone Number, Fax Number, and/or email address, and a description of the problem. Status on your altimeter can be checked by contacting the Alti-2, Inc. Service Department, or by initiating a Request for Repair Status through the Alti-2, Inc. web-page. www.alti-2.com...
Need help?
Do you have a question about the ALTIMASTER NEPTUNE and is the answer not in the manual?
Questions and answers