Advertisement
Quick Links
Advertisement

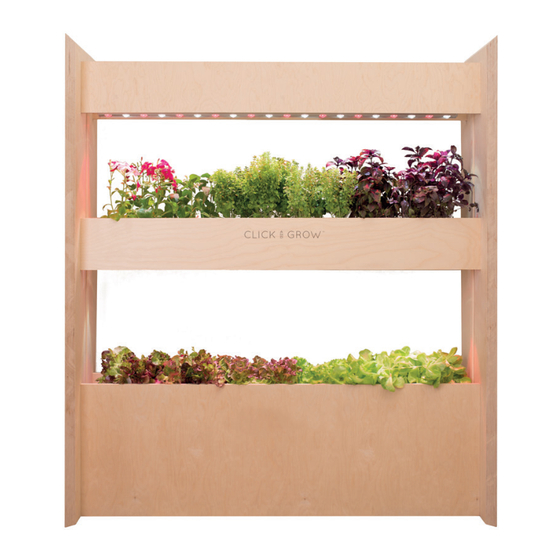
Summary of Contents for Click & Grow Wall Farm
- Page 1 Wall Farm assembly manual...
- Page 3 List of items: Unit Quantity Button head 3.5x12 mm Countersunk 3.5x12 mm Countersunk 3.5x20 mm Cord clamps (1,3,4-way) Cross Head Bolt M6x8 Hinges Lamps Magnet sets Plant trays Plywood frame Power box Rafix 20 bolt Rafix 20 connectors Refills Stopper Thermal plate Tool: Screwdriver PH2 Tool: Torx 15...
- Page 4 Attach the (B) bolts (anchors) to both of the side panels. x 12 (B) per 1 side panel...
- Page 5 Attach the hinges to the corresponding cavities on the side panels and on the lower front panel. Hammer them to a tight fit and then use the (C) screws. x 8 (C)
- Page 6 Attach the Rafix 20 connectors and anchors to the lower panel. Note: the connectors opening has to be perfectly aligned with the edge of the panel, or it might not fit properly with the anchors. Attach the Rafix connectors to the rest of the panels. x 4 per panel x 3 (B) per lower panel...
- Page 7 Attach the lower rear panel to the le side panel with connec- tors. Attach the connectors with the screwdriver to the anchors by tightening the screws (fix all connectors like this). Attach two edge panels to the le side panel, as shown below. Make sure that these screw holes are at the bottom side of the edge panels.
- Page 8 Attach the tray brackets to the edge panels. Install the power supply box. x 4 (E) per bracket...
- Page 9 Connect the lamps and wires. Attach the lamp with the longest cord to the top part of the Wall Farm Mini. Connect the lamps using the (A) bolts. Connect the wires to the powerbox. Note: Connect the wires before you completely fix the lamps in their final position.
- Page 10 Attach the front-, second side panel and the first tray holder.
- Page 11 Attach the power cord fastener. x 1 (C) Attach the magnets to the first tray holder. Attach the magnet knobs to the lower front panel with a hammer. You can regulate the magnet with a regular screwdriver. x 2 (C) per magnet...
- Page 12 Attach one end of the stopper to the lower front panel. x 2 (C) Attach the other end of the stopper to the side panel. x 2 (C)
- Page 13 Attach the rest of the edge panels. Also finish attaching the tray brackets. the Wall Farm Mini to its upright position and place the thermal panel on top of the lower lights.
- Page 14 Attach the water level sensors to the trays. You can tighten it by hand. Assemble the trays and add them to the Wall Farm Mini. Connect the water level sensor connectors. If the Wall Farm Mini is plugged in then the lights will flash if there is no water...
- Page 15 Install the wooden clamps to hold the wires in place. x 1 (D) per clamp Add water, refills and plug it in. You are now ready to start fresh food. growing your own Add water to the water tank until the float reaches the top of the lid.
-
Page 16: General Tips
Lamp cycle: The lamp has an automatic cycle:16 hours on, 8 hours off (dim). The cycle starts the minute you plug your lamp in. To reset the lamp’s schedule, unplug the Wall Farm and then plug it in at the time of day when you want the cycle to start. - Page 17 Edible plants: Salad greens: Edible greens are mature and ready to harvest in about 30 days after planting as they will have reached the highest nutritional value, texture and colour at that point. You may harvest your plant capsule at once or gradually by picking off the larger outer leaves - the plant will produce more from its basal growing point.
- Page 18 Fruiting plants: Keep one plant per capsule: Sometimes fruiting plants grow multiple stems from one capsule. Decrease the number of chilli and tomato stems to one plant per refill to ensure enough space for the plant to grow. Pollination: Pollination is necessary for the plant to produce fruits.
- Page 19 For additional information, visit: http://support.clickandgrow.com/...
- Page 20 Find out more: www.clickandgrow.com...
Need help?
Do you have a question about the Wall Farm and is the answer not in the manual?
Questions and answers