Sony WRT-807A Operating Instructions Manual
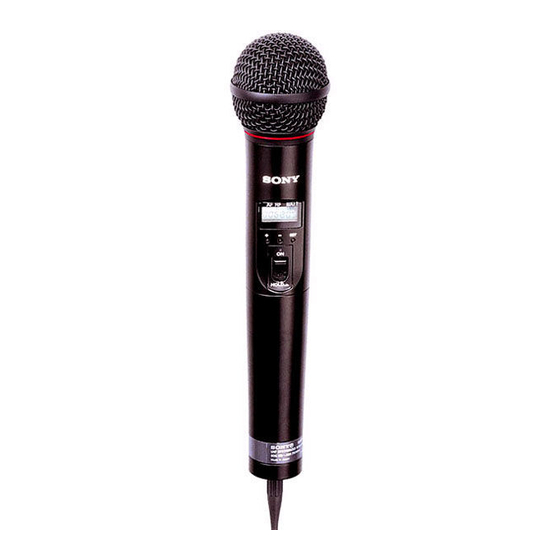
Uhf synthesized
wireless microphone
Hide thumbs
Also See for WRT-807A:
- Operating instructions manual (56 pages) ,
- Service manual (17 pages)
Table of Contents
Advertisement
Quick Links
Advertisement
Table of Contents

Subscribe to Our Youtube Channel
Related Manuals for Sony WRT-807A


Summary of Contents for Sony WRT-807A
- Page 1 3-866-377-11 (1) UHF Synthesized Wireless Microphone Operating Instructions Manual de instrucciones Mode d’emploi Wireless Channel Lists Listas de canales inalámbricos Listes des canaux sans fil WRT-807A © 1999 by Sony Corporation [U64] [U66] [U68]...
- Page 2 Canada comme décrit dans leur Cahier des Normes unit. Record the serial number in the space provided below. Radioélectriques CNR-123. Une licence est normalement Refer to these numbers whenever you call upon your Sony requise. Le bureau de l’Industrie Canada doit être contacté. dealer regarding this product.
-
Page 3: Table Of Contents
English Precautions Table of Contents • The unit is designed for use in ambient temperature range Precautions ..............1 of 0°C to 50°C (32°F to 122°F). Introduction ............... 2 • Do not place the unit on or near heat sources, such as Features .............2 lighting equipment, power amplifiers, or in a place subject Parts Identification ............ -
Page 4: Introduction
800-MHz band UHF-synthesized wireless microphone system. Phase Locked Loop (PLL) synthesized system The WRT-807A operates in conjunction with the WRR- The WRT-807A features a refined phase locked loop (PLL) 800A/801A/802A/805A, MB-806A UHF Synthesized Tuner synthesizer circuit. for vocal concentration. - Page 5 LCD readout of various information Wide dynamic range and low noise The microphones LCD shows the current channel number, The microphones compander (compressor/expander) system frequency, input attenuation setting, and residual battery enables transmission over a wide dynamic range with power. minimum noise.
-
Page 6: Parts Identification
Parts Identification 1 Wind screen Protects against noise caused by wind. 2 Liquid-crystal display BATT Display example for U68 model A AF (audio input) indication Lights whenever an audio signal stronger than the reference level is received. B RF (antenna output) indication Lights during signal transmission from the antenna. - Page 7 D CH (channel) indication To adjust these parameters, see “Changing the Displays the transmission channel. Transmission Channel” on page 5, “Changing the Input Each time you press the SET button in Transmit mode, the Attenuation Setting” on page 10 or “Resetting the channel indication changes as follows.
- Page 8 Parts Identification 4 POWER indicator 6 Antenna Lights when the microphone is on. 7 Battery holder 5 POWER switch Insert the battery here. Turns the microphone ON or OFF. For details on inserting the battery, see “Power Supply” on When you set this switch to ON without holding down any page 7.
-
Page 9: Power Supply
Power Supply The microphone can operate on one LR6 (size AA) alkaline Battery indication battery continuously for about 5 hours at 25 ºC (77ºF). When you turn the power on, the battery condition is indicated by the BATT indication in the liquid-crystal Inserting the battery display. -
Page 10: Settings
Settings Entering Setting Mode Channel selection mode Enter Setting mode to change the transmission channel, the Freqency selection transmission frequency and the attenuation level, or to reset mode the accumulated battery use time indication. Press the SET button. Attenuator adjustment To enter Setting mode mode While holding down the SET button, turn the POWER... - Page 11 The next time you turn on the microphone (by turning the Press the + or – button to select the channel number (or POWER switch to ON), the microphone will enter Transmit frequency). mode with the selected channel number (or frequency). Pressing the + button cycles the indication in the order shown in the tables in Overview of “Wireless Channel Lists”...
-
Page 12: Changing The Input Attenuation Setting
Setting The next time you turn on the microphone (by turning the Changing the Input Attenuation Setting POWER switch to ON), the microphone enter Transmit mode with the selected attenuation setting. The input attenuation setting can be changed within a range of 0 dB to 21 dB (in 3-dB steps) in either Setting mode or Changing the input attenuation in Transmit Transmit mode. -
Page 13: Resetting The Accumulated Battery Use
Time Indication The accumulated battery use time is the total time (in hours and minutes) the battery has been used. It is recorded whenever the WRT-807A is on. Reset the indication to 00:00 whenever you replace the battery. Set the microphone to Setting mode. -
Page 14: Troubleshooting
Troubleshooting If you have any problem using this unit, use the following checklist. Should any problem persist, consult your Sony dealer. Symptom Meaning/Remedy The microphone does not turn on. • The + and – poles of the battery do not match those of the battery compartment. b Insert the battery with the poles correctly matched. - Page 15 Symptom Meaning/Remedy • The attenuation level setting is too high. b The output level is low. Press the – button in attenuation The sound is weak. level setting mode to lower the attenuation level. • The volume on the amplifier, mixer or tuner is low. b Adjust the volume. There is distortion in the sound.
-
Page 16: Specifications
Carrier frequencies battery) Battery life Approx. 5 hours at 25°C or U64 model: 770.125 to 781.875 MHz 77°F, with Sony LR6 alkaline (TV channels 64 and 65) battery U66 model: 782.125 to 793.875 MHz (TV channels 66 and 67) General U68 model: 794.125 to 805.875 MHz... -
Page 17: Error Messages
The data was initialized. backup memory data. Set the transmitting 0° 180° channel and the input attenuation again. Error 21 The PLL synthesized Contact your Sony circuit is in trouble. dealer. 0° –10 Error 31 The battery voltage Use the specified battery. 90°... - Page 18 Sony Corporation Printed in Japan...
Need help?
Do you have a question about the WRT-807A and is the answer not in the manual?
Questions and answers