Table of Contents
Advertisement
Quick Links
Advertisement
Table of Contents

Related Manuals for Accucraft trains Ruby 0-4-0T Kit


Summary of Contents for Accucraft trains Ruby 0-4-0T Kit
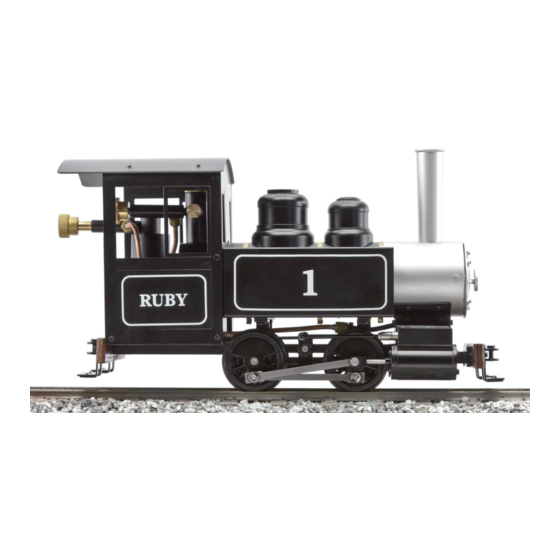
- Page 1 Ruby 0-4-0T Kit Assembly Instructions...
- Page 2 Ruby Parts List PART NO .& NAME PART NO .& NAME SHEET 1 Cylinder Frame Reversing Rod Bracket Gasket M2 x 4 Hex Head Screw M2 x 6 Hex Head Screw Wheelset (without eccentrics) Valve Assembly Wheelset (with eccentrics) M2 x 14 Countersunk Screw End Beam Saddle Extension D2.2 Washer...
- Page 3 Introduction The Locomotive Chassis The Accucraft Ruby is a freelance, gauge 1, 1:20.3 Refer to sheet 1 scale, live-steam locomotive based on Baldwin 1-1. Start with the frames (1). Although they have practice. It has been designed to be both simple to the same part number, there is a left frame and a operate and sophisticated enough to satisfy more right.
- Page 4 is up. The frame should slide over the bushing with- to the drawing. Then screw the front boiler saddle out too much pressure. Don’t force it or you risk pieces (16) to the upper boiler mounting plate with bending the frame. Once this has been accom- M2 x 3 screws (72).
- Page 5 rod end. The set screw that is installed in the main 3-6. Screw the reversing quadrant (39) to the deck rod must seat in that dimple to hold the piston rod in plate with two M2 x 4 screws (3), as per the draw- place.
- Page 6 Setting the valves 3-8. On the short leg of each valve rod (41) are two small grooves. Snap an e-clip (42) onto each inner groove. Carefully remove each valve from the valve Loosen all of the screws in the eccentrics so that blocks and screw them onto the ends of the valve the eccentrics rotate freely on the axle.
- Page 7 Testing the Chassis or a little below. Screw the two saddle extension pieces (49) to the sides of the saddle blocks with The chassis should be tested on compressed air. two M2 x3 screws (72) each, as per the drawing. This could be from an air compressor or even a bi- cycle pump.
- Page 8 3-14. Place the boiler on the chassis. Screw an 3-16. Slip the burner (25) into the flue opening in M3-5 phillips-head screw (31) through the deck and the back of the boiler and secure it with an M2 x 4 into the rear mounting stud from underneath.
- Page 12 33268 Central Ave Union City, CA 94587, USA TEL: 1-510-324-3399 FAX: 1-510-324-3366 www.accucraft.com www.accucraftestore.com COPYRIGHT 2017 ACCUCRAFT COMPANY. ALL RIGHTS RESERVED...
Need help?
Do you have a question about the Ruby 0-4-0T Kit and is the answer not in the manual?
Questions and answers