Advertisement
Quick Links
Advertisement

Summary of Contents for Phoenix Audio Technologies Stingray MT700
- Page 3 Please read this manual carefully before using the Phoenix Audio Technologies MT700 - Stingray Distributed Array Mixer For additional help and updates, refer to our website www.phnxaudio.com To contact Phoenix Audio for support, please send a detailed e-mail to support@phnxaudio.com Table of Contents Introduction…..………………..…..…………………3...
- Page 5 Phoenix Audio Technologies believes that high quality audio should be easy to install and simple to use. Users shouldn’t need to be audio experts to integrate or use our products. Our philosophy is that good audio solutions should be complicated on the inside, so that they can be flexible and simple solutions that everyone can use.
-
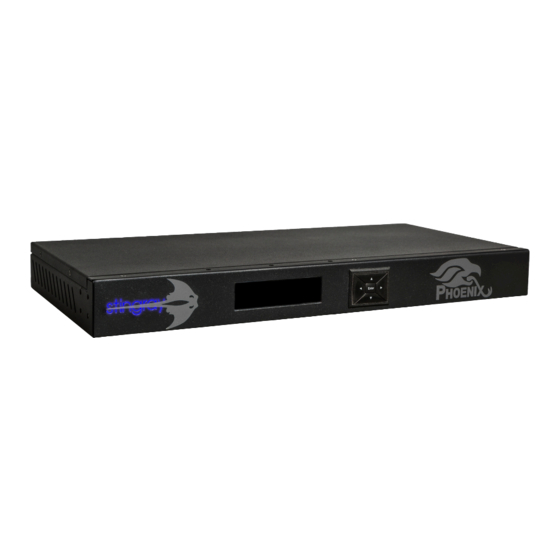
Page 6: Specifications
Specifications Four Microphone Level Inputs: • Balanced • 48V Phantom Power Speaker Outputs: • Gain: 14dB to 42dB in steps of 4 dB USB (Digital): • Balanced • Separate mute request input: 10KΩ pull-up • Digital input to connect PC •... - Page 7 Specifications Directional Pad: Power LED Screen: • Four-way directional buttons • Options and setting menu with center button. • Mixer and network information The Stingray can be configured on the mixer using the directional pads and the menu selections or through any browser on a device connected to the local network. In the following pages, find the options and settings that can be modified to fit the needs of the conferencing space.
- Page 8 When accessing the menu, there will be seven selections which allow the user to configure the mixer. In order to make the selections, you can either press the center “Enter” key or the right di- rection on the directional pad. To go back on the screen, press the left direction to go back to the previous screen.
-
Page 9: General Setting
4. line input setting The menu is configured with each line input channel with the option to mute, set as auxiliary or podium. The main difference be- tween auxiliary or podium selection is that the auxiliary is used for outputs that do not pick up local sounds, which do not require echo canceling. - Page 10 The dashboard interface can be accessed from any browser on a device connected to the local network, using the IP address displayed on the Stingray. It is recommended to use stat- ic IP addresses for Stingray units so it does not change. The dashboard gives the user remote ac- cess and control to the Stingray and allows for more setting options than directly on the device.
- Page 11 Device Name On the “Device Setup” menu screen, users will find all Stingray mixers connected to the primary IP address. You can select each in- dividual device and modify the name of the device, adjust primary and second settings and edit the “Primary Parameters”. Within the “Primary Parameters”...
- Page 13 Mic Mixer Settings: When using Mic Mixer selection, this allows the use of a total of four microphone inputs and four line inputs. The four microphones inputs will have beam forming, noise cancellation, echo cancellation, and automatic gain control applied and combined into a single audio output.
- Page 15 Line Mixer Settings: When using Line Mixer selection, this disables the microphone inputs, reducing the number of inputs to four. The Line Mixer settings will still receive noise cancellation, echo cancellation, and automatic gain control applied to the audio. Like the Mic Mixer Setting, many of the adjustable field are the same. Speaker Tab - Adjust speaker output volume using the master volume slider tool which increases overall volume.
- Page 16 When selecting “SIP Client Setup”, users will be prompted with a screen with Configuration, Manage- ment, and Status & Diagnostics tabs. You will find the following settings under each menu. Configuration: Management: Status and Diagnostics: -Quick Step -Automatic Update -System Status -Personal Settings -Manual Update •...
- Page 17 The Stingray ability to adapt to variable conference room sizes through daisy chaining gives users the capability to create multiple zones or combine the zones together to use all the hardware assets to cover a large space. It is recommended all Stingray units are connected to a mode of communication which allows the unit to become a primary unit.
- Page 18 In order to daisy chain Stingray units together, on the back panel will be two RJ45 ports marked “Link Up” and “Link Down” under the daisy chain bracket. The “Link Down” port is used to connect a primary unit to a secondary or a secondary to another secondary down the chain. The “Link Up” port is used to connect to units above by connecting “Link Down”...
- Page 19 Zoning Notes Unit set to Primary: -Any unit can be configured to be a primary unit if it has a connection to a mode of communication -Mode of communications will be turned on (USB, SIP, and Analog) -Primary unit will dictate parameters to all secondary units below in the chain -Daisy chain will be cut off at the next primary unit down the chain -Podium and Auxiliary line channel features are enabled Unit set to Secondary:...
-
Page 20: What Is The Period Of Coverage
In order to obtain warranty coverage: (1) you must have proof of your properly-obtained limited warranty pursuant to Section 1 of this limited warranty; (2) an excluded event must not have occurred with respect to the mechanical, electrical, or software defect, malfunc- tion, or other failure in the product and/or its part(s);... - Page 21 1. WHO MAY USE THIS LIMITED WARRANTY? Phoenix Audio Technologies, located at address 16 Goodyear Suite 120, Irvine, California 92618 (“we”, “us”, “our”, or its derivations) extends this two (2) year limited product warranty (this “limited warranty”) only to the consumer who originally purchased the product to which this limited warranty applies (“you”, “your”).
Need help?
Do you have a question about the Stingray MT700 and is the answer not in the manual?
Questions and answers