Advertisement
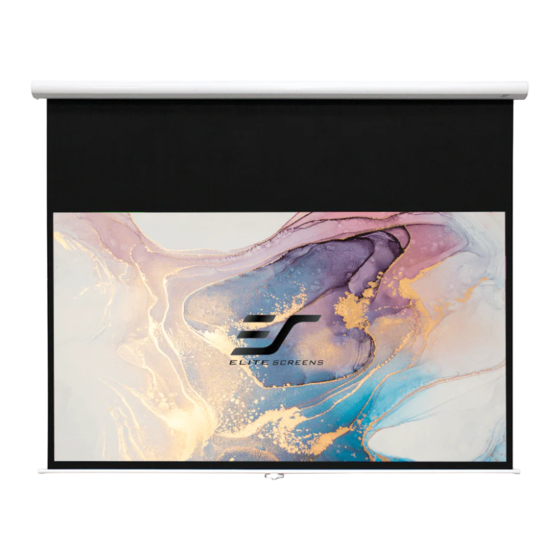
Premium Quality Manual Pull-Down Projector Screen
Thank you for choosing the Manual HT projection screen! Please read through this user guide
before utilizing the screen. Correct usage and maintenance will ensure a long product life.
Care & Use Instructions
Dust, dirt and scratches on the projection surface will affect the picture quality, please take note
◆
of the points below to prevent that from occurring:
1. Do not touch the projection surface with your hands
2. Do not write or draw on the projection surface
3. Do not use fingers or sharp objects to point on the projection surface; this will damage
the screen material.
4. Use a soft-damp cloth to clean the projection surface; do not use chemical cleaning
agents or alcohol.
5. Use clean water when dampening the cleaning cloth and do not rub against the material
to clean it.
To avoid damage and injury, the screen should only be operated by adults.
◆
Pre-installation
1. Carefully unpack the screen.
2. Always handle the screen in a leveled position on a clean surface.
Hardware Parts List for Manual HT Series
A. Mounting Bracket
x2pcs
Rev.062017-BR
Manual HT Series
User's Guide
B. M10 Anchor and
M4x50 Screw x4pcs
www.elitescreens.com
C. Suspended Ceiling
Bracket Connector x2pcs
D. M5x15 Screw& Bolt
x4pcs
1
Advertisement
Table of Contents

Summary of Contents for ES HT Series
- Page 1 ◆ Pre-installation 1. Carefully unpack the screen. 2. Always handle the screen in a leveled position on a clean surface. Hardware Parts List for Manual HT Series A. Mounting Bracket B. M10 Anchor and C. Suspended Ceiling D. M5x15 Screw& Bolt...
- Page 2 Installation Instructions Please consult a professional installer, Elite Screens is not liable for faulty installations. Flush Mount to the Wall 1. Mark the location of where the screen is to be installed, drill your holes and insert the M10Anchors (B). 2.
- Page 3 Flush Mount to the Ceiling 1. Mark the location of where the screen is to be installed, drill your holes and insert the M10Anchors (B). 2. Install the Mounting Brackets (A) to the ceiling and secure with the M4x50 Screws (B). Ceiling M10 Anchor Mounting Bracket Fix Plate 1...
-
Page 4: Screen Operation
3. Insert chains (not included) through the loop holes of the Suspended Ceiling Bracket Connector(C). Suspended Ceiling Bracket Connector Loop Holes Screen removal from the Mounting Brackets 1. Pull down on the Mounting Bracket Release Tab and remove the bottom case away from the wall/ceiling followed by the top of the case. - Page 5 Attention: If the screen does not unlock, carefully pull the screen straight down with a little force. Always pull the screen down at a 90-degree angle. For more information, technical support or your local EliteScreens www.elitescreens.com contact, please visit Rev.062017-BR www.elitescreens.com...
Need help?
Do you have a question about the HT Series and is the answer not in the manual?
Questions and answers