Table of Contents
Advertisement
Quick Links
Advertisement
Table of Contents

Summary of Contents for CEL workVAC
- Page 1 User Manual...
- Page 2 THANK YOU Thank you for investing in a CEL product. The workVAC has been engineered and made to demanding high quality standards; ease of operation and safety have taken a major role in development. Proper care of your product will give you years of trouble-free use.
-
Page 3: Table Of Contents
Before using the blower familiarise yourself and all other users with all the operating features and safety requirements. Description and operating instructions for other tools/accessories are included with those products. Only use the workVAC as intended. ie. Clearing dry/damp areas and lightweight debris from hard surfaces. Important Safety Notes... -
Page 4: Important Safety Notes
Important Notes Description of symbols The rating plate and labels on your product may show symbols. These represent important information about the product or instructions on its use. General Read Risk of Protect Keep Flying Keep Dry Wear Hazard Instructions Shock Eyes, Ears, Bystanders... - Page 5 Keep the filter in good condition, clean and in place at all times when using the workVAC. Operating the workVAC without this filter will damage components and void the warranty.
-
Page 6: Description Of Features
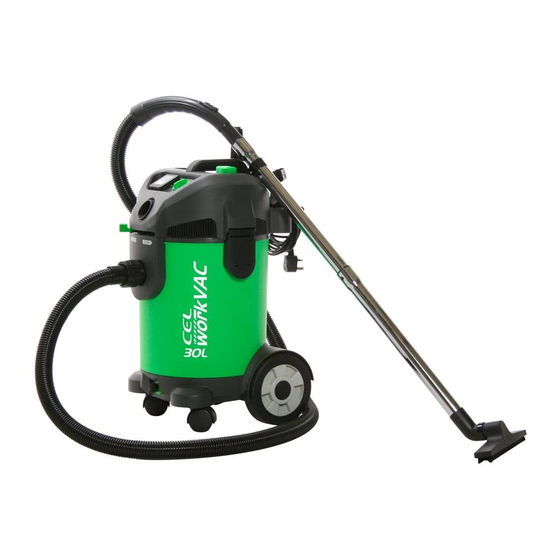
Description of Features This product is sold in several configurations. Your product may differ from images and descriptions in this user manual. Please ask your reseller or contact CEL if you are unsure about any operations. -
Page 7: Assembly And Safety Checks
2. Vacuum Suction inlet Check that the filter is in place and secured. 3. Vacuum or Blow Switch WARNING! Never run the workVAC without a correctly 4. Blow outlet fitted filter that is in good condition and properly secured in place. To do so may cause damage to the motor, fans 5. -
Page 8: Getting Started
Vacuum option by sliding the shown on the label on your Read the instructions WV1-30L-230 Before use lever above the Suction Inlet all the workVAC must match your Serial No: 220-230V ~ AC 50Hz 1200W, IPX4 way to the left side. local power supply. -
Page 9: Cleaning The Filter
CAUTION! To prevent damage, a wet filter must be dried 3. Connect a drainage hose to the Drainage nipple for completely before use with dry materials. higher volume cleanup. 3. Start the workVAC and begin the task. 4. Empty often to avoid spills. -
Page 10: Auto Start Function
3. Fit this adaptor to the power tool. 4. Connect the power tool plug to the outlet on the workVAC 5. Plug the workVAC into a safe and suitable power outlet and switch on. 6. Turn the ON/OFF switch anti-clockwise to the AUTO position. -
Page 11: Maintenance, Environment And Storage
6. Fit and tighten the locking screw. cloth is recommended. Water must never come into contact with the upper part of the workVAC. WARNING! Keep the filter out of direct sunlight. After each use, carefully clean the vacuum with a brush or rag. -
Page 12: Technical Specifications
- 30L Filter - HEPA Vacuum - 180-200mbar Maximum Airflow - 60m³/min Hose Inside Diameter - 32mm (workVAC can accept 50mm) Operating Voltage - See Product Rating Plate workVAC Dimensions - 480x350x670mm approx (19x13x27") workVAC Weight - 7.8Kg (17.2lbs) Product Code...
Need help?
Do you have a question about the workVAC and is the answer not in the manual?
Questions and answers