
Related Manuals for PhaseOne iXU-RS 1000

Summary of Contents for PhaseOne iXU-RS 1000
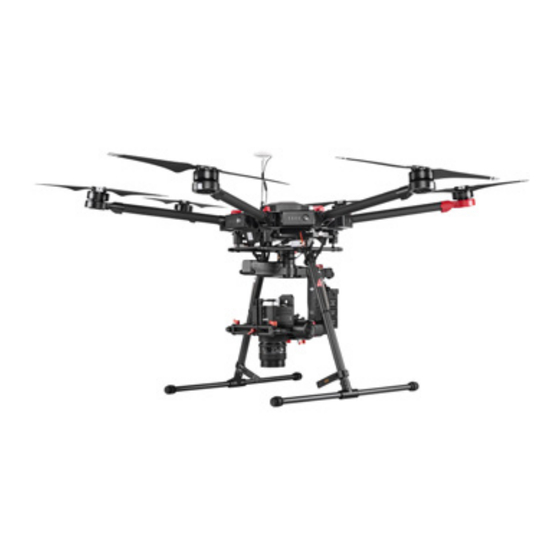
- Page 1 Phase One iXU-RS 1000 / iXU 1000 / iXU 150 UAV Camera Systems Installation Guide DJI M600 & M600 PRO...
- Page 2 Phase One iXU-RS 1000 / iXU 1000 / iXU 150 UAV Camera Systems Installation Guide DJI M600 & M600 PRO...
-
Page 3: Table Of Contents
Contents Legal Notice ....................3 Contact Support ................... 3 Required items for complete configuration ........4 What’s In the Box? ..................5 Manuals ......................5 Recommended Reading List ..............6 Introduction ....................7 Assembly Process ..................7 Step 1: Installing the DJI UAV ..............8 Step 2: Configuring the UAV for Communication with the Phase One Camera System .............. -
Page 4: Legal Notice
• DJI Ronin-MX Gimbal (with Vibration Absorber) You can contact Phase One Technical Support directly by • Additional remote control unit for iX Capture Mobile app. creating a support case at http://industrial.phaseone.com/ • Battery Power distributer support.aspx • Additional battery for powering the Phase One iXU (Intelligent battery) •... -
Page 5: What's In The Box
What’s In the Box? The following table lists the items required for installing the iXU-RS 1000 / iXU 1000 / iXU 150 camera systems on the DJI M600 and M600 PRO: Phase One UAV Solution Accessory kit: 1 x Phase One Camera mount... -
Page 6: Introduction
Unbox the M600/M600 PRO UAV and assemble it according This document describes the required procedures needed for mounting the Phase One iXU-RS 1000 / iXU 1000 / iXU 150 to the DJI Installation Manual. UAV Camera Systems on the DJI M600 & M600 PRO. -
Page 7: Step 2: Configuring The Uav For Communication With The Phase One Camera System
Step 2: Configuring the UAV 5. Click the M600 icon. The following screen appears. for Communication with the Phase One Camera System 1. Download DJI Assistant 2 from the DJI website and install it on a PC. 2. Connect a USB cable between the PC and the UAV micro USB port. - Page 8 Step 3: Connecting the 5. Underneath the UAV, secure the small Communication box with an M3 screw, a spring washer and a flat washer iXU – DJI Communication Cable next to the UAV USB port. 6. Place the UAV bottom cover back in its place. 7.
-
Page 9: Step 4: Assembling The Ronin-Mx Vibration Absorber
Step 4: Assembling the Step 5: Assembling the Ronin-MX Vibration Absorber Phase One Camera System into the Ronin-MX Gimbal Position the UAV on its back and connect the Ronin-MX Vibration Absorber to the UAV according to the Ronin-MX user manual. Mounting the Camera 1. -
Page 10: Ronin-Mx Gimbal
3. Attach the Camera Mounting Plate (part of the DJI Gimbal 5. Facing outward on the tuning stand, slide the Phase One kit) with a 3.8” camera screw (part of the DJI Gimbal kit) Camera System into the receiver of the Ronin MX, until to the Phase One Camera mount. -
Page 11: Step 6: Connecting The Cables
Step 6: Connecting the Cables 5. Connect the 2-pin DJI connector of the iXU – DJI Power cable to the power socket on the Ronin-MX DJI Intelligent Battery Power port. 1. Connect the Lemo Right Angle connector of the iXU – DJI Communication cable to port B of the Phase One Camera System (see iXU-RS Installation Guide). -
Page 12: Step 7: Assembly Completion With Zip Tie
2. Verify that the latest Firmware version is installed on the camera. If not, install it using Phase One Firmware Updater (see https://industrial.phaseone.com Firmware versions). 3. Insert a CF card to the CF slot (any size, brand or model is applicable) and make sure it is identified by the camera 4. -
Page 13: Step 9: Activation Process
Step 9: Activation process Step 10: Calibrating the Ronin-MX Using a DJI drone and Phase One Camera combination for the fisrt timerequires an initial activatation. The activation is done via an internet connection and a Remote Control unit • Use the Ronin-MX manual instructions to calibrate and connected to a mobile device running DJI GO. - Page 14 Top slider at 0.5 Bottom slider at 3...
- Page 15 Phase One by sending a message to support@phaseone.com Visit the website for additional information industrial.phaseone.com Copyright © 2017 Phase One All Rights Reserved. 85037000 iXU-RS 1000 / iXU 1000 / iXU 150 UAV Camera Systems Installation Guide 1.2 30 4 2017...
Need help?
Do you have a question about the iXU-RS 1000 and is the answer not in the manual?
Questions and answers