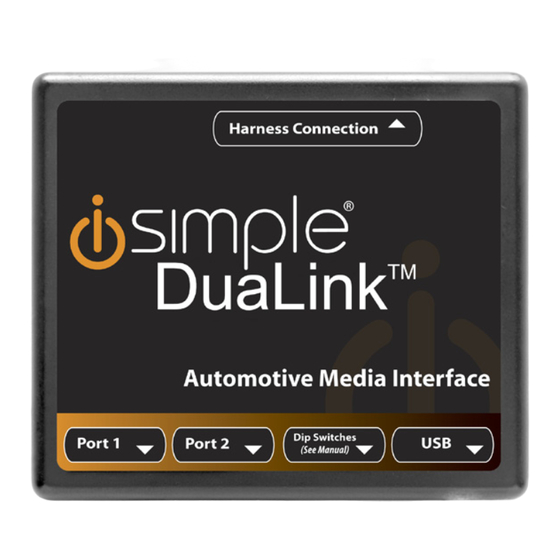
Summary of Contents for iSimple PXAUX
- Page 1 Add Auxiliary Audio to Your Factory Radio Owner’s Manual PXAUX Rev. 01-23-13 INST020...
-
Page 2: Table Of Contents
Table of Contents Pages Introduction Compatibility Notes Dipswitch Settings Installation Ford/Lincoln/Mercury ISFD531 General Motors ISGM531 General Motors ISGM532/ISGM533 General Motors ISGM534 General Motors ISGM535 Honda ISHD531 Hyundai ISHY531 ISHY532 Mazda ISMZ531 Nissan ISNI531/ISNI532 Toyota ISTY531 Volkswagen ISVW532 Troubleshooting Warranty Information... - Page 3 PXAUX & Optional Add-ons Factory Radio (not included) Vehicle Specific Harness (actual harness may vary) PXAUX Interface RCA Input RCA Input 3.5mm Input 3.5mm Input Your Audio Devices MP3 Player DVD Player (not included) (not included)
-
Page 4: Pages
To ensure that your auxiliary audio input performs correctly with your radio, we recommend that you read this entire manual before attempting installation of the PXAUX. This interface allows connectivity for two auxiliary audio inputs. -
Page 5: Installation
3. Disconnect the factory harness (if present) from the back of the radio. If you are installing the PXAUX into a Toyota or Honda with an external CD Changer and you are using CD Changer emulation mode, the CD Changer will have to be disconnected at the changer location for proper operation. -
Page 6: Ford/Lincoln/Mercury Isfd531
Ford/Lincoln/Mercury ISFD531 Operation Selecting AUX: Press the “AUX” or “SAT” button (SR123 icon on navigation radio) until “AUX1” is displayed on the screen. When you press the “AUX” button, you will see the corresponding “SAT” modes, a slight delay, and then the current mode will be displayed. -
Page 7: General Motors Isgm532/Isgm533
General Motors Operation ISGM532/ISGM533 Selecting AUX Press the “BAND” button a few times until XM is displayed on the screen. Immediately turn the rotary knob to scroll through available sources. Once “AUX1” is displayed press PRESET 2 to select it. Selecting between AUX1 / AUX2 If you are currently in “AUX1”... -
Page 8: Honda Ishd531
Press the “SAT” button to enter satellite radio mode. Press the “CATEGORY UP” or “CATEGORY DOWN” button to scroll through the available sources until “AUX 1” or “AUX 2” is displayed. If satellite radio is present, the PXAUX sources will show up AFTER the last satellite radio category. -
Page 9: Nissan Isni531/Isni532
Nissan ISNI531/ISNI532 Operation Selecting AUX Radios equipped with a “SAT” button Press the “FM” button and then the “SAT” button. Immediately press the “SEEK>>” button to scroll through the available sources. Once “AUX1” is displayed, press the “<<TUNE” button to select it. Radios equipped with a “RADIO”... -
Page 10: Volkswagen Isvw532
Radio shows PXAUX device is This only occurs the first time the “DEV INIT” initializing. PXAUX is powered on. Wait a few minutes, cycle ignition off and on then enter SAT mode. Radio does Dipswitches are See connection diagram for proper... -
Page 11: Warranty Information
Within the first 12 months from date of purchase, subject to the conditions above, ® iSimple will repair or replace the product at their discretion, if it is defective in material or workmanship providing it is returned to an Authorized iSimple ® dealer, with PROOF ®... - Page 12 Instructions for Correcting the Loss of Factory XM Radio When Using the PGHHD1 Harness It has come to our attention that the factory XM radio tuner becomes inoperable when using certain PGHHD1 harnesses with the GateWay, DuaLink or Connect interfaces. This is caused by an error in the manufacturing of the harness.
-
Page 13: Technical Support
Technical Support GateWay / DuaLink (PXAMG) (PXAUX) Reset Procedure ** MODULE MUST BE DISCONNECTED FROM THE VEHICLE BEFORE PERFORMING THE FOLLOWING STEPS ** 1. With a #1 Philip head screwdriver remove the two screws on the bottom of the module and remove the circuit board from the housing.


Need help?
Do you have a question about the PXAUX and is the answer not in the manual?
Questions and answers