Table of Contents
Advertisement
Quick Links
Advertisement
Table of Contents

Summary of Contents for Hawker Sea Fury
- Page 1 Hawker FB.11 User Manual EN 1 -11 12-22 23-40 www.sz-freewing.com...
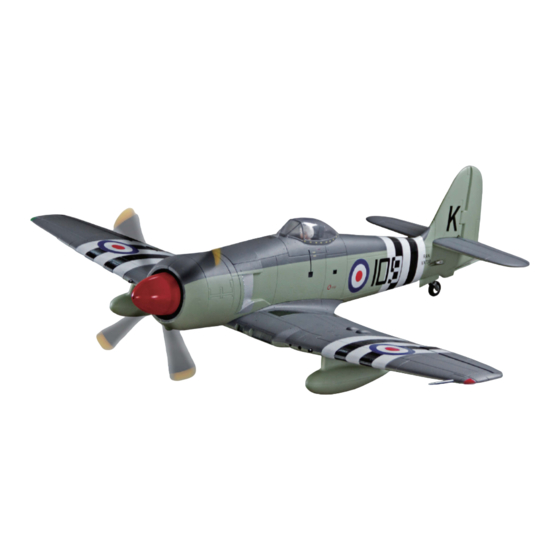
- Page 2 British and Australian carriers during the Korean War where its performance and resilience earned the Sea Fury its place in aviation history. The Sea Fury also served across the world in the service of Australia, Canada, the Netherlands, Burma, West Germany, and many other nations.
- Page 3 Index 1. Product Basic Information 2. Package List 3. Assembly: 4. Main Wing 5. Tail gear, rudder and elevator 6. Elevator, Tail Wheel Pushrods 7. Tail Hook, Main Landing Gear 8. Servo Introduction, Battery Installation 7 9. Power System Installation 10.
- Page 4 Spinner & fixed part servo equipment electronic carts Pre-installed all No electronic Pre-installed Tail wing set Installed part & screw electronic carts equipment servo Foam par ts Fiberglass tube & glue Fuel tank Manual Hawker§eaFurg FB.II ltll!!ID Na.: FLWi! D I...
- Page 5 C to the main wing. Step4 Use 4pcs screws to affix the main wing. Note: There is a EPO glue included package. For best results, spread the glue evenly, then wait for 90 seconds before installation. Hawker!ieaFury FB.II Pliqht(f!J!!. lten1 Na.: FLW.!DI...
- Page 6 Elevator Assemb A-Fiberglass tube 04mmx250mm B-Screws (KA3x10mm) 1. Install the left/right Horizontal stabilizers on the fuselage as shown. 2.Turn over the fuselage, and use 4 pcs screws to secure the stabilizers. Hawker!ieaFury FB.11 lten1 Na_: FLW.!Dt...
- Page 7 Elevator push rod mounting hole 1 ·· Pushrod diameter: 0 1.2mm -597mm ------+ I :� 1£ __t_ =�==D rm½ (23-1/2") Note: be sure to use the rubber retaining rings over each clevis to ensure they stay locked. Hawker!ieaFury FB.II Pliqht(f!J!!. lten1 Na.: FLW.!DI...
-
Page 8: Main Landing Gear Assembly
E -Main gear cabin door F - Screw (PB2.3x4mm) G- Retract servo. H-Jimi screw (M3x3mm) A- Screw (KA2.6x12mm) Landing gear reinforcement plate Main landing gear � � Landing gear mount , ,� B :� � Hawker!ieaFury FB.II lte,n Na-: FLWi!!UI... -
Page 9: Servo Introduction
If you need to have the propeller on, please make sure that nothing is within the propeller diameter. In order to avoid accidents and injury, anchor the airplane down and avoid the front of the airplane! Pliqht(!!J!!. Hawker!ieaFury FB.II lten1 Na.: FLW.!Dt... -
Page 10: Installing The Power System
You can contact our distributor to purchase its high power system. Installing the ESC �. A-Screw (PWA3x8mm 4pcs) B-Battery tray C-ESC D-Tray holder Put the ESC under the battery tray, there are specially designed ventilation ducts, that will cool the electric equipment --�----········-·---��,.-.-- effectively. Hawker§eaFury FB.11 lt:en, Na.: FLWii!!DI... -
Page 11: Center Of Gravity
- If you can not adjust the CG by moving the battery, you can also use some other suitable material such as stick on weights to make sure that CG is in the correct position. 80mm (3-1/8") Hawker!ieaFury FB.II Pliqht(f!J!!. lten1 Na_: FLW.!DI... -
Page 12: Control Direction Test
After the build is complete but with the propeller removed, power up the radio and connect a fully charged battery to the ESC. Use the radio to ensure proper control direction Aileron Stick Right Stick Left • • • • Elevator Up Elevator Down Elevator Rudder Stick Left Stick Right Optional Flaps Flaps down Pliqhtrfo.!!. Hawker!ieaFury FB.11 /ten, Na.: FLWii!!DI... -
Page 13: Dual Rates
(See diagram) Step three Repeat step one and two to attach the control surface to the stabilizer Hawker!ieaFury FB.II Pliqht(f!J!!. lten1 Na_: FLW.!DI...
Need help?
Do you have a question about the Sea Fury and is the answer not in the manual?
Questions and answers