Table of Contents
Advertisement
Quick Links
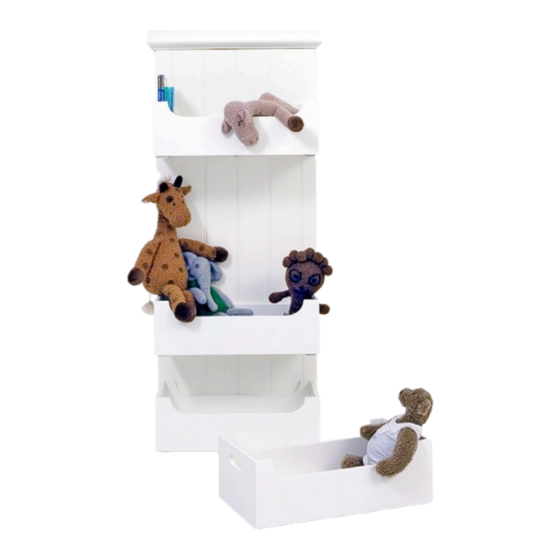
ASSEMBLY INSTRUCTIONS / TOYBOX 021317
PLEASE READ THE ASSEMBLY INSTRUCTION CAREFULLY BEFORE YOU START / OCT. 2007
OL I V E R F UR NI T UR E / GE PPE T T O A / S
N d r. S t r a n d v e j 119 A
D K- 3 15 0 H e l l e b æ k / D e n m a r k
Te l . + 4 5 4 9 7 0 7 3 17
i n f o @ o l i v e r f u r n i t u r e . d k
F a x + 4 5 4 9 7 0 7 3 18
w w w. o l i v e r f u r n i t u r e . d k
Advertisement
Table of Contents

Summary of Contents for Oliver TOYBOX 021317
- Page 1 ASSEMBLY INSTRUCTIONS / TOYBOX 021317 PLEASE READ THE ASSEMBLY INSTRUCTION CAREFULLY BEFORE YOU START / OCT. 2007 OL I V E R F UR NI T UR E / GE PPE T T O A / S N d r. S t r a n d v e j 119 A Te l .
- Page 2 WALL BOARD REARSIDE WALL BOARD ↓ ”Receiver board” BAG OF NUTS & BOLTS TOP STRIP WALL STRIP NB! 8 Felt protector pads + 2 spare pads and 8 Porcelain knobs PAGE 2...
- Page 3 Mount the Wall strip with strong screws (not incl. in the bag). Take the height into account because the Receiver board will grab hold of the Wall strip when mounted. NB! ”Receiver board” is on the back side of the Rear Wall Board. Insert all the Knobs;...
- Page 4 Insert 3 wooden nails in the Wall board Thereafter carefully mount the Top Strip. Fasten the top with the long screws from the back of the Wall Board. When Wall board is mounted on the Wall strip fasten the board with the short screws.
- Page 5 The Side Strips on the back of the Wall Board are not fastened at the bottom. If you have high floor paneling the Strips can be cut to fit the height of the floor panel thus ensuring that the Wall board will fit tightly towards the wall.
Need help?
Do you have a question about the TOYBOX 021317 and is the answer not in the manual?
Questions and answers