Table of Contents
Advertisement
Advertisement
Table of Contents

Related Manuals for folbot GREENLAND II


Summary of Contents for folbot GREENLAND II
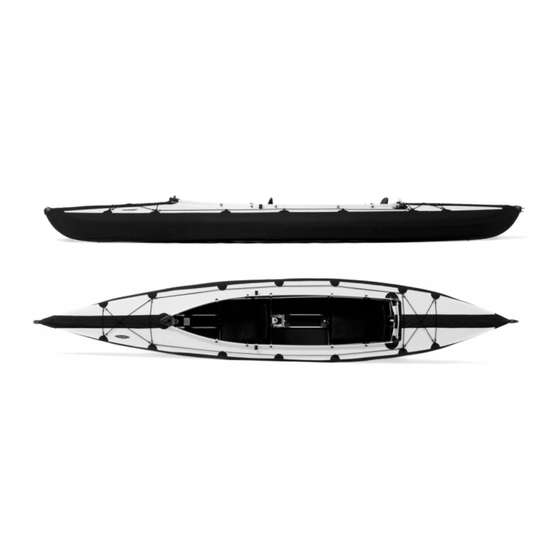
- Page 1 GREENLAND II OWNER’S GUIDE www.folbot.com...
- Page 2 Page 2 of 12...
- Page 3 FOLBOT OWNER’S TIPS ADDING YEARS TO YOUR FOLBOT’S LIFE 1. As you become familiar with the assembly of the boat, pieces will fall into place naturally. Allow plenty of time for the first assembly and enjoy the process. Avoid forcing any parts as you are learning.
- Page 4 9. Avoid towing the FOLBOT behind a powerboat. Because of its light weight when empty, it is quite easy to flip the boat at high speeds. In an emergency, tow it at an idle, and leave some small amount of weight in the boat.
- Page 5 ASSEMBLY INSTRUCTIONS Before assembling your Folbot, take time to familiarize yourself with all the parts and the terminology used. You should find the following contents when you unpack your boat for the first time. SHORT BAG CONTENTS (pictured above, listed left to right) 2 seats —...
- Page 6 The general assembly procedure is to partially complete both halves of the frame, which are then inserted into each end of the skin. The frames are then joined together and expanded until the skin is tight lengthwise. The remaining crossframes are installed, followed by the washboard set and finally the seats.
- Page 7 4. Locate crossframe 2 and temporarily remove the black knob and cockpit nose. Install at the black nylon plate marked #2, and position it so that the aluminum U-bracket at the top of the frame faces toward the bow (front) of the boat. The #2 sticker on the crossframe should face toward the cockpit. Begin by inserting the crossframe into one of the side frames (see photo, below left).
- Page 8 10. Unfold the boatskin and open it up as much as possible with the hull side down. Note that the bow (front) end of the skin has a FOLBOT patch sewn in place. Open the Velcro flaps and unzip both zippers.
- Page 9 16. Now locate the side washboard pieces. Assemble each left and right side by sliding the rear piece (with the black corner attached) into the front piece. You will need to remove one of the black knobs and T-bolts first to assemble the front washboard to the back (see photo, below left). When assembled correctly, each side should have all the black knobs facing out while the groove along its entire length is facing down.
- Page 10 Disassembly of your Folbot is the exact reverse of this procedure, but here are some helpful tips: To disengage the crossframes from the black nylon plates, first depress the center tab to allow the metal fixture to move into the free position.
- Page 11 NOTES Page 11 of 12...
- Page 12 Page 12 of 12...
Need help?
Do you have a question about the GREENLAND II and is the answer not in the manual?
Questions and answers