Table of Contents
Advertisement
Quick Links
Advertisement
Table of Contents

Summary of Contents for Black arrow Prospero X-3
- Page 1 Black Arrow Software support@blackarrowsoftware.com X-3 Prospero (Control Board – Original Design) Product User Instruction Manual Manual V4 For the latest Manual & Support, please visit http://www.blackarrowsoftware.com/store/prospero-support.html P a g e...
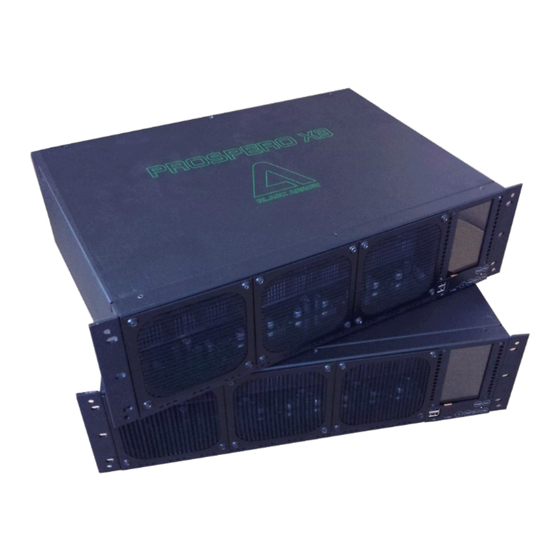
- Page 2 Introduction This guide describes the features and the user instructions for X-3 Prospero (Control Board – Original Design) Miner The X-3 Prospero Miner has inside one powerful MINION chip which can reach 100Ghash/s hash rate (+/-10%) and has a very low power consumption. X-3 is contains a Control Board and is very easy to control.
- Page 3 III. Web Configuration Obtaining the IP address The Prospero is shipped with DHCP enabled, for an automatic IP address. To set it manually, you need an LCD model, or first connect it to a network that supports DHCP. With or Without LCD: Open a web browser to http://prospero.blackarrowsoftware.com (your browser must be on the same internal network for this to work)
- Page 4 Control Panel If you have purchased multiple Prosperos, and you have connected them all to the network, your network control panel will look something like this. The first Prospero in the list, is always the unit you that you are connected to. Additional units you may have are listed below.
- Page 5 Setting up the Pool. The first thing you will want to do is add a pool. Select a Prospero on the left, then select the “Pool” tab, and “Add Pool” You can use any pool that is compatible with cgminer. For pool recommendations, see the Back Arrow Support forums.
- Page 6 Configuring parameters 1. NETWORK setup button: gives access to the network configuration window. The button is positioned in the top left corner of the screen. The user can configure here: IP address, net mask, gateway and DNS (default is 192.168.0.180). After changing the configuration user must click the SAVE button in the top right corner to save the configuration.
- Page 7 “RED” - Chip on the standby, or is overheated or other the existence of other issues are preventing the chip from starting up properly. 8. SPEED ANALYSIS CHART – A chart is automatically displayed to capture the miner’s average speed. 9.
- Page 8 Please note that if the network default IP mask is different from static IP set on the miner, therefore user will need to change its router, or computer’s IP address to 192.168.0.XXX where XXX is the desired static IP. After the new IP address is setup, user must press the SAVE button and the miner will restart automatically.
- Page 9 Click on the CGMINER button in the top right corner on the main page. In the cgminer configuration, input the pool address, username and password. The user has the choice to change the overclock selection as well. There are four options: 800Hz/s, 1000Hz/s, 1100Hz/s and 1200Hz/s.
Need help?
Do you have a question about the Prospero X-3 and is the answer not in the manual?
Questions and answers