Table of Contents
Advertisement
Advertisement
Table of Contents

Subscribe to Our Youtube Channel
Related Manuals for Xiamen Rongta Technology RP410


Summary of Contents for Xiamen Rongta Technology RP410
-
Page 1: User Manual
XIAMEN RONGTA TECHNOLOGY CO., LTD. USER MANUAL RP410... -
Page 2: Table Of Contents
Catalogue Manual information ........................1 Safety Instruction........................2 1. Product introduction ......................4 1.1 Box list ..........................4 1.2 Appearance and components ................... 5 2. Product Specification ......................6 2.1 Specification ........................6 3. Installation ..........................7 3.1 Power connection ......................7 3.2 How to connect printer and PC ................ -
Page 3: Manual Information
Manual information This manual includes product user, installation, etc. Please refer to the below details for all kinds of technical issues and territory. 1. Manual for driver and program. This manual includes information such as windows instruction for driver and program and main function. 2. -
Page 4: Safety Instruction
Safety Instruction Please read the following precautions to avoid personal injury or equipment damage before installing and using the printer. 1. Safety warning Warning: The print head is heating component, during printing and immediately after printing; do not touch the print head and peripheral components. - Page 5 to use same power socket with large electrical machine or other can cause the power supply voltage fluctuation device. 14. Please disconnect the power of the printer power adapter, If a long time do not use the printer. 15. In order to keep good quality of printing and long life of the product, suggest to use recommended by the same quality of paper.
-
Page 6: Product Introduction
1. Product introduction Product introduction 1.1 Box list Caution: 1. open the printer packaging, keep the packaging materials, to facilitate open the printer packaging, keep the packaging materials, to facilitate open the printer packaging, keep the packaging materials, to facilitate the future of packaging and transportation the future of packaging and transportation 2. -
Page 7: Appearance And Components
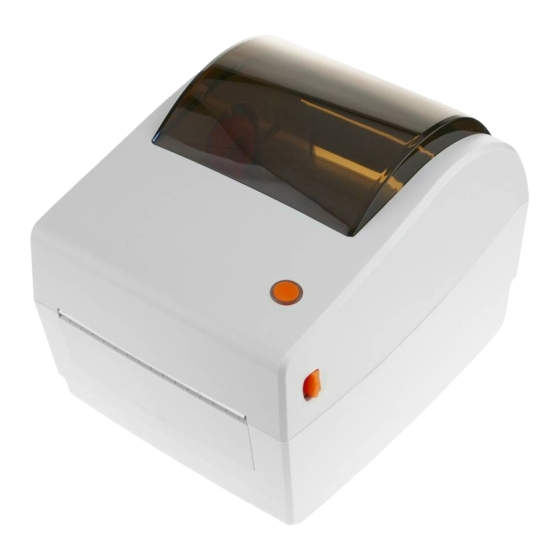
1.2 Appearance and components Appearance and components Front view Rear View Inner View... -
Page 8: Product Specification
2. Product Specification 2.1 Specification Project Parameters Printing method Thermal Transfer/Direct Thermal Resolution 203dpi Max printing width 104mm Printing 5inch/s 127MM/m (hoisting speed 150mm Printing speed realizable 150mm) Interface USB 2.0 Storage Flash 4M(expand memory 8M realizable) Code 39、Code 93、ITF、EAN 128、Code 128、subsetsA、B、C、Codabar、EAN-8、... -
Page 9: Installation
Adaptor、USB cable、Power cable、CD、 Accessories user manual、Warranty Car、Certificate,、 paper tray(optional) Reliable TPH lifespan 50km data Software Operation System XP/Win7/Win8/Win10 3. Installation 3.1 Power connection 1. PLS take attention to make confirmation if the printer power button on “off” position. 2. Connect adaptor plug with printer outlet at second step. 3. -
Page 10: How To Connect Printer And Pc
Caution: PLS make sure use our original compatible power adaptor to avoid damaging the printer. If do not using printer for an extended period, PLS disconnect it from power. 3.2 How to connect printer and PC PLS follow up below step for connecting. 1. -
Page 11: Install Paper Roll
3.3 Install paper roll 3.3.1 Inside 1. Open fixing seat, put in paper roll with printed face above. 2. Make paper front through paper guide, pull paper exceed rubber roller, adjust paper guide to fix the paper according to the paper width. -
Page 12: Outside
3. Close printer cover, press down to hear “ka” to lock. 3.3.2 Outside 1. Make paper front through paper-feeding slot on the back of printer, confirm the printed face on above. 2. Open fixing seat, push up the L seat to lock. - Page 13 3. Make paper front through paper guide, pull paper exceed rubber roller, adjust paper guide to fix the paper according to the paper width. 4. Close printer cover, press down to hear “ka” to lock.
-
Page 14: The Operator Panel
3.4 The operator panel 3.4.1 The operational method of FEED printer status Operation of FEED Function standby press Feed in a blank paper automatically Enter into the learn mode of cover standby Press(3 seconds) sheet Hold (release after Power off Print out self test page power on) Open the cover... -
Page 15: Printing Test
3.5 Printing Test 3.5.1 Print Self-test Page When initially install printer or any problems happen to printer, you can make a self-test page to check status of firmware version, printer parameter setting, printing quality and related setting information of external equipments etc. Once you confirm printer does not have any problems after self-testing, please check other devices or software. -
Page 16: Clean The Printer
Under the printer ready state, long press paper feed 3s, after the status lights (blue one) flash 2 times, release feed button. But if the printer is studying under continuous feed mode, this study will be invalid Users can also make the study from the printer tool software (see "printer setup tool instructions"). -
Page 17: Clean The Sensor, The Rubber Roller And Paper Path
4.2 Clean the sensor, the rubber roller and paper path 1. Open the printer cover and remove the paper roll. 2. Use a dry cloth or cotton swab to wipe off dust or foreign matter. 3. Place cloth or cotton swab dipped in alcohol for medical. And use it to remove adhesive foreign substances or other contaminants. - Page 18 interface; printer. The RS232 baud rate c. Printer status error; can be confirmed by printing the self-test page; LAN port: PLS make sure the; Ethernet RJ-45 green/orange light is on. The printer IP address can be confirmed by printing the self-test page, and PLS check the driver port setting is the same as the printer;...
- Page 19 consistent with the paper loaded in the printer, it can be changed by setting tool; Poor print a. Incorrect paper a. Reloading paper(take reference loading; of Point 3.3 loading the media); quality b. Improper setting of b. Use setting tool or software to printing density and adjust the printer printing speed;...
Need help?
Do you have a question about the RP410 and is the answer not in the manual?
Questions and answers