Table of Contents
Advertisement
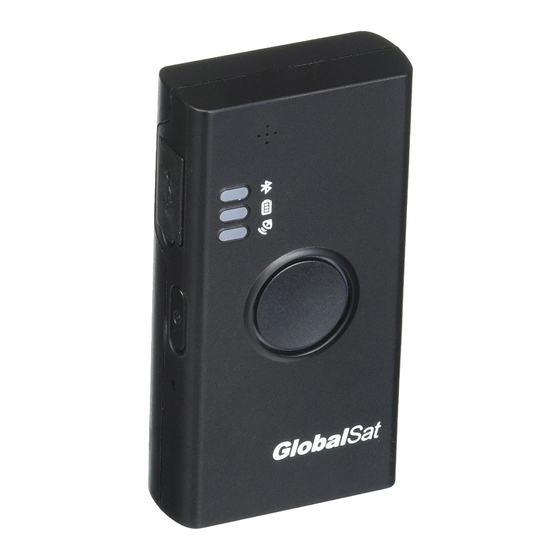
DG-500 GPS Data Logger
Quick Start Guide
GlobalSat WorldCom Corporation
st
16F., No. 186, Jian 1
Rd, Zhonghe Dist.,
New Taipei City 23553, Taiwan
Tel: 886.2.8226.3799/ Fax: 886.2.8226.3899
service@globalsat.com.tw
www.globalsat.com.tw
& GPS Receiver
Version: 1.3
USGlobalSat Incorporated
14740 Yorba Court Chino
Tel:
888.323.8720
sales@usglobalsat.com
www.usglobalsat.com
1
, CA 91710
909.597.8532
/ Fax:
Advertisement
Table of Contents

Related Manuals for Globalsat DG-500


Summary of Contents for Globalsat DG-500
- Page 1 DG-500 GPS Data Logger & GPS Receiver Quick Start Guide Version: 1.3 USGlobalSat Incorporated GlobalSat WorldCom Corporation 14740 Yorba Court Chino , CA 91710 16F., No. 186, Jian 1 Rd, Zhonghe Dist., 909.597.8532 Tel: 888.323.8720 / Fax: New Taipei City 23553, Taiwan sales@usglobalsat.com...
-
Page 2: Chapter 1:Function And Specifications
Chapter 1:Function and Specifications 1-1 Functions and features Data logger for recording the traveled path data Requires MicroSD Card for Data Logger function Compact and portable Support USB Mass storage Support MicroSD memory card up to 32GB (Not Included) ... - Page 3 1-2 Specifications Electronics GPS Chipset High Performance GPS chipset Frequency L1, 1575.42 MHz C/A Code 1.023 MHz chip rate GPS Accuracy Position Horizontal Autonomous<2.5M Velocity 0.1m/sec Time 1 micro-second synchronized to GPS time Datum Datum Default: WGS-84 Acquisition Rate Hot start 1 sec., average Warm start 35 sec., average...
- Page 4 Humidity Operational up to 95% non-condensing Mechanism Size 79mm* 42mm* 19mm Weight 1-3 Accessories DG-500 Main Unit USB Cable Quick Start Guide AC Charger Micro SD Card (Optional) (Not Included)
- Page 5 1-4 Appearance Micro USB port Power Key Reset key Bluetooth & Memory LED Power LED GPS LED Main Button Micro SD Card Slot 1-5 LED Indicator Chart BLE &Memory LED Red (On) Blue Blue Blink Slowly Blink Quickly Blink Quickly (Once every 3 (Once per second) (Once per second)
- Page 6 Power LED Orange DG-500 is being charged State Battery power is low GPS LED Blink Quickly (Once per second) DG-500 gets GPS fix State DG-500 does not get GPS fix...
-
Page 7: Chapter 2:Start To Use
Install the Micro SD Card (Not Included) into the Micro SD Card Slot with the metal side facedown. Press and hold the power button for three seconds to turn on DG-500. Then you would see GPS LED on. After getting GPS fix and starting to record traveled path, GPS LED would flash. -
Page 8: Reset The Device
GPS fix.) 2-5 Reset the Device You could reset device by pin the reset key with sharp object like pen point. DG-500 would be powered off after pin the reset key. Please hold on power key for three seconds to turn... -
Page 9: Chapter 3: Dg-500 Pc Utility Operation
3-2 Main Screen Introduction Start to connect Connect DG-500 and PC by USB cable. Double click the icon or select [Start][All Programs][Globalsat DG-500 Tool] Globalsat DG-500 Tool You would see the main screen of DG-500 PC Utility as the screenshot below. - Page 10 Play Log file PC Utility version Traveled path data list: List the traveled path data loaded from DG-500 or from file Traveled path information field: Show the information of traveled data, including date, time, longitude, latitude, speed, and height (according to the DG-500 data setting) ...
- Page 11 The downloaded data would be displayed on the traveled path data list. Each data would be displayed the date and the starting time.
- Page 12 You could display the traveled path data on Google Map by selecting the data in the traveled path list. If you double click the traveled path, Google Map would move to the starting point of that traveled path. The Traveled Path Information field would display all the recorded points.
- Page 13 You could select several traveled paths to display on Google map. The traveled paths would be marked by different colors. You could check the details of each point in the traveled path information field. The manually saved waypoints would be marked with start signs. 3-4 Filter the Traveled Points by Click on the icon on tool bar.
- Page 14 Corresponding data. Select would display all the manually saved points.
- Page 15 3-5 Save Data to PC You could save the traveled path data by clicking on You could save the data in the format of *.gsr or *.kml or *gpx or *.csv. You could open the saved traveled path data by clicking on icon.
- Page 16 3-6 Set the Save Points format icon on tool bar or select [Device] [Device Setting] Click on You would see the screenshot as below. Function description: Data logging format Position: Record the position data and save it as the file format of gpl. Data logging setting (choose the device setting) Power Saving Mode (on/off): Turn on/off power-saving mode.
- Page 17 This device complies with Part 15 of the FCC Rules. Operation is subject to the following two conditions: 1) this device may not cause harmful interference and 2) this device must accept any interference received, including interference that may cause undesired operation of the device. FCC RF Radiation Exposure Statement: 1.
Need help?
Do you have a question about the DG-500 and is the answer not in the manual?
Questions and answers