Advertisement
Quick Links
a) Install eBUS Player software (eBUS Runtime **-bit.4.1.7.3988 or later)
b) Install eBUS SDK (eBUS SDK **-bit.4.1.7.3988 or later)
c) Install DRS Camera Control Software (1.9.3 or later)
d) Install USB Serial Adaptor Drivers (Choose the appropriate 32 or 64 bit installation file)
e) Install Eltima Virtual Serial Bridge (vspd.exe)
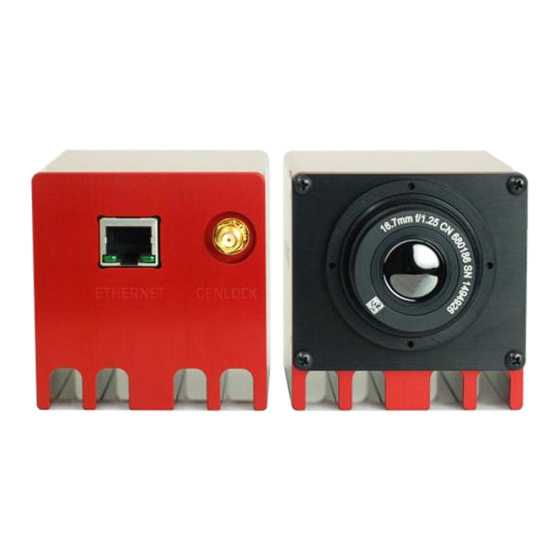
a) Connect Viento-G/GT to Gigabit Ethernet Switch with POE ports via Cat5e (minimum) Ethernet
cable.
b) Connect Laptop/PC to the same Network as the Gigabit Ethernet switch via Cat5e (minimum)
Ethernet cable.
1
Advertisement

Summary of Contents for Sierra Olympic Viento-G
- Page 1 Install USB Serial Adaptor Drivers (Choose the appropriate 32 or 64 bit installation file) e) Install Eltima Virtual Serial Bridge (vspd.exe) a) Connect Viento-G/GT to Gigabit Ethernet Switch with POE ports via Cat5e (minimum) Ethernet cable. b) Connect Laptop/PC to the same Network as the Gigabit Ethernet switch via Cat5e (minimum)
- Page 2 a) Open the Virtual Serial Port Driver from its installed location on the PC/Laptop or from the start menu. (default: C:\Program Files\Eltima Software\Virtual Serial Port Driver 8.0\vspdconfig.exe) b) Under the Manage ports tab of the Serial ports explorer choose “Add pair” to create a virtual COM port pair (bridge) on the next two available ports, note which ports these are for use later when you set up the Serial Communication Bridge inside of the eBUS player (this guide –...
- Page 3 Steps must be completed in sequential order to ensure proper operation. a) Open eBUS player application from its installed location on the PC/Laptop or from the start menu. (default: Start Menu> All Programs> Pleora Technologies Inc> eBUS SDK> eBUS Player) b) Click on Select/Connect...
- Page 4 c) Select the camera and hit ok NOTE: In some instances you will be required to set the camera IP address if it is not currently set up on your network.
- Page 5 Pleora GigE Interface Configurations for more information on when to use other configuration files. A dialogue box will show an alert that you are changing the settings of the Viento-G GigE Encoder, click Yes to continue opening the file.
- Page 6 f) Open Device Control g) Set Visibility to "Expert" h) Scroll Down approximately 3/4 of the way towards the bottom of the GEV Device list and find the SignalRouting section. PlcEquationApply will be blank. If, PlcEquationStatus reads: “LUT now out of sync with PlcEquations: PlcEquationApply required” then Click on the PlcEquationApply section to reveal the PlcEquationApply button.
- Page 7 Click on the play button k) The video should be high contrast with Automatic Gain Control (AGC) applied.
- Page 8 a) While still connected to the camera and streaming video go to Tools> Serial Communication Bridge to set up the COM port of the eBUS player. b) Click the Serial COM Port Link radio button and then from the drop down menu choose one of the ports in which your USB Serial Device appeared on when configuring the Virtual Serial Bridge during setup step 3b of this manual.
- Page 9 a) Start DRS software application, the software will not automatically find the camera because it is not yet communicating with the Pleora software. b) Click on Manually Add Device. c) Choose the appropriate camera from the Device Type drop down menu (DRS Tamarisk 320 or DRS Tamarisk 640 depending on whether your Viento G is 320 or 640).
- Page 10 AGC applied. applied. (No pixel temperature data will be available on GT models) SuperFrame Data_16 bit Viento-G cameras – Use when Pre- Live display initially shows AGC raw 14-bit data is needed. This almost flat image, very little...
Need help?
Do you have a question about the Viento-G and is the answer not in the manual?
Questions and answers