
Related Manuals for Lynx SEDONA

Summary of Contents for Lynx SEDONA
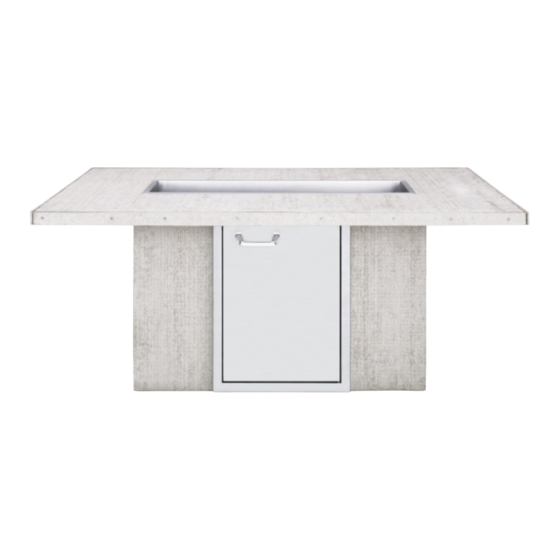
- Page 1 Fire Pit shown with optional finishes SEDONA READY TO FINISH FIRE PIT ASSEMBLY INSTRUCTIONS...
-
Page 2: Important Safeguards
SEDONA by LYNX™ READY TO FINISH FIRE PIT ASSEMBLY INSTRUCTIONS IMPORTANT SAFEGUARDS WARNING Two to three people are needed to set up the fire pit. Failure to do so may result in injury. WARNING Do not store or use gasoline or other flammable liquids in the vicinity of this or any other appliance. - Page 3 SEDONA by LYNX™ READY TO FINISH FIRE PIT ASSEMBLY INSTRUCTIONS Congratulations on your purchase of the SEDONA by LYNX™ Ready to Finish Fire pit. The prefabricated unfinished fire pit can be assembled in no time at all. Minimal tools are necessary for assembly.
- Page 4 SEDONA by LYNX™ READY TO FINISH FIRE PIT ASSEMBLY INSTRUCTIONS Fire Pit Body Components Each Ready to Finish Fire Pit includes a 15 lbs. bag of lava rock approximately 1/2” -1/4” in size. Black/Grey in color. SEDONA by LYNX™ Ready to Finish Fire pit Assembly Instructions...
-
Page 5: Exploded Parts Diagram
SEDONA by LYNX™ READY TO FINISH FIRE PIT ASSEMBLY INSTRUCTIONS Exploded Parts Diagram SEDONA by LYNX™ Ready to Finish Fire pit Assembly Instructions... - Page 6 SEDONA by LYNX™ READY TO FINISH FIRE PIT ASSEMBLY INSTRUCTIONS Fire Pit Parts List NO. P/N DESCRIPTION QTY. 70478 PAN, ASSEMBLY, WLDMT 35919 COVER, IGNITER, FIREPIT 35788 COVER, CONTROL 70482 FACEPLATE, CONTROL, WLDMT 70479 MANIFOLD WLDMT 34106 LOGO, SEDONA SMALL...
-
Page 7: Wiring Diagram
SEDONA by LYNX™ READY TO FINISH FIRE PIT ASSEMBLY INSTRUCTIONS Wiring Diagram Dimensions SEDONA by LYNX™ Ready to Finish Fire pit Assembly Instructions... -
Page 8: Installation
SEDONA by LYNX™ READY TO FINISH FIRE PIT ASSEMBLY INSTRUCTIONS Installation Step 1 Unpacking the Box Remove the staples and binding straps from the outside of the box. From inside the box, remove the foam and packing materials. Separate the fire pit components from the box. - Page 9 SEDONA by LYNX™ READY TO FINISH FIRE PIT ASSEMBLY INSTRUCTIONS Installation...continued Step 3 Assembling the Top Panel The top panel comes in two parts. Secure the right hand top panel to the base using two of the supplied four Philips head screws (#32595) and two of the eight supplied washers (#14044) on the two far right positions of the panel.
-
Page 10: Lighting Instructions
SEDONA by LYNX™ READY TO FINISH FIRE PIT ASSEMBLY INSTRUCTIONS Installation...continued Step 4 Installing the Control Panel The fire pit control panel drops right into the opening of the base once the two top panels have been secured. You will need to connect the gas regulator to portable gas tank. - Page 11 7. No one has the authority to add to or vary Lynx’s warranty, or to create 8. The cost of a service call to diagnose trouble. for Lynx any other obligation or liability in connection with the sale or use of its products.
- Page 12 The best outdoor kitchen products come from: Lynx Grills, Inc. 7300 Flores Street Downey, CA 90242 For more information please call, 1-888-289-5969 or visit www.lynxgrills.com P/N: 35931...
Need help?
Do you have a question about the SEDONA and is the answer not in the manual?
Questions and answers