
Related Manuals for Arris WR2100

Summary of Contents for Arris WR2100
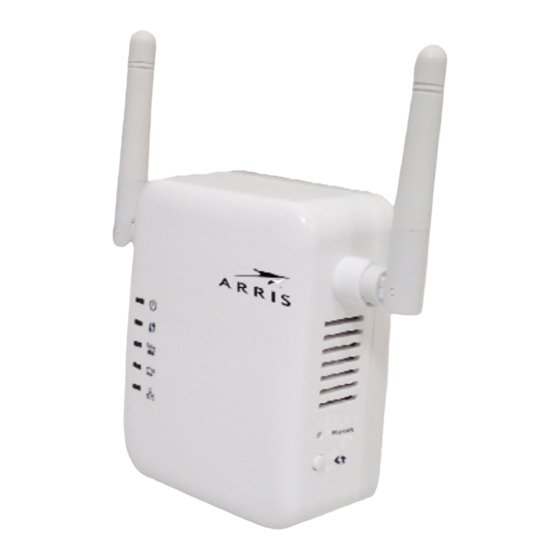
- Page 1 WR2100 802.11N Wireless repeater 2.4GHz 2x2:2 MIMO Quick Installation Guide P/N: Document Version: 1.0...
- Page 2 All trademarks and trade names are the properties of their respective owners Package Contents The following items should be included: If any of these items are damaged or missing, please contact your service provider immediately. The WR2100 Unit Quick Installation Guide...
- Page 3 This Chapter provides details of the WR2100's features, components and capabilities Overview This WR2100 is designed to enhance the connectivity between the Wireless Access Point and wireless client device (ex. IP camera) while increasing the coverage of the existing wireless network. With its easy setup operation, this high-speed 802.11n device works seamlessly with...
-
Page 4: Basic Setup
Chapter 2 Basic Setup This Chapter provides details on how to setup the WR2100. System Requirement To use the wireless interface on the wireless model, other wireless devices must be compliant with the IEEE802.11b, IEEE802.11g or IEEE 802.11n specifications. All wireless stations must use compatible settings. - Page 5 On (Green) - Power on. Off - No power. Power LED Blinking - The Power LED will blink during start (Green/Amber) up. This will take 15 to 20 seconds. On (Amber) - System failure. On (Green) - When WPS button is pressed, the LED will be on for 2 minutes.
- Page 6 Figure 2: Side Panel 1. LAN port Use a standard LAN cable to connect your WR2100 to a PC. Press this button to turn on/off the WR2100. Power On/Off Switch Press the WPS button on the device and on your...
- Page 7 Wireless Access Point is in WPS mode. (The LED on the AP will blink and active for 2 minutes.) Step 6: Press and hold the WPS button on the WR2100 for more than 3 seconds. The WPS LED on the device will start blinking for 2 minutes.
- Page 8 Make sure to press the button within 120 seconds (2 minutes) after pressing the WR2100 WPS button. Step 11: Wait for the WPS LEDs to be solid on both WR2100 and the client device. Check the LED color again.
- Page 9 Step 7: Choose the Wireless page and click “Site Survey” button. The WR2100 will start to search the existing wireless network. Step 8: Select the desired SSID that you want to connect to. Click Next.
- Page 10 Step 9: The Security Settings screen will be prompted automatically if the security is on. Enter the required encryption keys. Click Save. Step 10: The connection of the WR2100 and Wireless Access Point is successfully established after the LED remains on.
-
Page 11: Specifications
Appendix A Specifications WR2100 Model 802.11N Wireless repeater 2.4GHz 2x2:2 MIMO Dimensions 67mm (W) x 85mm (H) x 36mm (D) Operating 0 C to 40 C Temperature Antenna External antenna x 2 Storage -20 C to 85 C Temperature Network Interface... - Page 12 -Reorient or relocate the receiving antenna. -Increase the separation between the equipment and receiver. -Connect the equipment into an outlet on a circuit different from that to which the receiver is connected. -Consult the dealer or an experienced radio/TV technician for help. To assure continued compliance, any changes or modifications not expressly approved by the party responsible for compliance could void the user's authority to operate this equipment.
Need help?
Do you have a question about the WR2100 and is the answer not in the manual?
Questions and answers