Advertisement
CHILDREN'S PRODUCTS
CHILDREN'S PRODUCTS
Assembly Manual & User's Guide
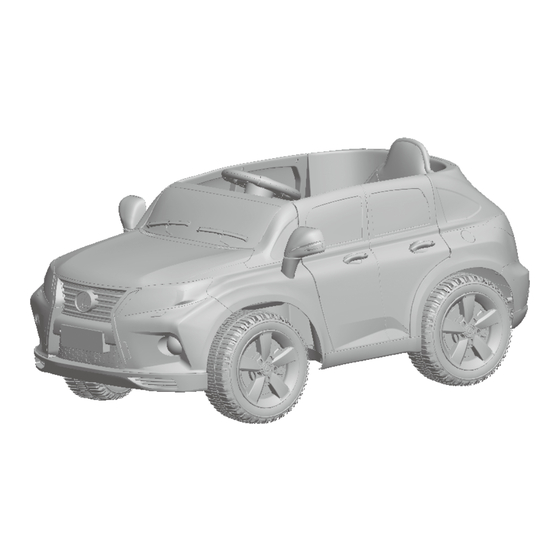
LEXUS RX350
Item No.: KL-7010F 12V
WARNING:
Adult Assembly Required
Please read this manual carefully before assembly and use.
This manual contains safety instructions and important information which will
help you assemble the unit. Please keep this manual for future purposes.
LEXUS RX350 is a registered trademark owned and licensed by TOYOTA MOTOR
CORPORATION. Manufactured by Kalee Children's Products Co., Ltd.
Battery Operated Ride-On Vehicle
Advertisement
Table of Contents

Related Manuals for Kalee KL-7010F

Summary of Contents for Kalee KL-7010F
- Page 1 This manual contains safety instructions and important information which will help you assemble the unit. Please keep this manual for future purposes. LEXUS RX350 is a registered trademark owned and licensed by TOYOTA MOTOR CORPORATION. Manufactured by Kalee Children’s Products Co., Ltd.
- Page 2 If Manufactured by: damage or excessive wear is detected, do not use the charger or the Kalee Children’s Products Co., Ltd. Quanzhou battery until you have replaced the worn or damaged part. Wuli Industrial Zone, Jinjiang, Fujian, China - Only use the charger specified by the manufacturer.
-
Page 3: Charging The Battery
BATTERY SAFETY WARNING: Charging the Battery: - Only use the battery and charger supplied by the manufacturer. ● The socket for charging the battery is - Do not connect the battery terminals directly together. This will cause located near the seat. the battery to short-circuit. -
Page 4: Maintaining Your Vehicle
- It is not recommended to drive the vehicle on wet surfaces or on slopes Operation of the Vehicle: greater than 15 degrees. - Make sure you come to a complete stop before changing directions from 1.Make sure the battery is fully charged and the motor plug is connected to the battery plug. -
Page 5: Part List
Part List: 2. 2.4G paired instructions: Part No. Description LED LIGHT(SPEED-INDICATOR) FORWARD-KEY Steering Wheel 1 pc SPEED-SELECT-KEY Rearview Mirror 1 pair RIGHT-KEY Body 1 pc Gearbox 2 pcs ON/OFF Seat 1 pc BACKWARD-KEY LEFT-KEY (1). Install 2 x AAA batteries into remote controller. Wheel 4 pcs (2). -
Page 6: Use Description
1. Use description: How to assemble the vehicle: Step 1: LED LIGHT(SPEED-INDICATOR) ● Insert onto the front axle: wheel (#6), hub cap (#9) Φ20x10.5x2 washer (#11), M8 nut (#10). FORWARD-KEY SPEED-SELECT-KEY ● Tighten the nut with wrench (#7). PA3x10x5 Screw Remark: If the axle is too long, please add wrench (#7) one piece of Φ20x10.5x2 Washer (#11)
Need help?
Do you have a question about the KL-7010F and is the answer not in the manual?
Questions and answers