
Summary of Contents for EK Lights Nitec GIG-PAK T12
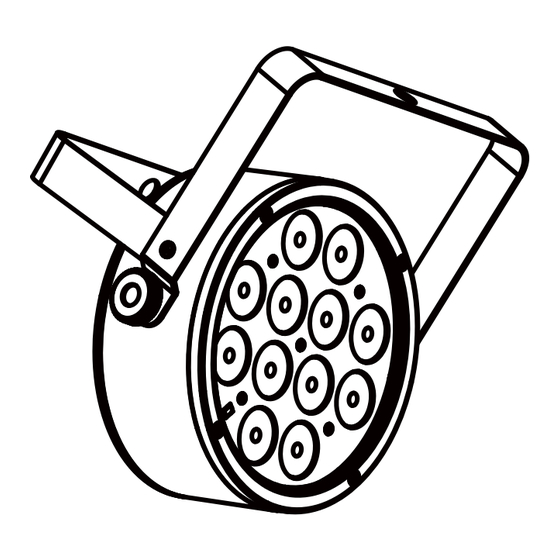
- Page 1 Four high-output, slim-profile RGB tri-color LED par lights with included IR6 remote, power and DMX cables, and custom carry bag...
- Page 2 - 4 - MAINTENANCE TABLE OF CONTENTS 4.1 MAINTENANCE AND CLEANING THE UNIT SAFETY / GENERAL INSTRUCTIONS • Make sure the area below the installation place is free from unwanted persons during setup. INTRODUCTION • All screws used for installing the device and any of its parts should be tightly fastened and should not Features be corroded.
- Page 3 3.15 OPERATION THROUGH THE IR6 CONTROLLER To control the LITEPAR T12 with the infrared remote control: WARNING! Before carrying out any operations with the unit, carefully read this instruction • Press the button MENU repeatedly until SET manual and keep it with cure for future reference. It contains important information about •...
- Page 4 3.14 DMX CONTROL INTRODUCTION 3 CHANNELS 8 CHANNELS GIG-PAK T12 is a set of four high-output, slim-pro le RGB tri-color LED par lights MODE MODE FUNCTION FUNCTION with included IR6 remote, power and DMX cables, and custom carry bag Value Value 3 Ch 8 Ch...
- Page 5 3.12 CONNECTION OF THE DMX LINE INTRODUCTION (Cont’d) DMX connection employs standard XLR connectors. Use shielded pair-twisted cables with 120 imped- ance and low capacity. SPECIFICATIONS (GIG-PAK T12 PACKAGE) The following diagram shows the connection mode: LITEPAR T12: Power cables: DMX - INPUT DMX - OUTPUT DMX cables:...
- Page 6 1.3 OPERATING ELEMENTS AND CONNECTIONS The tables on page 13 indicate the operating mode and DMX value. The LITEPAR T12 is equipped with 3-pole XLR connections. 3.11 DMX ADDRESSING LITEPAR T12 channel, adjust the start address 33 on the LITEPAR T12. An example with the start address 33 is shown below: Number of Start address...
- Page 7 - 2 - INSTALLATION • Press the MENU button to go back or to meet the waiting time to exit the setup menu. 2.1 MOUNTING 3.6 SOUND MODE LITEPAR T12 may be set up on a solid and even surface. The unit can also be mounted upside down to In music mode, via its integrated microphone, the unit can be controlled by music with a clear rhythm in the bass range.
- Page 8 - 3 - FUNCTIONS AND SETTINGS 3.3 MENU STRUCTURE MENU 3.1 OPERATION 3 CH d1 - d512 Connect the supplied main cable to a socket (100-240 VAC-50/60 Hz). Then the unit is ready for operation DMX Personality and Selects DMX personality and DMX starting and can be operated via a DMX controller or it independently performs its show program in succession.
Need help?
Do you have a question about the Nitec GIG-PAK T12 and is the answer not in the manual?
Questions and answers