Advertisement
Quick Links
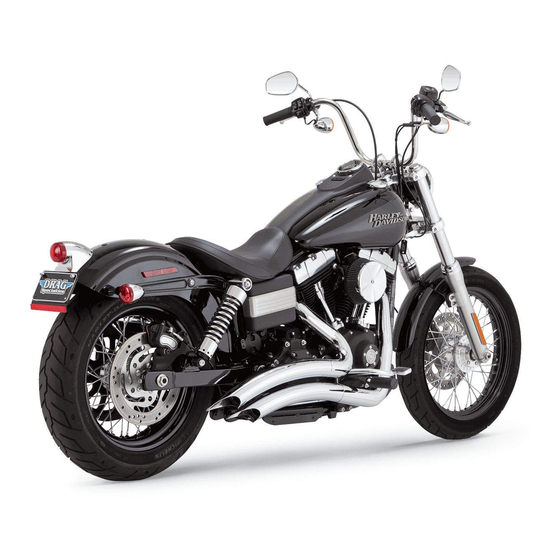
HARLEY-DAVIDSON
DYNA
®
BIG RADIUS 2-2
INSTALLATION INSTRUCTIONS
PART# 26071
1.
Remove seat to gain access to rear oxygen sensor connector. Unplug
sensor and feed end of wire through frame so that it is free from
motorcycle. NOTE: Pay attention to wire routing for re-installation.
2.
For 2006 to 2011 models remove two bolts holding rectifier onto front of
frame (near front tire). Open plastic cover to gain access to front oxygen
sensor connector. Unplug sensor from ahrness and feed end of wire
through to free it from motocycle. For 2012 to later models the connector
is located under the rectifier at the front of the motorcycle.
3.
Loosen heat shield clamps on both the front and rear head pipes.
4.
Remove front head pipe clamp bolt.
5.
Remove the bolt that attaches rear head pipe clamp to mounting bar.
6.
Remove two cylinder exhaust port flange nuts from each head pipe,
located at the cylinder head.
FIGURE 1
TRANSMISSION COVER
INSTALL ALLEN BOLT REMOVED
FROM LOWER HOLE
INSTALL SPACER BETWEEN
BRACKET AND MOTOR
USE 5/16-18 x 2.0" HEX BOLT
AND WASHER (SUPPLIED)
BRACKET 391-P
REMOVE ALLEN BOLT
USE 5/16"-18 X 1-1/2" HEX
PRIOR TO INSTALLING
MOUNTING BRACKET
BOLTS AND WASHERS (SUPPLIED)
Page 1 of 4
READ ALL INSTRUCTIONS BEFORE BEGINNING INSTALLATION
FIGURE 2
Installing
Flange
Congratulations, you have purchased the finest exhaust system for
your motorcycle on the market. Your Vance & Hines exhaust system is
designed and crafted for maximum performance, a perfect fit, a great
sound and unbeatable style. Please follow the installation instructions
below and if you have any questions, please call our technical support
line at (562) 926-5291.
Attention installer (if other than owner), please forward this instruction
sheet to the owner of this product. These instructions contain valuable
information to the end user.
7.
Remove the complete exhaust system and set aside. Assistance may be
required.
8.
Remove stock mounting bar and the studs in the transmission cover.
9.
Remove left bolt below the transmission cover. Position mounting bracket
391-P over mounting location to determine which bolts to remove (Figure
1). Install this bolt in the top hole left vacant by the new bracket.
10.
Carefully remove the flanges and circlips from the stock exhaust system us-
ing snapring pliers. NOTE: Replace bent or damaged circlips.
11.
Remove stock exhaust gaskets and replace them with the supplied
exhaust gaskets. NOTE: Replacement gaskets HD Screaming Eagle
#17048-98 or equivalent
12.
Remove stock oxygen sensors and set them aside for they will be re-used
on new system.
circlip
Flat blade screwdriver
Snapring pliers
and #3 Phillips Head
5/16" Nutdriver
3/8" Ratchet &
1/2", 3/4", 7/8", 14mm,
extensions
22mm Combination
1/2" Socket
wrenches
7/16 & 9/16 Deep
Sockets
3/16" & 1/4"
Allen wrenches
D942IN Rev. 1.0
Advertisement

Summary of Contents for Vance and hines 26071
- Page 1 ® BIG RADIUS 2-2 INSTALLATION INSTRUCTIONS PART# 26071 Congratulations, you have purchased the finest exhaust system for your motorcycle on the market. Your Vance & Hines exhaust system is designed and crafted for maximum performance, a perfect fit, a great sound and unbeatable style.
- Page 2 FIGURE 3 FIGURE 4 FIGURE 5 FIGURE 6 Arrows indicate clamp Installing screw head direction hose clamp Mark outside edge Installing nutplate Align gap between mufflers Attach mounting bracket 390-P to transmission and tighten to 12-15 Ft/Lb Slide nutplates inside brackets that are welded to backside of each muffler torque.
- Page 3 HARLEY-DAVIDSON DYNA ® BIG RADIUS 2-2 INSTALLATION INSTRUCTIONS PART# 26071 PACKING LIST #28 Hose clamps x 4 #20 Hose clamps x 5 Exhaust Gaskets x 2 Nutplates x 2 5/16” x 5/8” Flange head bolts x 4 11/16” x 9/16”...
- Page 4 FUEL MANAGEMENT GET THE MOST OUT OF YOUR RIDING EXPERIENCE... AN AFTERMARKET EXHAUST SYSTEM IS ONLY YOUR FIRST STEP, NOW YOU NEED FUEL MANAGEMENT. NOW YOU NEED FUELPAK. Your fuel injected Harley-Davidson® is equipped with an ECU (electronic control unit) that’s programmed to deliver fuel to the motor based on an air/fuel ratio for a stock air filter and stock exhaust system.
Need help?
Do you have a question about the 26071 and is the answer not in the manual?
Questions and answers