Table of Contents
Advertisement
Quick Links
Advertisement
Table of Contents

Summary of Contents for Kinor 16 CX-2M
- Page 1 16 mm motion picture camera "Kinor" 16 CX – 2M Instructions manual...
-
Page 2: Table Of Contents
CONTENT 1. DESIGNATION 2. TECHNICAL SPECIFICATIONS 3. HOW IS WORKING THE CAMERA - Kinematic diagram - Optical diagram - Electrical diagram of the connections 4. HOW ARE WORKING THE DIFFERENT PARTS OF THE CAMERA - Housing of the camera with the mechanism - Body with lens mount - Magazines - Lenses are moving in the transitional mountings... -
Page 3: Designation
1. DESIGNATION Kinor 16 CX-2M 16 mm motion picture single lens reflex camera for professional use. 2. TECHNICAL SPECIFICATIONS - Advance : by registrated pin and lateral pressure plate. - Shutter angle : 170° - Loads : 30 m & 120 m magazines. -
Page 5: How Is Working The Camera
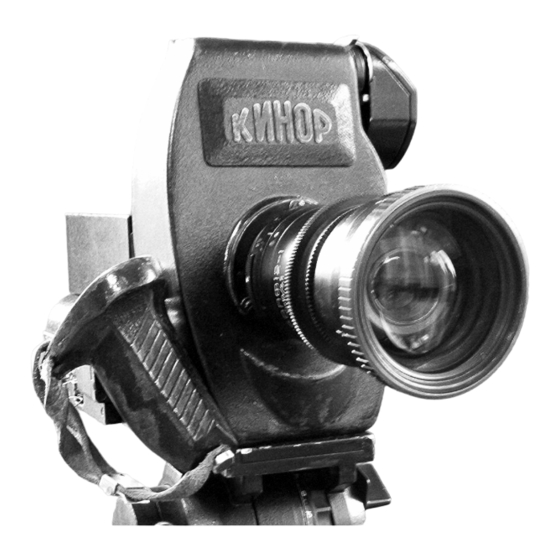
3. HOW IS WORKING THE CAMERA The common form of the camera is represented in Fig. 1 and 2. The camera consists of two basic groups: a) The camera, which consists of the following parts: - the mechanism of camera, - body with the lens mount and the magnifier;... -
Page 6: Optical Diagram
From the electric drive of 1 clutch 2 is transferred to shaft 1, kinematically connected with the mechanism of the grab 3 and registrated pin 4 by means of the eccentric necks. The transportation of motion picture film by the tooth of 5 grabs and its fixation by the tooth of 6 dissents of the grab YEO the time of exposure. - Page 7 Movie objective (20) constructs the image of object in to personnel the window of film gate. Through the light beam by obturator (9) image of the over- bear by its mirror surface to the flat lusterless the surface (21). With the aid of the double-lens objective 22, two roof-shaped prisms 23 and 24, three-lens objective (25) mirror (26) image with the lusterless the association is transferred into front focal plos - the bone of eyepiece (27).
-
Page 8: Electrical Diagram Of The Connections
Electrical diagram of the connections Diagram electrical of the connections of the camera is represented here. With the work with the movie camera is used the electric drive of direct current with the stabilized speed OF 29EPSS. The electrical circuit of the camera includes the lamp of the starting gating The lamp of starting gating Ly serves for the light mark on the motion picture film of the beginning of synchronous advance of the camera, lamp illuminates motion picture film from the moment of the work of the camera to the moment of its entrance into the... -
Page 9: How Are Working The Different Parts Of The Camera
4. HOW ARE WORKING THE DIFFERENT PARTS OF THE CAMERA Housing of the camera with the mechanism In the housing of the camera (Fig. b) they are placed: mechanism, obturator with the shutter, vertical shaft, the drive shaft of the magazine. On the housing are installed the mechanism of the turning of obturator, the association, the objective of magnifier, prism E to mounting, the button (29) fixations of the shutter of obturator. -
Page 10: Magazines
25 frame/s. A fuse with a 5A resistance is installed in the motor 5. INDICATION OF SAFEGUARDS Movie camera 16 CX-2M is calculated to be used by professional cameramen. With the preparation of the camera for the work, with the preventive inspection, and also during its... -
Page 11: Preparation Of The Camera For Filming
6. PREPARATION OF THE CAMERA FOR FILMING Before filming with the camera you will examine all parts of the set to be sure there is no dangerous dust, moisture or missing screws. Loading a magazine (see fig. 9) WARNING ! : Both 30 and 120 m magazines must be loaded IN TOTAL DARKNESS. - Open the magazine by simultaneously press the 2 button up and down the pressure plate. - Page 12 - Open the closure rollers (45) by pressing and turning clockwise on its head. - Install the film roll with emulsion inner side. - Put the film through the main sprocket (17) by the upper way. - When the film is out, then put it through the down side of the sprocket, by turning the sprocket clockwise.
-
Page 13: Connect A Magazine To The Body
- Install this core when turning from right to left. The film must be rather tended. - Close the closure rollers. - Check the correct movement by turning the main sprocket and feel with a finger if the film is winding smoothly. - If yes, close the door of the magazine and check the closing is OK, trying to re-open the door with your nail. -
Page 14: Installation Of The Motor
button (40) and push gently until connecting the magazine. Now, if properly engaged, the magazine may not move anymore. Then close the magazine latch (58) to be sure the magazine will not move. If the closing latch is hard to close, don't force on it. It means the magazine drive shaft is not properly connected to the camera. -
Page 15: Installation Of The Lens
Installation of the lens Before the installation of the lens, check if the filter holder is in its correct position. It may not touch the rear of the lens. Turn the eccentric closure of the mount ( 59) (see Fig. 1) clockwise reverse. -
Page 16: Running The Camera
7. RUNNING THE CAMERA Launching and stop the camera First connect the battery to the camera on socket. Launching and the stop of the camera achieve by the starting button (61), located on the handgrip. You can push this starting button and keep you thumb, and when you remove it, it stops the camera. -
Page 17: Frequency Of Cleaning
In case of heavy dust (or microscopic glued parts) glued, the gate and magazine pressure can be cleaned with a soft plastic or a soft chamois or a fine cotton clothe. The optical parts must not be touched with fingers and only cleaned with proper and soft material &...
Need help?
Do you have a question about the 16 CX-2M and is the answer not in the manual?
Questions and answers