Table of Contents
Advertisement
Advertisement
Table of Contents

Subscribe to Our Youtube Channel
Related Manuals for Whirlpool AMW 497 IX


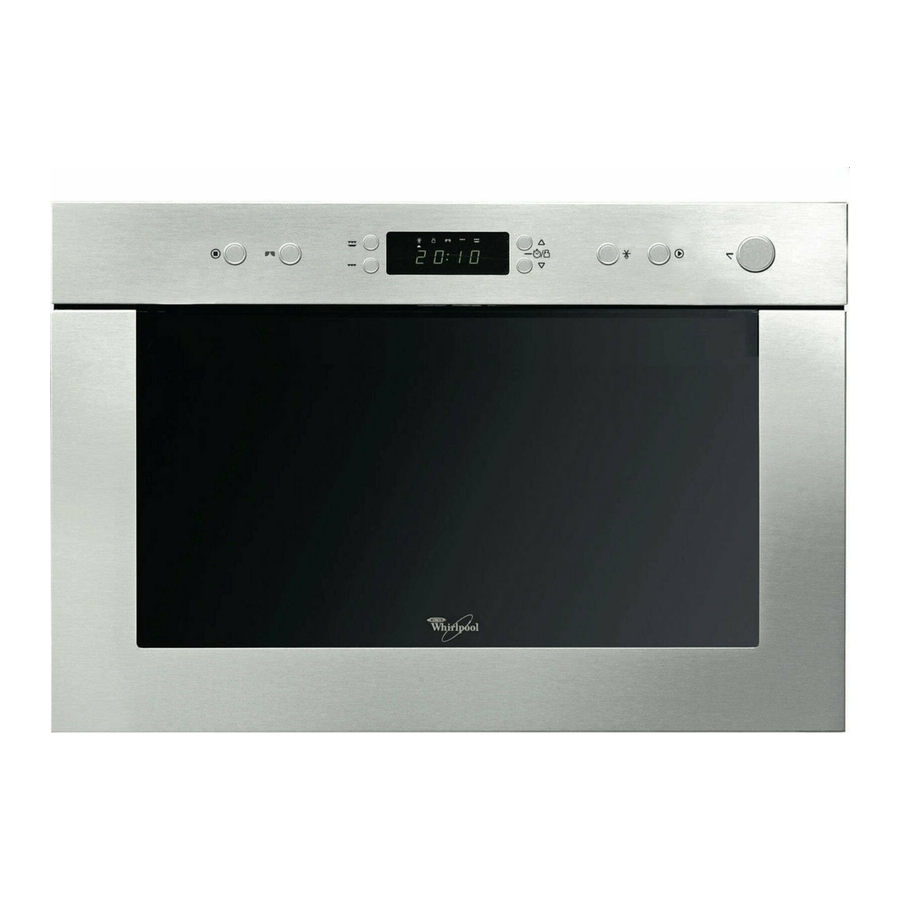
Summary of Contents for Whirlpool AMW 497 IX
-
Page 1: Instruction Manual
Instruction Manual AMW 497 IX... - Page 2 IMPORTANT SAFETY INSTRUCTIONS READ CAREFULLY AND KEEP FOR FUTURE REFERENCE shall also be available on website: HIS INSTRUCTION www.whirlpool.eu YOUR SAFETY AND THAT OF OTHERS IS VERY IMPORTANT details of the potential risk present and indicate how to This manual and the appliance...
- Page 3 enough for connecting the - The appliance and its accessible parts become hot housing, to the main power during use. Care should be supply. taken to avoid touching heating elements. - For installation to comply with current safety regulations, an - Very young (0-3 years) and all-pole disconnect switch young children (3-8 years)
- Page 4 - At the end of cooking, exercise - Overheating the liquid caution when opening the beyond boiling point can appliance door, letting the hot occur without evidence of air or steam exit gradually bubbling. This could result in a before accessing the sudden boil over of the hot appliance.
- Page 5 - If material inside/outside the The door seals and the door appliance should ignite or seal areas must be regularly smoke is observed, keep inspected for damage. If these appliance door closed and areas are damaged the appliance should not be Disconnect the power cord or operated until it has been repaired by a trained service...
- Page 6 h. THIS OVEN IS DESIGNED to - THIS APPLIANCE must be operate with the turntable operated with any cabinet in place. door open. i. DO NOT operate the - MAINTENANCE & CLEANING microwave oven when the a. CLEANING IS THE ONLY turntable has been removed MAINTENANCE normally for cleaning.
- Page 7 DECLARATION OF CONFORMITY , which is intended to come into “Low Voltage” directive 2006/95/CE (which HIS OVEN replaces 73/23/CEE and subsequent amendments), the protection requirements of European Regulation ( ) n. 1935/2004 and “EMC” 2004/108/CE. has been designed, manufactured and sold in conformity with the safety requirements of the SAFEGUARDING THE ENVIRONMENT ISPOSAL OF PACKAGING MATERIALS...
-
Page 8: Installation
INSTALLATION , make sure that it has , only remove the appliance FTER UNPACKING THE APPLI ANCE O PREVENT ANY DAMAGE not been damaged during transport and that the from its polystyrene foam base at the time of appliance door closes properly. installation. - Page 9 Minimum 3” (7.6 cm) clearance needs to GROUNDING INSTRUCTIONS exist above the microwave. For all cord connected appliances: NOTE: The grounded 3 prong outlet must The microwave oven must be grounded. In be inside the uppercabinet. See “Electrical the event of an electrical short circuit, Requirements”...
- Page 10 320 -350 A x 4...
- Page 11 40mm 40mm ...
- Page 12 ...
-
Page 13: Start Protection / Key Lock
ACCESSORIES GENERAL GLASS TURNTABLE with all cooking meth- SE THE LASS TURNTABLE a number of accessories available on HERE ARE ods. It collects the dripping juic- the market. Before you buy, ensure they are es and food particles that other- suitable for microwave use. -
Page 14: Pause Or Stop Cooking
PAUSE OR STOP COOKING ’ O PAUSE COOKING F YOU DON T WANT TO CONTINUE COOKING , close the door and HE COOKING CAN BE PAUSED EMOVE THE FOOD check, turn or stir the food press the STOP button by opening the door. The setting will be maintained for 10 minutes. -
Page 15: Kitchen Timer
KITCHEN TIMER when you need SE THIS FUNCTION a kitchen timer to measure exact time for various purposes such as cooking eggs, pasta or letting the dough rise before baking etc. to set the time to measure. RESS THE BUTTONS repeatedly to set the power to 0 W. - Page 16 COOK & REHEAT WITH MICROWAVES for normal cook- SE THIS FUNCTION ing and reheating, such as vege- tables, sh, potatoes and meat. to set the time. RESS THE BUTTONS repeatedly to set the power. RESS THE POWER BUTTON ...
-
Page 17: Jet Start
JET START for quick re- HIS FUNCTION IS USED heating of food with a high water content such as clear soups, cof- fee or tea. RESS THE TART BUTTON with maximum microwave power HIS FUNCTION AUTOMATICALLY STARTS level and the cooking time set to 30 seconds. Each additional press increases the time with 30 seconds. -
Page 18: Jet Defrost
JET DEFROST only if the net SE THIS FUNCTION weight is between 100 g- 2 Kg. on the glass LWAYS PLACE THE FOOD turntable. RESS THE EFROST BUTTON + / - to set the weight of the food. RESS THE BUTTONS ... - Page 19 GRILL brown the SE THIS FUNCTION TO surface of foods. RESS THE RILL BUTTON to set the time. RESS THE BUTTONS RESS THE TART BUTTON for long periods when the Grill is in O NOT LEAVE THE OVEN DOOR OPEN operation, as this will cause a drop in temperature.
-
Page 20: Grill Combi
GRILL COMBI cook such SE THIS FUNCTION TO food as Gratin’s, Lasagne, Poultry and Baked potatoes. RESS THE RILL BUTTON to set the microwave power. RESS THE OWER BUTTON to set the time. RESS THE BUTTONS RESS THE TART BUTTON you can switch the Grill element on/o by pressing... - Page 21 CRISP reheat and SE THIS FUNCTION TO cook pizzas and other dough based food. It is also good for frying bacon and eggs, sausages, hamburg- RESS THE RISP BUTTON ers etc. to set the time. RESS THE BUTTONS ...
-
Page 22: Maintenance And Cleaning
MAINTENANCE & CLEANING normally re- does not need cleaning since LEANING IS THE ONLY MAINTENANCE RILL ELEMENT quired. the intense heat will burn o any splashes, but the cavity ceiling below it may need regular in a clean condition AILURE TO MAINTAIN THE OVEN cleaning. -
Page 23: Troubleshooting Guide
TROUBLE SHOOTING GUIDE , do not make a service it should F THE OVEN DOES NOT WORK F THE MAINS CORD NEEDS REPLACING call until you have made the following checks: be replaced by the original The Turntable and turntable support is in mains cord, which is avail- place. -
Page 24: Data For Test Heating Performance
10 A (UK 13 A) 750 W OUTPUT POWER UTER DIMENSIONS NNER DIMENSIONS 5 0 1 9 - 3 2 1 - 0 1 2 4 6 Rev /B © Whirlpool Sweden AB 2013. All rights reserved. Made in Sweden.
Need help?
Do you have a question about the AMW 497 IX and is the answer not in the manual?
Questions and answers