Table of Contents
Advertisement
Quick Links
Advertisement
Table of Contents

Summary of Contents for Verve 501625
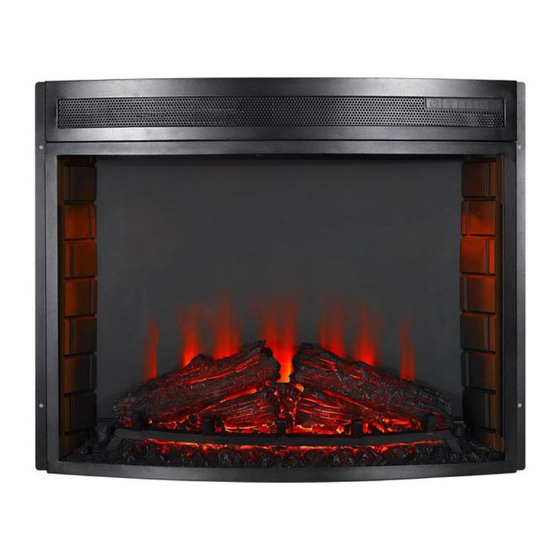
- Page 1 Operating Instructions Model #: 501625 Curved Front Electric Fireplaces Important: Read all instructions and warnings carefully. Failure to follow these instructions may result in a possible electric shock, fire hazard and will void the warranty.
- Page 2 GENERAL PRECAUTIONS When using electrical appliances, basic precautions should always be followed to reduce the risk of fire, electrical shock, and injury to persons, including the following: 1. Read all instructions before using this heater. 2. Extreme caution is necessary when any heater is used by or near children or invalids and whenever the heater is left operating and unattended.
- Page 3 GENERAL INSTRUCTIONS 1. Under no circumstances should this appliance be modified parts having to be removed for servicing must be replaced with original ‘OEM’ (original equipment manufacturers) parts only. 2. This firebox is to be cleaned with a damp cloth (water) only. WARNING: Always unplug the power cord before cleaning the unit.
- Page 4 DO NOT STORE OR USE GASOLINE OR OTHER FLAMMABLE VAPORS OR LIQUIDS IN THE VICINITY OF THIS OR ANY OTHER APPLIANCE. Specifications Model #: 501625 Curved Front Electric Fireplaces Fireplace Insert dimensions 66cm x 33.2cm x 47cm (W x D x H) Net Weight 16.8kg...
- Page 5 Operating Instructions 1. After reading these instructions confirm that all controls on the heater are in the OFF position. Plug the heater into 12 amp, 120-volt outlet. 2. All controls and switches are on the front panel of the heater located inside the right hand door.
- Page 6 Timer Set the OFF time, time range: No setting----- (cycle) →10→20→30→40→50→1H→2H→3H→4H→5H→6H→7H→8H→9H Embers/Dynamic Effect Control button for dynamic effect in automatic mode, enter/ exit Effect function. Manual controls Power When power is ON, the power and flame indicator lights are on, and brightness level is at “5”.
- Page 7 Glass Information 1. Under no circumstances should this product be operated with a broken or chipped glass panels. 2. Do not strike or slam the glass. 3. Do not use abrasive cleansers to clean the glass. 4. This product uses tempered glass. Replacement of the glass supplied by the manufacturer should be done by a qualified professional.
Need help?
Do you have a question about the 501625 and is the answer not in the manual?
Questions and answers