Table of Contents
Advertisement
Advertisement
Table of Contents

Summary of Contents for Maplin A79TY
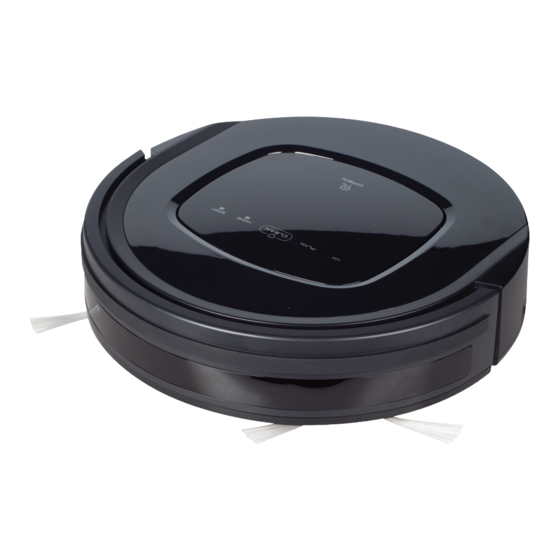
- Page 1 Robotic Vacuum Cleaner Model: A79TY User Manual...
-
Page 2: Table Of Contents
Table of Contents Safety Instructions……………………………………………..1 Product Features………………………………...….…...2 Product Components………………………………………..4 ………………………………………...4 Main Body and Accessories ……………………………..………..5 Main Body Diagram/Dust bin ……………..…………..…..6 Charging Station/Remote Control …………………………………………...……………..……...7 Display Panel Product Operation…………………………………………..8 …………………………………………………………...9 Battery Charging …………..9 Starting up/Standby/Sleeping/Power off… ………………………………………………………....10 Scheduling ……………………………………......11 Cleaning Modes Product Maintenance……………………………………..12 ……………………………………...…………12 Cleaning Side Brushes... -
Page 3: Safety Instructions
Safety Instructions Before using this product, please read the safety instructions and follow all those regular safety precautions. Only authorised technicians can disassemble the product. Users are not allowed to disassemble or repair the product. 2. Only use the original battery and power adapter of the product for charging. Using an unmatched adapter may cause electric shock, fire or product damage. -
Page 4: Product Features
Product Features Powerful Suction & Intelligent Suction Adjustment Powerful Suction Suction power of this product is strong enough to ensure that even tiny dust on the floor will be cleaned thoroughly! Intelligent Suction Adjustment This product is able to automatically adjust its suction power when different floor environments are detected. - Page 5 3. Edge cleaning mode In this mode the robot will clean along the wall or obstacles. 4. Scheduling mode The robot will leave charging station and start working at scheduled time. 3 ...
-
Page 6: Product Components
Product Components Main body and accessories Description Quantity Main Body Charging Station Adapter Remote Control (battery not included) HEPA Filter Cleaning Brush Side Brushes *2 and Spare Brushes *2 User Manual 4 ... - Page 7 5 ...
- Page 8 Note: A. Install two AAA type batteries into the remote before use. B. Remove the batteries if the remote will be left unused for a long period. C. If you use the remote near charging home base, the robot may not recognise command and may not work.
-
Page 9: Display Panel
Display Panel LED Panelv 1. “ ”: LED panel LED panel shows the time setting, charging status, and error codes by using numbers, letters or graph. Buttons 2. “ ” : UV light button In standby mode, press this button to preset the UV light status (on/off). When robot starts cleaning, the UV light will turn on/off as preset. -
Page 10: Product Operation
Product Operation 1. Battery charging A. Positioning the charging station: Place the charging station against the wall and remove all obstacles 1 meter on either side and about 2 meters in front of the charging station, as shown in the image. B. -
Page 11: Starting Up/Standby/Sleeping/Power Off
2. Starting up/ Standby/ Sleeping/ Power off A. Starting up a. Press the “ON/OFF” switch on the side of the robot to “ON”. b. Press” ” on main body or ON/OFF on remote control to start cleaning. Note: If robot is in sleeping mode, press on main body or ON/OFF on remote control to wake up the robot from sleeping mode, then press again, the robot... -
Page 12: Cleaning Modes
B. Setting the scheduling time a. In standby or charging status, press twice to start scheduling, LED panel will show previous scheduled time or “00:00” if there is no schedule settled before. b. Press to enter hour-setting mode, the left two numbers on LED panel will flash. -
Page 13: Cleaning Side Brushes
3. Edge Cleaning Mode In cleaning mode, press MODE button to select edge cleaning. The robot will clean along the walls and obstacles. 4. Zig-Zag Cleaning Mode Robot will go in to Zig-Zag cleaning mode when it detected an open area or environment with less obstacles. -
Page 14: Cleaning Sensors And Wheels
Notes: a. Wash HEPA filter after 15~30 days of use. Max life span for HEPA and filter is 24 months. b. Reinstall the HEPA and primary filter after they are fully dry. c. HEPA and primary filter could be replaced if needed. d. -
Page 15: Troubleshooting
Troubleshooting Error Code for Sensors Error Code Solution Cause AUBF Clean suction passage Suction passage blocked Dust bin not placed in position or robot AUBN Put back dust bin and place it in position without dust bin E1XX Left collision switch fault E2XX Right collision switch fault Check sensitivity of the front bumper... - Page 16 Front, left and right anti-drop sensors EXX7 detect cliff Front bumper right infrared sensors detect EXX8 Clean front bumper sensor lens obstacle Error Code for Sensors Error Code Cause Solution Left anti-drop sensor detects cliff, front bumper EXX9 right infrared sensor detects obstacle Front anti-drop sensor detects cliff, front bumper EXXA right infrared sensor detects obstacle...
- Page 17 Troubleshooting for Motors Error code Cause Solution Check if fan is pressed, and clean L01X Fan overloaded dust bin L0X1 Left wheel overloaded L0X2 Right wheel overloaded L0X3 Left and right wheels overloaded L0X4 Left side brush overloaded L0X5 Left wheel and left side brush overloaded L0X6 Right wheel and left side brush overloaded L0X7...
-
Page 18: Battery Removal
b. If it still does not work after reset, contact the manufacturer. 7. UV light might hurt your eyes, so please do not stare directly at the light when turned on. Battery Removal Remove the screws on battery cover with a screw driver. 2.
Need help?
Do you have a question about the A79TY and is the answer not in the manual?
Questions and answers