
Summary of Contents for Grace m900
- Page 1 Headphone Amp / DAC / Preamp Owner’s Manual Revision A 05/06/2017 Grace Design / Lunatec LLC 4689 Ute Highway, Longmont, CO 80503 info@gracedesign.com www.gracedesign.com 1.303.823.8100...
-
Page 2: Table Of Contents
USB data. Once the included low noise 2A USB designed to connect to a power amp, powered speakers, power supply is plugged into this input, the m900 will preamps, or headphone amps. When headphones are enter High Power mode (indicated by “HP” on the 7-seg- connected to the right hand front panel jack, the line ment display). -
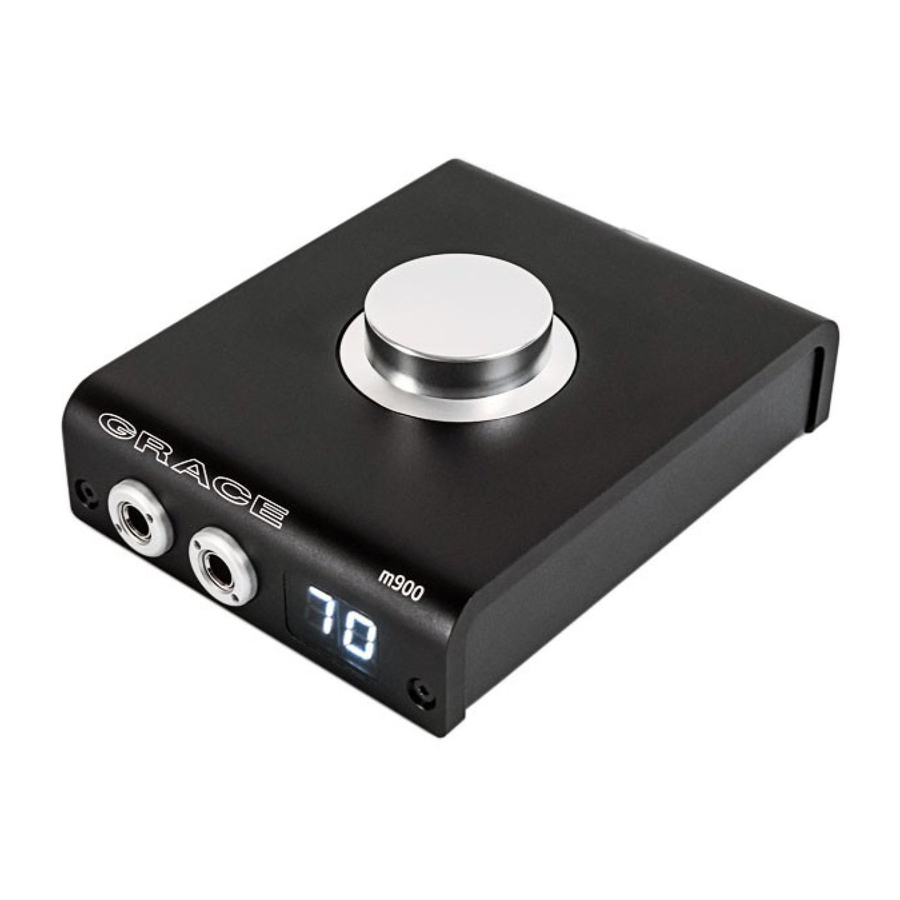
Page 3: Front Panel
Setting Up Your m900 do not have access to AC wall outlet. The m900 is designed to sit on your desktop or atop If you connect the included 2A USB power supply your audio center. Its small, low profile stature easily fits on any desk or media center furniture. - Page 4 S/PDIF input source connected. (This would be an unusual setup where you don’t have access to a While this does not hurt the m900, it is good practice high power DC power supply.) nonetheless to mute the audio (push down once on the...
- Page 5 USB 2 simulates the signal crossfeed that occurs in a natural (or 3) port. The m900 ships with 2 standard USB type A to acoustic space. The crossfeed function can be switched USB type B micro cables, one 6’...
- Page 6 Begin with your m900 disconnected from your com- page- http://www.gracedesign.com/support/support. puter. Double click on the driver file to run and follow htm. Under m900, locate and save the driver file titled the instructions in the installation dialog: 1. Open install dialog.
- Page 7 4. Installation Complete. 5. Connect your m900. 6. You’re ready to go! PAGE 6...
- Page 8 Once you have successfully installed your driver, you setup menu (see ‘using the setup’ menu below). These will have the option to operate your m900 in USB 1 modes will show up in the OS playback settings differ- mode or USB 2 mode, which are selected in the m900...
-
Page 9: Using The Setup Menu
Navigating the Setup Menu = Decimal points OFF indicate that current level does not match the power up level. The m900 provides several setup and calibration options, which are adjusted in a simple setup menu. DAC FILTER Changes the response of the digital filter. - Page 10 = 44.1 kHz = 48 kHz = 88.2 kHz = 96 kHz Because the m900’s display is only 2 characters, the higher sample rates are abbreviated as: = (176kHz) = (192kHz) = (354kHz)
-
Page 11: Specifications
5 Specifications THD+N 1kHz, 22Hz-22kHz BW @1.0V out, no load <0.002% @1.0V out, 32 Ohm load <0.010% Intermodulation Distortion SMTPE/DIN 4:1 50Hz, 7kHz @1.0V out, no load <0.008% @1.0V out, 32 Ohm load <0.009% Frequency Response +/-3dB Fs=96kHz 0.5-45.9kHz Dynamic Range 20-22kHz bandwidth 112dB 20-22kHz bandwidth and A weighting filter... -
Page 12: Cleaning And Maintenance
6 Cleaning and Maintenance Your m900 chassis is constructed out of high quality recommend using a little shot of Windex™, applied to anodized aluminum and steel. Under normal circum- a clean, dry, lint free cloth. Gently wipe all surfaces, stances, very little maintenance is required to keep it taking care not to allow the cleaning product to build up looking good.
Need help?
Do you have a question about the m900 and is the answer not in the manual?
Questions and answers