Advertisement
Table of Contents
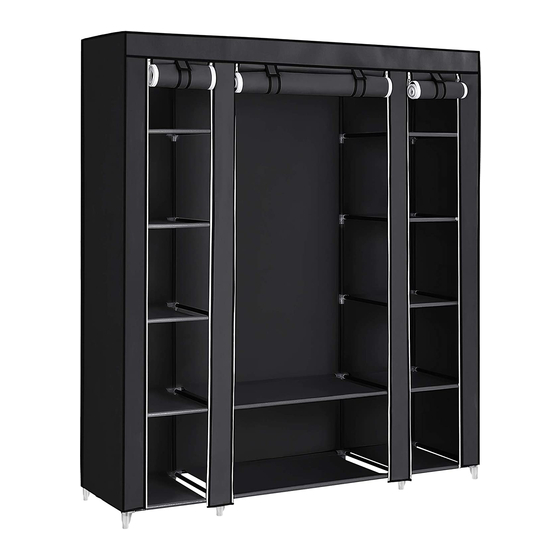
ULSF03
www.songmics.com
Please follow the procedures on the instructions carefully when assembling;
Please use caution when handling pipe edges;
Ÿ
Please make sure to insert the pipes into the bottom holes of the plastic parts, avoiding
Ÿ
the cover and fabric shelves from being torn due to the incorrect size of the rack;
Please ensure the stability of the rack before use by leaving it on a at surface, such as a
Ÿ
oor;
We recommend storing items starting at the bottom shelves and working upward; Placing
Ÿ
heavy items on the bottom and lighter ones on top;
Please keep away from heat and chemical sources;
Ÿ
Please place the rack away from direct sunlight and in a dry place.
Ÿ
Please contact us if you have difculty with assembly or need replacement parts.
Please attach your User Name or Order ID so that we can assist you better.
Thank you for your purchase.
Wuppessen Customer Service is here to assist you.
Email: customerservice@songmics.com
Website: www.songmics.com
Instruction Manual
Advertisement
Table of Contents

Subscribe to Our Youtube Channel
Related Manuals for Songmics ULSF03


Summary of Contents for Songmics ULSF03
- Page 1 ULSF03 www.songmics.com Instruction Manual Please follow the procedures on the instructions carefully when assembling; Please use caution when handling pipe edges; Ÿ Please make sure to insert the pipes into the bottom holes of the plastic parts, avoiding Ÿ the cover and fabric shelves from being torn due to the incorrect size of the rack;...
- Page 3 Parts List Part number Specication Quantity Image 750 mm 400 mm 335 mm 790 mm...
- Page 4 Assembly Steps bottom bottom Step 2 Step 1 bottom The water proof side face up Step 3 bottom step 4...
- Page 5 Assembly Steps Install other levels separately top level 3rd/4th/5th level 2nd level bottom...
- Page 6 Assembly Steps step 5 step 6...
- Page 7 Assembly Steps step 7...
- Page 8 Assembly Steps Please unzip the cover before assembly. Tie the ropes on the bottom step 8...
Need help?
Do you have a question about the ULSF03 and is the answer not in the manual?
Questions and answers
How many pieces are for the bottom
The parts list includes "H40 bottom × 1" and "H33 bottom × 1," indicating that there are 2 pieces for the bottom of the Songmics ULSF03.
This answer is automatically generated
How can I order part # D16 ?