Table of Contents
Advertisement
Advertisement
Table of Contents

Summary of Contents for Alba CMP312
- Page 1 MP3 player with 4GB of memory Instruction manual CMP312...
-
Page 2: Table Of Contents
Table of contents Rechargeable battery disposal . . . . . . . . . . . . . . . . . . . . . . . . . . . .3 Accessories included . -
Page 3: Safety Information
Safety information Important – Please read these instructions fully before using . CAUTION: TO REDUCE THE RISK OF ELECTRIC SHOCK, DO NOT REMOVE ANY COVER . NO USER-SERVICEABLE PARTS INSIDE, REFER ANY SERVICING TO QUALIFIED SERVICE PERSONNEL . • Please read this owner’ s guide •... -
Page 4: Rechargeable Battery Disposal
Safety information Before making any electrical connections, ensure the following: • Do not bend, stretch or pull the supply cable in order to avoid electric shock . • The supply voltage should be the same as that indicated in the technical specifications and the appliance rating plate . -
Page 5: Accessories Included
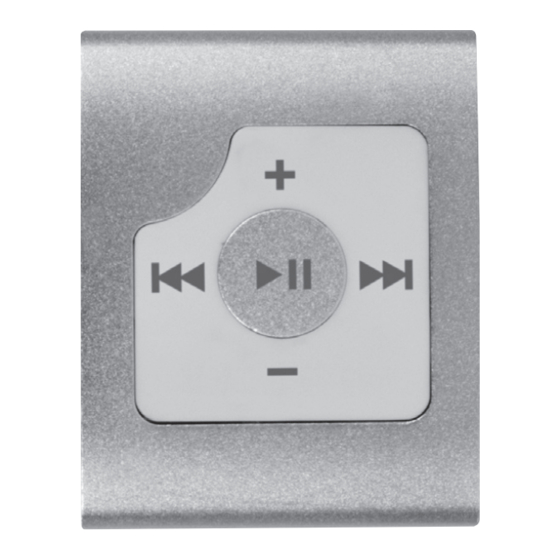
Functions & controls Please familiarize yourself with the parts and accessories listed below . Accessories included • 1 x CMP312 • 1 x Instruction manual • 1 x USB charging cable • 1 x earphones Overview of controls 1: Power/Playback indicator LED 2: Earphone output (3 . -
Page 6: Getting Started
User instructions Getting started Before use the MP3 player will require charging fully . Follow the below instructions to charge the MP3 player . 1: Using the usb charging cable connect the mini usb plug into the usb charge socket (4) on the side of the unit . 2: Connect the other end of the cable to a laptop/pc usb input or compatible usb mains charger . -
Page 7: Switching The Unit On/Off
User instructions Switching the unit ON/OFF To conserve battery life you can switch the unit off when not connected to a power source . 1: Set the ON/OFF switch (3) to the ON position to power the unit ON . The blue led (1) will illuminate . -
Page 8: Earphone Connection
User instructions Earphone connection Instructions for earphone usage . 1: Connect the 3 . 5 mm earphone plug into the EARPHONE socket (2) on the unit . 2: When the volume is adjusted above 85dB an audible warning sound will be heard to warn you of excessive sound pressure . This will not be heard again until you lower the volume below 85dB and raise once more . -
Page 9: Standby Mode
User instructions Standby mode 1: To enter standby mode press and hold the PLAY/PAUSE button (6) . The blue power led (1) will go off . 2: To wake the unit press and hold the PLAY/PAUSE button (6) once more . The blue power led (1) will illuminate . Operation Follow the below instructions to begin operating the MP3 player. -
Page 10: Skip Tracks
User instructions Skip tracks 1: To skip to the next track press the SKIP button (10) . Press repeatedly to skip several tracks at once . 2: To skip to the previous track press the PREVIOUS button (10) . Press repeatedly to skip several tracks at once . Error warning 1: If both the RED &... -
Page 11: Volume Controls
User instructions Volume controls 1: To increase the volume level press the VOLUME + button (7) . 2: To decrease the volume level press the VOLUME- button (9) . Attaching the unit to clothing The MP3 player has a clip on the rear side allowing you to attach to clothing . -
Page 12: Troubleshooting
User instructions Troubleshooting In the unlikely event of difficulties with your appliance please follow the trouble shooting guide below . If the problem persists, visit the technical support website: www . a rgos-support . c o . u k Problem Reason(s) Solution(s) •... -
Page 13: Care & Maintenance
User instructions Care & maintenance All care and cleaning operations should be carried out with the unit unplugged from the mains power . Occasionally wipe the cabinet with a lint free duster . Never clean the unit with liquids or solvents . Technical specifications Capacity: . -
Page 14: Product Guarantee
Guarantee PRODUCT GUARANTEE This product is guaranteed against manufacturing defects for a period of Year This product is guaranteed for twelve months from the date of original purchase. Any defect that arises due to faulty materials or workmanship will either be replaced, refunded or repaired free of charge where possible during this period by the dealer from whom you purchased the unit.


Need help?
Do you have a question about the CMP312 and is the answer not in the manual?
Questions and answers