
Subscribe to Our Youtube Channel
Summary of Contents for UOVisions UM595-2G
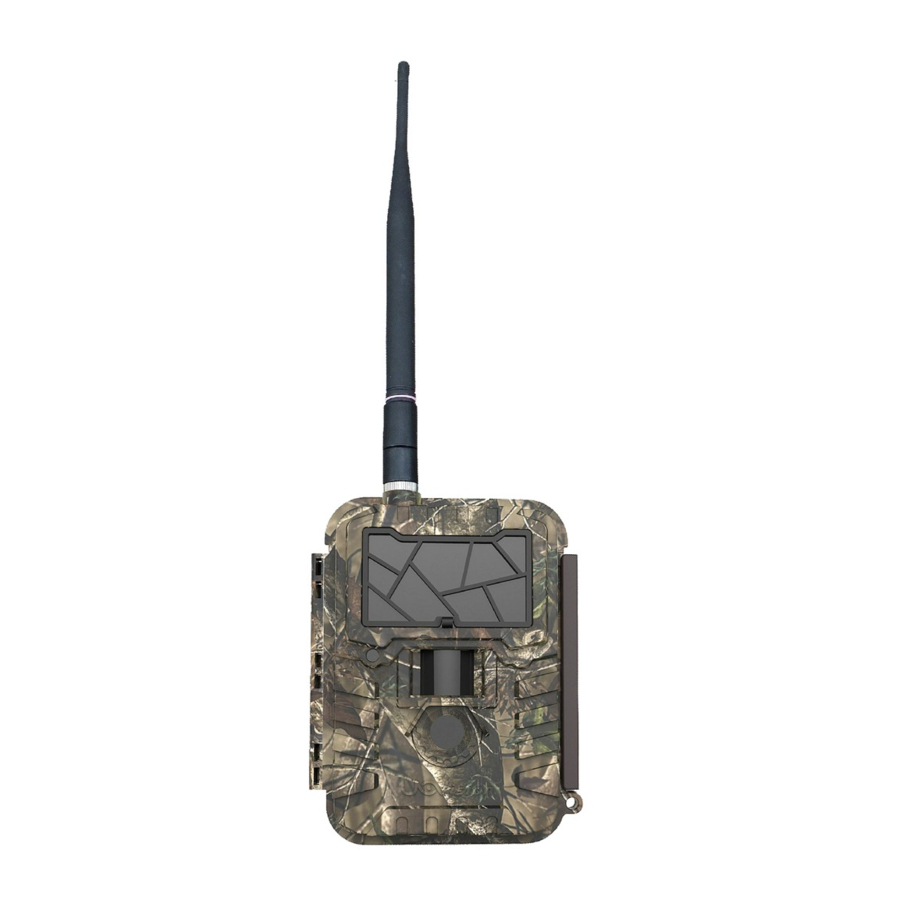
- Page 1 Wireless Infra Black Scouting Camera UM595-2G Instruction Manual (For UM595-2G Model)
-
Page 2: Table Of Contents
Content 1 General Description ............1 2 Camera button info diagram ..........2 3 Installing the batteries ............4 4 Purchasing your SIM card ............ 5 5 Installing your SIM card and SD card ........6 6 Customizing the camera settings .......... 6 6.1 Formatting the SD card .......... -
Page 3: General Description
1 General Description Congratulations on your purchase of UM595-2G scouting camera. UM595-2G is a powerful and reliable performance wireless camera. Features: 12MP invisible IR GSM camera; 0.9s trigger speed; MMS and Email function, transmit Photo to phone or email; Remote control function: SMS or CamCtrl_M APP;... -
Page 4: Camera Button Info Diagram
2 Camera button info diagram Fig 1 Front View Page 2... - Page 5 Fig 2 :Operation Interface Fig 3 :Bottom View Page 3...
-
Page 6: Installing The Batteries
Fig 4: Spider Web Uovision UM595 series has detachable Spider Web flash shield. It will help the camera camouflage to terrain more easily during green season. It helps minimize the sun reflects from the black flash surface. During the winter time it is convenient to remove since it may capture snow and eventually captured snow will block the flash view. -
Page 7: Purchasing Your Sim Card
1. High-density and high-performance alkaline batteries (Recommended) 2. Rechargeable alkaline batteries 3. Rechargeable NiMH batteries There are 6 battery slots. Slot1 and Slot2 form one group and is marked as “1”, slot3 and slot4 form the other group and is marked as “2”, while slot 5 and slot6 form the third group and is marked as “3”. -
Page 8: Installing Your Sim Card And Sd Card
5 Installing your SIM card and SD card Fig 5 Make sure the power switch is at OFF position. You can use any SD card size up to 32G. The camera will not turn on without a SD card inside. NOTE: Every photo taken with this camera will be saved to SD card even those being sent out to recipients. -
Page 9: Download Gsmsetup
Fig 6 Select the SYS tab. Navigate down by pressing the ▼ button until the FORMAT option is highlighted and press OK then choose Yes to format. Fig 7 6.2 Download GSMSETUP 1) Select the GSM tab and navigate down to the DOWNLOAD TOOL and press OK. - Page 10 4) Locate the SD card reader in your computer. Fig 8 5) Unzip the GSMSETUP file to get the UOV Setup application. 6) You may see a warning box like below. Choose YES to continue. Fig 9 7) You will see the following screen for setting up the GSM options for your camera.
- Page 11 Fig 10 8) Send Mode: a. INSTANT: If you want the camera to send every photo instantly, you need to choose this option. You can control the numbers of photos that are sent to your device or email every day. If you want to limit this, put the maximum number of photos you want the camera to send each day in the box.
- Page 12 a. Country: The default set is Auto, or you can choose your Country. b. Operator: The default set is Auto, if the camera can not find correct carrier, you can choose it manually from Operator. Fig 11 If you can’t find your carrier name in the list, please press CUSTOM. Then you can input your operator parameter in the pop-up window Fig13.
- Page 13 phone numbers b. Email: Choose this option if you only want the photos sent to chosen e‐mail addresses. Note:For your information security, please click Email Set button to change the default sending email address to your own sending email address. Thanks. 11) Recipients a.
-
Page 14: Setting Up The Wireless Network
Fig 14 17) Remove the SD card from your computer and insert it into your camera. 18) Slide the Power switch to SETUP position. Wait for the camera to go through its set up process and find cellular service. Normally 15‐20 seconds to see Update success. -
Page 15: Send A Test Photo
Fig 17 Send a test photo 1) Press button to manually take a photo with the camera. You will know that a photo has been taken because the photo counter on the screen will turns to 00001. Press button to enter the Playback mode and then press the MENU button. -
Page 16: View Or Delete Photos On The Color Display
View or Delete photos on the color display You can view your photos on the color display when in the field. If you want to do this, make sure the Power switch is set to SETUP. Press the Play button . -
Page 17: Customizing The Camera Settings
7.2 Customizing the camera settings Press LEFT or RIGHT and UP or DOWN to select the desired options,And then press OK to save. Setting Items Description Choose Photo, Video. Press the ► button to toggle between Photo or Camera Mode Video until the option you want shows in the white box. - Page 18 Repeatedly press the ► or ◄ to adjust the timing. Options are 5‐60 seconds (5 second increments) and 1‐60 minutes. NOTE: We suggest you choose 1minute or greater for the MMS to work properly. Time lapse function defines the camera records/captures automatically every...
- Page 19 Sync all the settings from host device via Synchronization Bluetooth to your device. Choose "On" or "Off" to show the time Time Stamp stamp on the picture or not. Infrared Flash range: 20 ft./6m and 40 ft./12m. ( If most of the subjects are going to be Flash Range inside 6m/20ft, use the 6m/20ft setting.
-
Page 20: Defaults Settings
7.3 Defaults settings: Setting Items Default Camera Mode Photo Photo Size 5M Pixel Photo Burst 1 Photo Video Size Video Length 5 sec Sensitivity Normal Trigger Interval 1 Min Time Lapse Start-Stop Send Mode Instant Send via Send To Phone Recipients Enter SMS Switch... -
Page 21: Setup Camera Using App Via Bluetooth
8 Setup camera using APP via Bluetooth Bluetooth module is a new function on UM595-2G camera, it helps customer set up camera on APP via bluetooth connected between camera and cell phone. 1) Switch camera to Setup Mode, turn the Bluetooth ON, keep the camera under Setup Mode, the screen shows as below;... - Page 22 3) you can change all the settings on the app, and upload the parameters to device. Once the upload is done, update success will shows on the screen. Fig 22 Fig 23 Page 20...
-
Page 23: Synchronization
9 Synchronization 1) One device should be set as a host device (CamA), keep this camera under Setup Mode, turn the Bluetooth On, after the bluetooth is opened, the device name and status will shows on screen; Fig 24 2)choose Synchronization on the other camera(Cam B), press Enter, this camera will search host device automatically, after connected to the host device, it will sync settings in real quick;... -
Page 24: Control Camera By App Via Sms
3)Then all the settings on Host device(CamA) can be transferred to the other device (Cam B), 3)make sure you set the latest parameters. and you can also see the process shows on the host device(Cam A). Fig 26 4)More than one camera can be connected to the host device at the same time, but the transfer can only be one to one every time. - Page 25 Fig 27 Fig 28 Page 23...
- Page 26 There are 2 main panels as below. Slide the phone screen to change between the panels. Fig 29 Note: If you set Wireless Status to OFF, you will not receive photos or Daily reports to your phone or e‐mail. You also can’t get any response of other SMS commands.
- Page 27 SMS Command Order List ITEM SMS Command Order Add Phone Number #140#1#phone number# ( Master ONLY Delete Phone Number #140#0#phone number# ( Master ONLY Add Email Address #141#1#email address# ( Master ONLY Delete Email Address #141#0#email address# ( Master ONLY Set Photo Mode #310#P# Set Video Mode...
-
Page 28: View Or Delete Photos On The Color Display
11 View or Delete photos on the color display You can view your photos on the color display when in the field. If you want to do this, make sure the Power switch is set to SETUP. Press the Play button . -
Page 29: Tricks And Tips On Field Setup
Cannot access the SETUP menu: Reasons for issue: 1) This only happens if you don’t have a SD card in the card slot or if the SD card is corrupt. 2) Batteries are too low Suggestions to remedy 1) Install a SD card or Install a new SD card 2) Replace the batteries. -
Page 30: Appendix Ⅰ: Technical Specifications
Appendix Ⅰ: Technical Specifications 12MP, 8MP (Interpolated), Picture Resolution Real 5MP, 3MP Lens F/NO=3.0 FOV(Field of View)=52° Quad-Band GSM/GPRS/EDGE 850/900/ Frequency Bands 1800/1900MHz IR-Flash 6m, 12m Display Screen 2.0” LCD Memory Card Up to 32GB Video Resolution VGA,QVGA PIR Sensor Multi Zone PIR Sensitivity Adjustable (High/Normal/Low) -
Page 31: Appendix Ⅱ: Parts List
Appendix Ⅱ: Parts List Part Name Quantity Digital Camera Belt User Manual Antenna Declaration of Conformity to Directive 1999/5/EC CE Caution: Hereby, the manufacturer declares that this camera is in compliance with the essential requirements and other relevant provisions of Directive 1999/5/EC. - Page 32 Customer Name: Contact Tel: Date of Purchase: Series No: Fault Description: Retailer: The camera manufacturer provides 12 months of warranty service for this product against manufacturing defects or malfunctions. If your camera fails to function under normal use within 1 year, the camera manufacturer will repair or replace the camera at no charge.
Need help?
Do you have a question about the UM595-2G and is the answer not in the manual?
Questions and answers