Advertisement
Quick Links
Advertisement

Summary of Contents for Yep Components Uptimizer HC
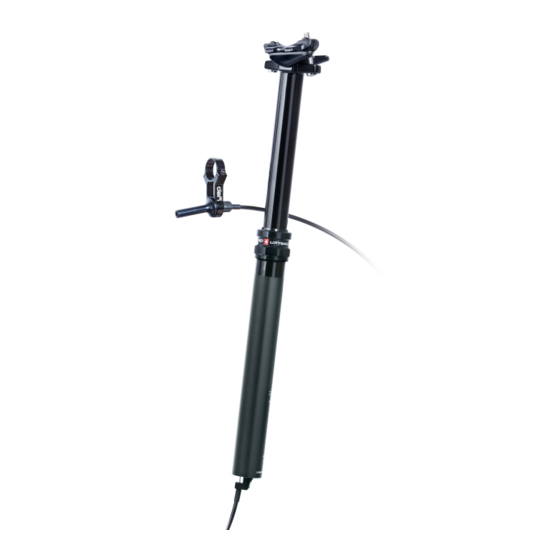
- Page 1 Uptimizer HC owners service manual...
- Page 2 step 1 • Use bicycle frame to hold post while loosening collar screw • Use an adjustable spanner set at 35mm step 2 • Lay seat post on a table in the full extended position • Remove seat clamps note: during this procedure is not necessary to release air from the system step 3...
- Page 3 step 5 • Use vise inserts to protect the shaft • Use an adjustable spanner set at 26mm to unscrew the actuator assembly step 6 • Extract the actuator push rod step 7 • Take the stanchion out from the lower tube...
- Page 4 step 8 • Remove the rubber bumper ring and white plastic washer step 9 • Remove the Igus® piston ring step 10 • Remove the three brass keys step 11 • Use a soft rag to clean the stanchion...
- Page 5 step 12 • Remove collar step 13 • Remove dust ring using a flat-head screwdriver step 14 • Use a soft cloth to clean the Igus® bushing inside the collar • Clean dust ring...
-
Page 6: Reassembly Procedure
step 15 • Run the collar (without dust-ring) through the stanchion to check smoothness of operation • If necessary, use grit 400 sandpaper to restore finish inside the collar, pay attention not to remove too much material RE-ASSEMBLY PROCEDURE step 16 •... - Page 7 step 17 • Carefully reinstall collar, paying attention not to damage the lip of the dust ring step 18 • Reinstall the three brass keys in their slots (previously cleaned). Add a small quantiy of grease step 19 • Reinstall Igus® piston ring step 20 •...
- Page 8 step 21 • Apply a layer of suspension grease (Slick Honey™ or similar) to the stanchion before final reassembly Important: do not use thick white grease or other mounting compounds step 22 • Apply a few drops of thread locker step 23 •...
- Page 9 step 25 • Reinstall actuator push rod (add grease) step 26 • Screw actuator back on piston shaft (3Nm max) note: do not use thread locker step 27 • Insert inner assembly back inside outer sleeve using seat post graphics as a reference for initial alignment ...
- Page 10 28 • Reinstall snap ring step 29 • Reinstall collar (use bicycle frame to hold the seat post in place) • Securely tighten the hexagonal collar step 30 • Go ride your bike © Yep Components Sagl www.yepcomponents.com...
Need help?
Do you have a question about the Uptimizer HC and is the answer not in the manual?
Questions and answers