Table of Contents
Advertisement
Quick Links
a
mPHILI Inc.
1-888-680-0086
www.amphili.com
ver.2012-03-29
FUJI Range Hood Installation Instruction
WARNING:
This installation instruction is written for professional technicians who are experienced in
the building code, electrical and electronic products installation! This instruction is for reference only.
We are not responsible for any damage, injury caused by the installation of the product.
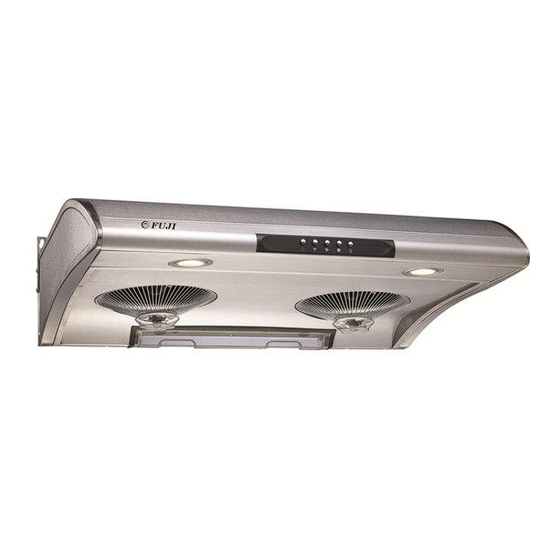
Models:FUJI S0176PH, FUJI CXW200-04A
Personnel:
1. Minimum two persons required;Be able to lift 20KG
2. Be familiar with building code, electrical and electronic products installation;
3. Experienced with have all Personal Protection Equipment such as goggles, gloves etc.
Tools List:
1. Screw Drivers: Philips head and slot head;
2. Electric drill with bits and hole saw;
3. Jig saw;
4. Extension cord, 18AWG wires
5. Goggles, protection gloves, helmet;
6. Portable Vacuum cleaner ;
7. Aluminum tape and electrical tape;
8. Wire binder and wire nuts;
1
Advertisement
Table of Contents

Subscribe to Our Youtube Channel
Summary of Contents for amPHILI FUJI S0176PH
- Page 1 This instruction is for reference only. We are not responsible for any damage, injury caused by the installation of the product. Models:FUJI S0176PH, FUJI CXW200-04A Personnel: 1. Minimum two persons required;Be able to lift 20KG 2.
- Page 2 Inc. 1-888-680-0086 www.amphili.com ver.2012-03-29 Installation Steps :(For reference only, actual procedure may vary) Preparation Understand the work: 1. New installation or replacement 2. Minimum width: 30 inch; 3. Exit: upward or backward 4. Shape of the duct: Square(3- ¼ x 10 inch)or round(6 inch Dia. Or other size) ;...
- Page 3 Inc. 1-888-680-0086 www.amphili.com ver.2012-03-29 Step 5 Check the size and location of opening on the top cabinet. Make sure the opening is big enough for the range hood exit and also has enough room to use hand to align the duct with the range hood exit and seal with aluminum tape.
- Page 4 Inc. 1-888-680-0086 www.amphili.com ver.2012-03-29 Step 11 Install faceplate: 1. Connect the lamp wire connector back as well as detergent exit pipe disconnected in STEP-7; 2. Insert the front of the faceplate into the flange of the enclosure and put on the two screws on front end.
Need help?
Do you have a question about the FUJI S0176PH and is the answer not in the manual?
Questions and answers