Epson XP-440 Start Here
Hide thumbs
Also See for XP-440:
- User manual (251 pages) ,
- Quick manual (17 pages) ,
- Start here (2 pages)
Table of Contents
Advertisement
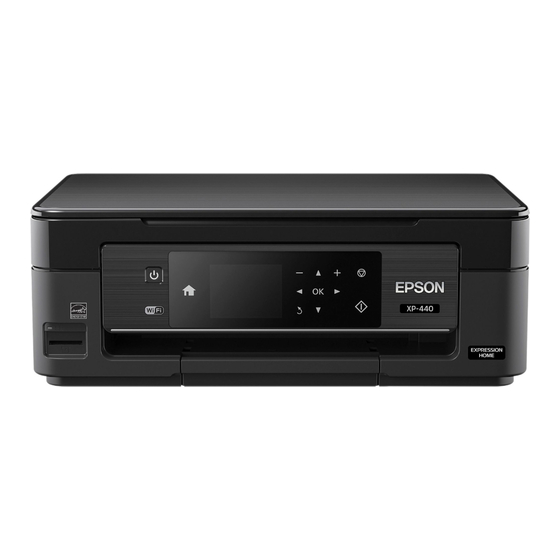
XP-340/XP-440/XP-446
Start Here
Read these instructions before using your product.
Note for Spanish speakers/Nota para hispanohablantes:
obtener instrucciones de confi guración en español, consulte la Guía de
instalación en www.epson.com/support/xp340sp,
www.epson.com/support/xp440sp o www.epson.com/support/xp446sp
(requiere una conexión a Internet).
1
Unpack
Note:
Do not open ink cartridge packages until you are ready to install
the ink. Cartridges are vacuum packed to maintain reliability.
1
Remove all protective materials from the product.
2
Lift up the scanner unit and remove all protective materials
from inside the product.
Caution:
Do not touch the fl at white cable.
3
Lower the scanner unit.
2
Turn on and configure
1
Connect the power cord to the back of the product and to
an electrical outlet.
Para
Caution:
2
Raise the control panel and turn on the product.
Caution:
release bar underneath or you may damage the product.
3
Press
Note:
control panel. For more information, see the online User's Guide.
3
Install ink cartridges
Caution:
Keep ink cartridges out of the reach of children and do not
drink the ink.
1
Lift up the scanner unit.
Caution:
2
Gently shake the ink cartridges.
3
Unpack the ink cartridges.
Do not connect to your computer yet.
Do not lower the control panel without fi rst squeezing the
to select your language, then press OK.
or
You can change the language later using the product's
Do not touch the fl at, white cable.
Advertisement
Table of Contents

Related Manuals for Epson XP-440


Summary of Contents for Epson XP-440
-
Page 1: Install Ink Cartridges
Read these instructions before using your product. Note for Spanish speakers/Nota para hispanohablantes: Para obtener instrucciones de confi guración en español, consulte la Guía de instalación en www.epson.com/support/xp340sp, www.epson.com/support/xp440sp o www.epson.com/support/xp446sp (requiere una conexión a Internet). Caution: Do not connect to your computer yet. -
Page 2: Load Paper
Caution: Don’t turn off the printer while it is charging or you’ll waste ink. Note: • The printer is designed for use with Epson cartridges only, not ® third-party cartridges or ink. • The cartridges included with the printer are designed for printer... -
Page 3: Install Software
Note: If you see a message on the product’s control panel reminding you to set up an Epson Connect™ account, select No to turn off the reminders. You can set up an account later from your computer or mobile device. See the “Mobile printing” section for more information. - Page 4 288XL EPSON and DURABrite are registered trademarks, Epson Connect is a trademark, and EPSON Exceed Your Vision is a registered logomark of Seiko Epson Corporation. Designed for Excellence is a trademark of Epson America, Inc. Mac is a trademark of Apple Inc., registered in the U.S. and other countries.
Need help?
Do you have a question about the XP-440 and is the answer not in the manual?
Questions and answers