Advertisement
Advertisement

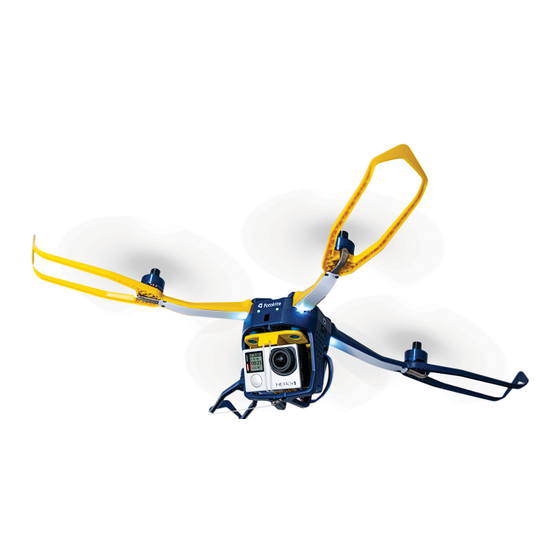
Summary of Contents for Fotokite Phi
- Page 1 User Manual Fotokite Phi User Manual Version 1.0...
-
Page 2: Table Of Contents
Contents What’s in the box? System overview...Flight Frame System overview...Leash Installing the battery Charging the Fotokite Charging the Leash Unfolding / Locking How to fly...takeof How to fly...controls Thrust calibration Thrust equalization Fitting new propellers... - Page 3 What’s in the box? Flight Frame Leash Storage Tube Spare propeller set Quick-Start Guide Extra battery USB-C Cable Optional Extras...
-
Page 4: System Overview
System overview...Flight Frame Power Button Front clip-in Battery Status Lock Flight Battery Camera band Bottom clip-in... - Page 5 System overview...Leash Length control Power button Orbit button USB-C Charging Port Yaw button Orbit light Yaw light Hand strap Status Light Tether attachment...
-
Page 6: Installing The Battery
Position it centrally battery, and secure it to the as shown above. Fotokite’s main body. to ensure the flight frame is well yellow hook at the bottom of the balanced. flight frame payload. -
Page 7: Charging The Fotokite
Charging Error Still charging... Charging Fully Charged 1. Ensurethat the battery is 2. Plug the Fotokite charging 3. Plug the Fotokite charging 4. The charging behaves as 5. Disconnect the charging connected to the Flight frame. cable into a USB power supply or cable into the Flight Frame. -
Page 8: Charging The Leash
Charging the Leash 1. Plug the Fotokite charging cable into a USB power 2. Plug the Fotokite charging cable into the leash. 3. The charging behaves as follows: supply or a computer. a. The LED will be while the leash battery charges. -
Page 9: Unfolding / Locking
Unfolding / Locking 1. Fold the arms down, ensuring they are fully in the down position. 2. Twist the lock until it clicks into place, and ensure the arms are securely locked. - Page 10 Attaching the camera (GoPro Hero 3, 3+ or 4) The Fotokite works best with the GoPro Hero 3, 3+ and 4. The GoPro Hero 4 can even be controlled in flight using the leash. Camera Band GoPro Connector 1. Remove the battery from your GoPro. The camera 2.
- Page 11 Attaching the camera...continued The camera can be positioned in two orientations; facing horizontally with a slight tilt or facing down. (Go Pro Hero 5 and other thicker models of cameras will not fit in the facing down position). Hook Camera band 1.
-
Page 12: How To Fly
How to fly...takeof 90° Power Button 1. Press and hold the power buttons to 2. Hold the Flight Frame firmly at arms 3. Tilt the Flight Frame slightly away from 4. Twist the Flight Frame 90° and back to power on the Flight Frame and Leash. length. - Page 13 How to fly...controls 1. To increase tether length push the length control 2. When you want the Fotokite to stop, let go of 3. To bring the Fotokite back down, pull the tether button forward. This will cause the Fotokite to fly the length control button, and it will stop the length control button back.
- Page 14 How to fly...controls...continued Yaw Button To spin the Fotokite in place, press and hold the Yaw button, whilst using the gesteure control of the Leash to choose which direction you want the Fotokite to spin.
- Page 15 How to fly...controls...continued 1. To orbit the Fotokite around you, press and hold the Orbit button and use the 2. To change the the Flight Frames altitude relative to the user, press and hold the gesture controls left or right to control the Flight Frame.
- Page 16 Controlling GoPro Hero 3, 3+ or 4 Yaw Button Orbit Button Press Yaw+Orbit buttons together to use. Short press: start/stop video / take photo. Long press: mode (photo<->video).
- Page 17 Pairing the Flight Frame and Leash The Leash communicates with the Fotokite Flight Frame via a Bluetooth connection. Upon Powering both the Leash, and the Flight Frame ON the status light on the Leash should turn solid green. If the Leash status light flashes, and the leash vibrates, this is because the the two are not paired, follow the below instructions to Pair the Leash with the Fotokite Flight Frame.
- Page 18 When operating the Fotokite at an altitude way above sea level: The Fotokite is calibrated to fly at an altitude slightly above sea level (0-1000m). If you go higher than this altitude, the air gets thinner and the thrust provided by the Flight Frame needs to be increased.
- Page 19 When carrying a heavy payload: The Flight Frame is calibrated to function with a GoPro Hero4 from which the battery has been removed. If you operate the Fotokite with a diferent and heavier device, your unit’s center of gravity shifts, which can cause it to fly unbalanced.
- Page 20 Fitting new propellers The Fotokite uses two types of propller; left handed propeller, and right handed propeller. These must be fitted to the correct motor for the Fotokite to fly. Each Propeller turns in a diferent direction, and as such has to be unmounted from the Flight Frame by turning in the opposite direction.
Need help?
Do you have a question about the Phi and is the answer not in the manual?
Questions and answers