Advertisement
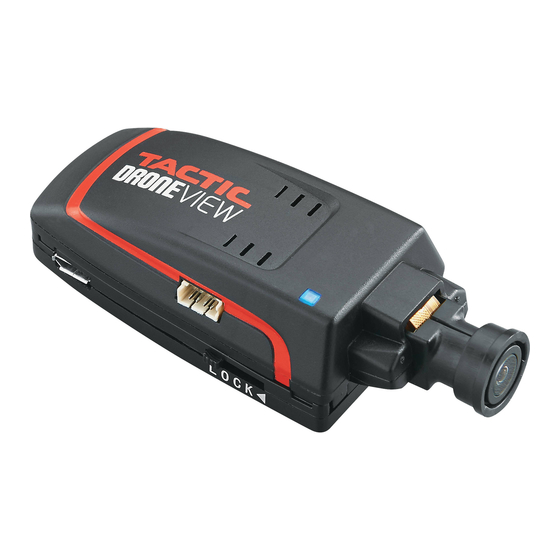
The Tactic Droneview Camera is powered by an included
1S 3.7V 350mAh lithium-polymer battery (LiPo).
IMPORTANT: It will be necessary to fully charge the
battery with the included USB charge cable before
use! Follow all safety precautions below before
proceeding. Failure to do so may cause the camera
to lose power prematurely, resulting in a loss of data.
●
NEVER LEAVE BATTERY UNATTENDED WHILE CHARGING.
●
Never allow battery temperature to exceed 140°F (60°C).
●
Never place the battery on combustible materials while
charging.
●
Never attempt to disassemble or modify the battery.
●
Never attempt to charge or to use the battery if it's
swollen, punctured, or deformed in any way.
●
Never attempt to charge the battery with an
incompatible battery charger.
● Follow appropriate disposal instructions when the
battery has reached the end of its useful life.
Advertisement
Table of Contents

Summary of Contents for Tactic DRONEVIEW
- Page 1 The Tactic Droneview Camera is powered by an included 1S 3.7V 350mAh lithium-polymer battery (LiPo). IMPORTANT: It will be necessary to fully charge the battery with the included USB charge cable before use! Follow all safety precautions below before proceeding. Failure to do so may cause the camera to lose power prematurely, resulting in a loss of data.
- Page 2 CHARGE THE CAMERA BATTERY 1. Connect the included USB charge cable to a computer’s USB Port or to an AC to USB adapter. 2. Connect the LiPo battery to the jack on the opposite end of the charger. 3. The Battery Charge Meter LEDs will start fl ashing to indicate that the charge cycle has started.
-
Page 3: Quick Start
Always wait 30 seconds before turning the camera off after recording a video or taking a picture. Always use a class 10 card in the Droneview camera. Always insert and remove the memory card when the camera is turned off. -
Page 4: Battery Module
BATTERY MODULE The battery module can be easily removed from the camera and replaced. The module can be charged without being attached to the camera. To remove the battery module: Slide both lock tabs towards the front of the camera. Carefully pull up on the tab at the back of the camera. -
Page 5: Specifications
Slowly raise the back of the camera until the tabs are clear of the battery module. Push the camera forward and up from the module to release the front catches. SPECIFICATIONS Resolution: 720p Run time: Approx. 45 minutes with fully charged battery. Weight: 1oz (27.5g) Width: 1.34"... -
Page 6: Kit Contents
KIT CONTENTS CAMERA CONTROLS Status LED Receiver Memory Battery Cable Port Card Slot Charge Meter Picture/Video Micro USB Battery Module Battery Charge Port Lock Module Lock Button On/Off Button Power Switch: Tapping the ON/OFF button turns the camera on and off. When the camera turns on, the Status LED will be steady (Standby Mode) and the Battery Charge Meter will be lit. - Page 7 There may be a short loss of video footage during this switch to a new fi le. The DroneView will continue to create new video fi les every 5 minutes of continuous recording until the memory card is full or the battery voltage is too low for the camera to operate.
- Page 8 The DroneView app is software for your Wi-Fi-capable Apple or Android device that allows you to connect to the DroneView camera. Your device can then use the FPV (First Person View) function to monitor what the camera is viewing and take videos or pictures from the app. These...
- Page 9 Fi network. Android devices will usually connect automatically to the DroneView Wi-Fi network when the DroneView app is opened. If your Android device is not connected within 30-60 seconds, open the Wi-Fi settings and manually connect to the Droneview network.
- Page 10 4. Once connected, you will see the image seen by the camera (referred to in this manual as the FPV feed). Press anywhere screen to pull up the main menu buttons. The Wi-Fi range will typically be around 100 meters in an open area and will be reduced when the camera is operated indoors or where there is electronic interference.
- Page 11 VIDEO Press this button to start a video recording. A red stop button and timer will appear on the right side of the screen while the camera is recording. If the app loses the Wi-Fi connection to the camera, the video will continue and the on screen timer will update when the connection is restored.
- Page 12 Export to upload the selected fi les. A progress window will appear on each video to indicate the export status. When Export is completed, the icon and the numbers at the bottom of the video thumbnail will turn white. After the video has been exported, tap on the thumbnail to view it.
- Page 13 The Wi-Fi Name will change how the Droneview Camera is identifi ed in the Wi-Fi network list. Do not use spaces in the new name.
- Page 14 If NO is selected, the changes will be discarded. iOS Only: If the Wi-Fi name is changed, you will need to exit the DroneView app and select the newly named network in the Wi-Fi setting options for your device.
-
Page 15: Replacement Parts
Some experimentation may be required to fi nd the best material to use and the ideal location to mount t he camera. REPLACEMENT PARTS TACZ1001 Droneview Replacement Camera TACZ1002 Droneview Battery Module TACZ1003 Droneview Charge Cord TACZ1004 Foam Mounting Pads... -
Page 16: Troubleshooting
Try to keep it at least 12 inches from the camera. 3) You are exceeding the Wi-Fi range of the DroneView camera. If possible, maintain a closer proximity to your device. PROBLEM: The app does not re-establish connection after the connection has been lost. -
Page 17: Day Limited Warranty
VLC Media Player from videolan.org 90-DAY LIMITED WARRANTY PLEASE DO NOT RETURN YOUR PRODUCT TO THE STORE. Tactic will repair or replace factory defects for 90 days from the date of purchase. This warranty specifi cally does not cover crash damage, misuse or abuse. - Page 18 Tactic assumes no liability except for the exclusive remedy or repair of parts as specifi ed above. Tactic shall not be liable for consequential or incidental damages. Some states do not allow the exclusion of consequential or incidental damages so the above exclusion may not apply to you.
-
Page 19: Fcc Requirement
FCC REQUIREMENT CE COMPLIANCE INFORMATION FOR THE EUROPEAN UNION This device complies with part 15 of the FCC rules. Operation is subject to the following two conditions. (1) This device may not cause harmful interference. (2) This device must accept any interference received, including interference that may cause undesired operation. -
Page 20: Declaration Of Conformity
FCC ID: IYFZ1000 Item number: TACZ1000 Tactic Droneview Wi-Fi Camera Equipment class: 1 Tactic Droneview Camera: The objects of the declaration described here are in conformity with the requirements of the specifi cations listed below, following the provisions of the European 2006/95/EC Low Voltage Directive:...
Need help?
Do you have a question about the DRONEVIEW and is the answer not in the manual?
Questions and answers