Advertisement
Digiprog Ltd.
www.digiprog.com
Introduction to DigiProg III
Powering up your DigiProg.
A regulated 12 volt power supply should be used to power your
DigiProg III. If anything above 13.5 volts is used to power the machine,
damage may be caused to the main circuit board and it will need to be
sent to your DigiProg dealer for repair.
When connected to a vehicle by OBD
DO NOT
use the cigar lighter lead,
the Digi takes power from the vehicle. Failure to observe will result in
damage not covered by the warranty.
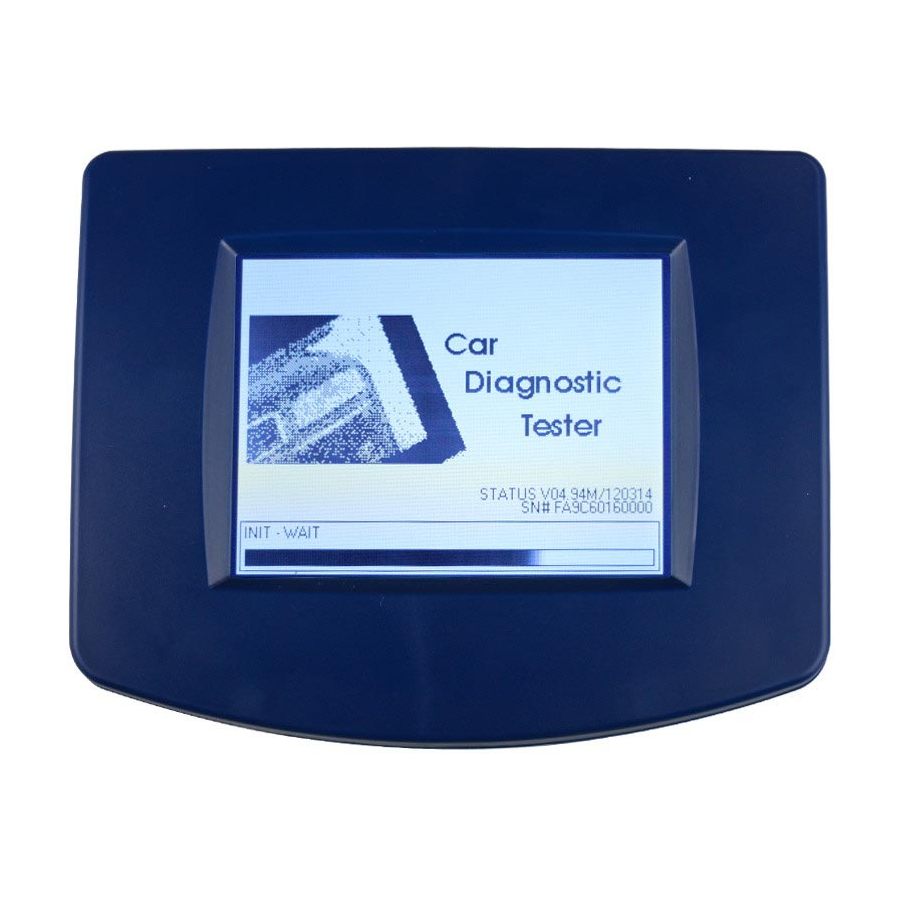
When your DigiProg is powered up, this screen will be displayed whilst
your machine is loading:
On this screen your DigiProg's status/software version is displayed
along with your machines unique 12 digit electronic serial number.
© 2007 by DigiProg Ltd
INTRODUCTION
Page 1
Advertisement
Table of Contents

Summary of Contents for Digiprog III
- Page 1 A regulated 12 volt power supply should be used to power your DigiProg III. If anything above 13.5 volts is used to power the machine, damage may be caused to the main circuit board and it will need to be sent to your DigiProg dealer for repair.
- Page 2 Digiprog Ltd. www.digiprog.com When your DigiProg has finished loading an information screen will appear with a disclaimer regarding the use of the machine. When you are ready, press the check/tick button. © 2007 by DigiProg Ltd INTRODUCTION Page 2...
- Page 3 Digiprog Ltd. www.digiprog.com The DigiProg will then ask for a password to be entered before the machine can be used. The default password is set to but can be changed in the SETUP function see page 5. © 2007 by DigiProg Ltd...
- Page 4 2. CAR/TRUCK menu This is the menu you will use for correcting and reprogramming vehicles. Manufacturers are set out in alphabetical order and models of vehicles are set out in a simple sub-menu format. © 2007 by DigiProg Ltd INTRODUCTION Page 4...
-
Page 5: Setup Menu
This menu is the same as the CAR/TRUCK menu but is used for reprogramming motorcycles. 4. Special Functions Menu The special functions menu is for use only by official DigiProg dealers. 5. Setup Menu This menu is where settings on your DigiProg can be changed. - Page 6 The Eeprom chip itself will have a mask number printed across the top of it, for example a widely used chip is a 93C46. You can connect the chip to your DigiProg by using adaptor ST1 or ST4. Most chips are surface mount eeproms which will use ST1, but the larger DIL chips will use ST4.
- Page 7 Digiprog Ltd. www.digiprog.com You must then tell your DigiProg which chip you are working on before you read it. To do this you must press the EEPROM button at the top of the screen. A sub-menu will now appear. Select the SET TYPE button and choose 93C46.
- Page 8 Digiprog Ltd. www.digiprog.com Now you have the original data file from the vehicle you must save it to the DigiProg III. © 2007 by DigiProg Ltd INTRODUCTION Page 8...
- Page 9 0 to 9 & A to F for file names but you can save them to your PC in Eetool which is supplied with your DigiProg as any name. I would suggest you create a folder in My Documents & call it Eetool Data Files, then create sub folders in the folder for example Audi, Alfa, Etc.
- Page 10 Never solder the connections whilst the lead is connected to the programmer, this will damage the DigiProg. Please do not sit at home or in your car & play with the DigiProg to see which cars it can do. If you press the DigiProg function keys the DigiProg will start looking for the Cars protocol, you wouldn’t ask...
Need help?
Do you have a question about the III and is the answer not in the manual?
Questions and answers