Advertisement
Advertisement
Table of Contents

Subscribe to Our Youtube Channel
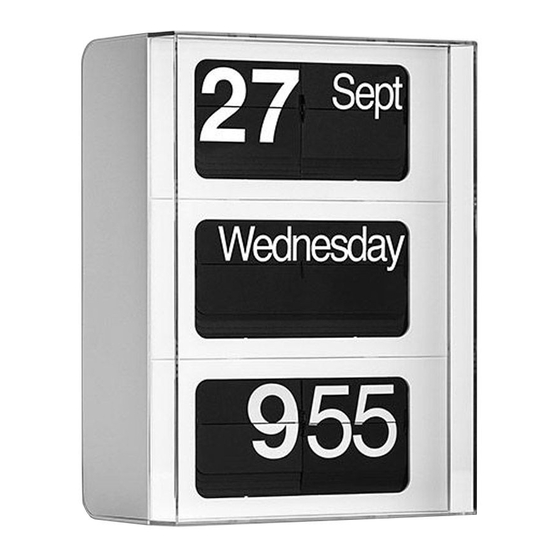
Summary of Contents for Solari lineadesign dator 60
- Page 1 Ora, minuti, giorno e data! QUICK START GUIDE...
- Page 2 Powering 3 alkaline batteries LR20 1,5V • Fig. 1: remove the cover on the right side (where the logo is positio- ned). To open the cover carefully press the three levers marked with the letter A and push outward. Push the cover back as indicated by the arrow marked B so that it can be opened and removed easily.
- Page 3 FIG. 1 FIG. 2a FIG. 2b FIG. 4 - KEYPAD FIG. 3...
- Page 4 Programming • Press the yellow Clear key, the clock will beep once; • press the YR key, the clock will beep once; • press the key corresponding to the type of the year according to table 1, the clock will beep once; •...
- Page 5 Wall installation DATOR 60 VERTICAL Equipment: Small parts and mounting brackets are included in the packaging: • 4 self-tapping screws 4x30; • 4 washers; • 4 Fischer dowels 6 mm; • metal mounting support. PROCEDURES • Drill four holes in the wall, with a vertical mounting bracket, the wa- sher and the self-tapping screw according to the order indicated in Fig.
- Page 6 DATOR 60 HORIZONTAL Equipment: Small parts and mounting brackets are included in the packaging. • 2 self-tapping screws 4x30; • 2 washers; • 2 Fischer dowels 6 mm • metal mounting support. PROCEDURES • Drill two holes in the wall, with a horizontal distance of 524 mm;...
- Page 7 Information The clocks are equipped with a LowBattery system, that works only if the batteries are replaced quickly (expert users). internal counter of the micropocessor continues regularly until the battery voltage drops below a value of 2,7 V (approximately 14 days). Once the batteries are replaced, if programming has not been dele- ted, press the M automatically set themselves to the correct time and date.
Need help?
Do you have a question about the dator 60 and is the answer not in the manual?
Questions and answers