Advertisement
®
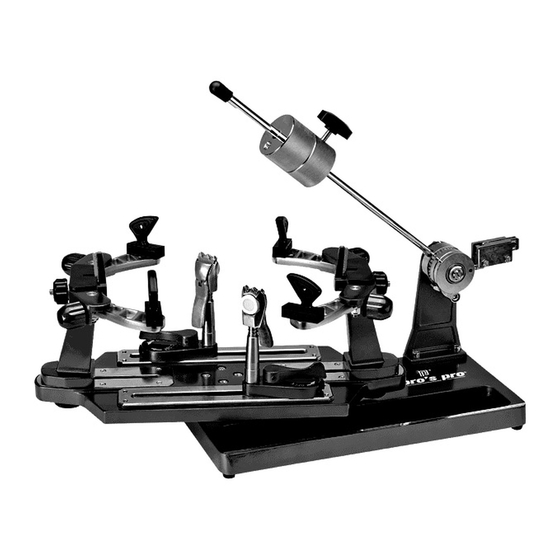
PRO'S PRO
CHALLENGER
STRINGING MACHINE
MANUAL
Installation & Operation
CHALLENGER I
1
TABLE OF CONTENTS...........................................................2
2
DESCRIPTION OF PARTS......................................................3
3
ASSEMBLY INSTRUCTION................................................4
4
STRING ING THE FRAME...............................................6
5
CLAMP BASE ADJUSTMENT................................................8
6
PREPARATION OF STRINGING...........................................9
Table of Contents
Seite 1 von 5
Advertisement
Table of Contents

Summary of Contents for Pro's Pro challenger I
-
Page 1: Table Of Contents
® CHALLENGER I PRO’S PRO Table of Contents TABLE OF CONTENTS............2 DESCRIPTION OF PARTS............3 CHALLENGER ASSEMBLY INSTRUCTION..........4 STRING ING THE FRAME..........6 STRINGING MACHINE CLAMP BASE ADJUSTMENT..........8 PREPARATION OF STRINGING...........9 MANUAL Installation & Operation Seite 1 von 5... -
Page 2: Description Of Parts
® CHALLENGER I PRO’S PRO PRO’ S PRO ® 1. Assembly Instruction —CHALLENGER •Description of Parts Step 1: After opening the box, remove the installation and operation manual. The angled support (8), The string clamp (9), Four L-Shaped wrenches, Long nose pliers(17) and diagonal cutting pliers. -
Page 3: Stringing The Frame
® CHALLENGER I PRO’S PRO Step 5: Step 6: Take the 5m/m l-shaped wrench to adjust the screw for appropriate position. Do not position the screw on the tension bar sticker. Step 4: Take the drop weight knob and insert into the hole of drop weight. -
Page 4: Clamp Base Adjustment
® CHALLENGER I PRO’S PRO Step 5: After the tension bar is in horizontal position the string is pulled with Step 2: Make adjustments by turning the fine adjustment knobs. The fit should the right tension. Secure the string with the clamp. Then push the latch be snug. -
Page 5: Preparation Of Stringing
® CHALLENGER I PRO’S PRO Turn the swivel base so that the To tighten, turn the dial clockwise. To outer port is aligned with the loosen, turn the dial counter-clockwise. inner port. Take the 3m/m l- NOTE: Before stringing a racquet, the...
Need help?
Do you have a question about the challenger I and is the answer not in the manual?
Questions and answers