Table of Contents
Advertisement
Advertisement
Table of Contents

Subscribe to Our Youtube Channel
Summary of Contents for Tapco PRO14
-
Page 1: Operating Instructions
PRO Brake Operating Instructions Tapco Products Company... - Page 2 P R O 1 9 a n d P R O 1 4 B r a k e s PRO Brake System PRO™ Cut-Off Quickly, safely, and easily makes factory quality PRO™ Cut Off Gauge cuts in coil stock, sheet Simplifies cutting.
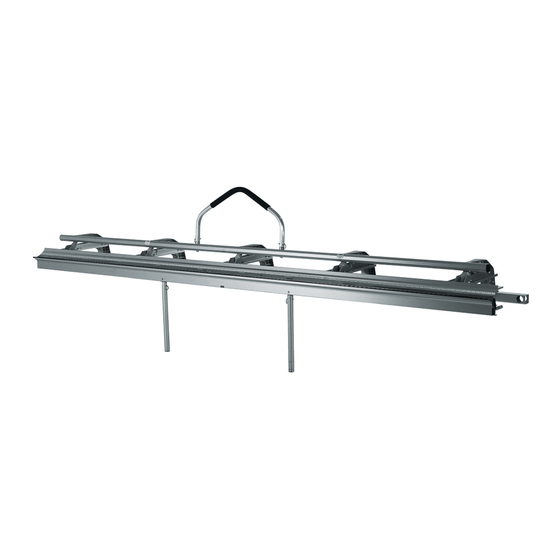
- Page 3 P R O 1 9 a n d P R O 1 4 B r a k e s PRO Accessories Cut-Off Quickly, safely, and easily makes factory quality cuts in coil stock, sheet metal, and vinyl right on your Port-O-Bender. •...
- Page 4 P R O 1 9 a n d P R O 1 4 B r a k e s Setting Up Your PRO Brake Hemming Handle Installation Hemming Handle Faspin Handle Plug Locking Handle Hex Bolt Attach the Hemming Handle over the Han- The Hemming Handle Assembly includes: Insert Hex Bolt through Locking Handle dle Plugs and secure them with Faspins.
- Page 5 Anvil. Care and Maintenance of your Port-O-Bender ® Your Tapco Port-O-Bender is virtually maintenance free and will provide you with Capacities ® years of reliable and trouble-free performance, however, there are a few basic necessities required to keep your Port-O-Bender like new.
- Page 6 P R O 1 9 a n d P R O 1 4 B r a k e s Snap Stand Set-Up STEP 1 To open each Leg Set, push in the snap button and move each leg outward to the working position.
- Page 7 P R O 1 9 a n d P R O 1 4 B r a k e s Installing Brake on Snap Stand STEP 1 Using the 1/4-20 bolts and lock washers provided, fasten the brake mounts to the Leg Set. Depending on which brake you’re using, choose the correct holes as shown in the figure at right.
- Page 8 5. Soffit or Frieze Trim 10. Window or Door Casing with “J” Channel Down Down Down Down Down Down TAPCO PRODUCTS COMPANY A Division of Tapco International 29797 Beck Road • Wixom, MI 48393-2834 www.tapcoint.com ©2004Tapco International Corporation Item # 13043 T3227-LS 4/04...
- Page 9 *For Model Specifi c Parts, 10'6" part *For Model Specifi c Parts, 10'6" part numbers are shown in diagram. numbers are shown in diagram. Item # Description Item # Description Item # Description 10504 10504 12'6" Tape Measure 12'6" Tape Measure 11400 11400 Locking Handle Pin Kit...
Need help?
Do you have a question about the PRO14 and is the answer not in the manual?
Questions and answers