Table of Contents
Advertisement
Advertisement
Table of Contents

Related Manuals for Bavarian Demon CORTEXpro

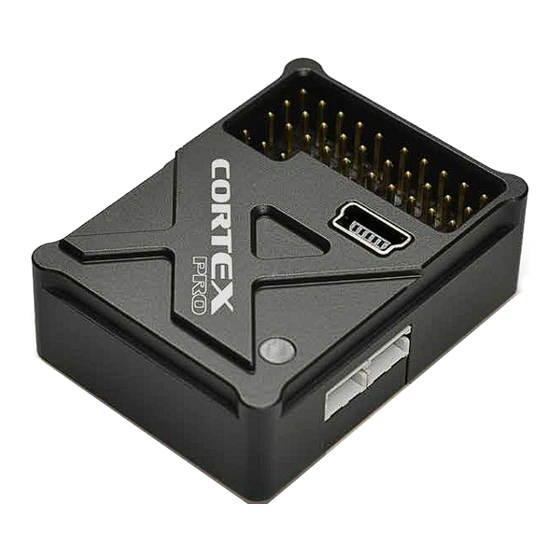
Summary of Contents for Bavarian Demon CORTEXpro
- Page 1 I N S T R U C T I O N S BEDIENUNGSANLEITUNG...
-
Page 2: Table Of Contents
CONTENT PRELIMINARY INFORMATION Operating principles and features INSTALLATION Connecting the receiver and servos Mounting the CORTEXpro START-UP Setup Flight operation Gyro channel / activating the gyro Gyro directional test Test / Set-up flight Using the gyro modes Failsafe MISCELLANEOUS Accessory / spare parts... -
Page 3: Preliminary Information
Up to 16 independent servo channels (24 all together) can be stabilized using a servo distribution box, with up to 7 channels using one serial input, and up to 6 channels using the supplied cable loom. These channels are simply run through the CORTEXpro. If the number of channels is not sufficient, unidirectional servos, e.g. -
Page 4: Installation
Now connect the servos to the CORTEXpro’s output ports 1-6. The same assignment applies as for the input side. Cable 1 on the receiver corresponds to output 1 on the CORTEXpro, etc. The channels are intentionally marked by numbers only, you are free to assign them as desired. -
Page 5: Mounting The Cortexpro
( ! ) Even if the servos are running correctly, do not fly before the setup of the CORTEXpro and gyro directional test are completed! Incorrect gyro orientation will almost certainly result in a crash! -
Page 6: Start-Up
( ! ) For setup, the transmitter must already be programmed ready for flight, so that the model could be flown, or has already been flying without the CORTEXpro. Servo directions, possible mixers, throws, etc., as well as correct trim settings for normal flight, must have already been set up correctly. -
Page 7: Flight Operation
FLIGHT OPERATION Start the CORTEXpro in normal operation mode, without the jumper connected. The LED will flash for the first few seconds and indicates the system’s successful initialization. The model must not be moved during this process, otherwise, the stabilization will remain inactive (device flashes red constantly), until power-cycled again. -
Page 8: Gyro Channel / Activating The Gyro
GYRO CHANNEL / ACTIVATING THE GYRO For the first flight, and to facilitate in-flight tuning, it should be possible to adjust the gyro channel, and therefore the gyro sensitivity in flight, in order to find the optimum setting quickly, or to reduce it immediately if needed, e.g. -
Page 9: Using The Gyro Modes
If oscillation occurs, reduce sensitivity by 5-10%. Test the setting at high speed first, as in this situ- ation, the control reaction will be strongest, and therefore the tendency to oscillation is increased. Under normal conditions, the gyro will produce an effect similar to expo. Therefore reduce the expo-setting or switch it off completely. -
Page 10: Failsafe
FAILSAFE For every single channel run through the system, no matter if stabilized or not, a failsafe value can be defined. To use this option, set all transmitter channels to the desired values, followed by a click on the button ‚learn failsafe values‘. Done. Note: The internal failsafe will only be activated, if there is no „proper“... -
Page 11: Miscellaneous
MI SC ELLANE OU S ACCESSORY / SPARE PARTS Foam tape ‚Acro‘ ACP (3 pcs) No. 96097 Foam tape ‚Soft‘ ACP (3 pcs) No. 96098 Cable loom L150 ACP (150mm) No. 96099 Cable loom L250 ACP (250mm) No. 96100 Bluetooth module (under development) No. -
Page 12: Imprint
VERSION 1.2 IMPRINT CAPTRON Electronic GmbH Johann-G.-Gutenberg Str. 7 82140 Olching Germany Fon +49 8142 4488 -0 Fax +49 8142 4488 -100 SERVICE AND REQUESTS Visit our website for dealers and contact information. www.bavarianDEMON.com Hiermit erklärt die CAPTRON Electronic GmbH, dass sich dieses Gerät in Übereinstimmung mit den grundlegenden Anforderungen und anderen relevanten Vorschriften der entsprechenden CE Richtlinien befindet.
Need help?
Do you have a question about the CORTEXpro and is the answer not in the manual?
Questions and answers