
Summary of Contents for Omega Mechanix M2033
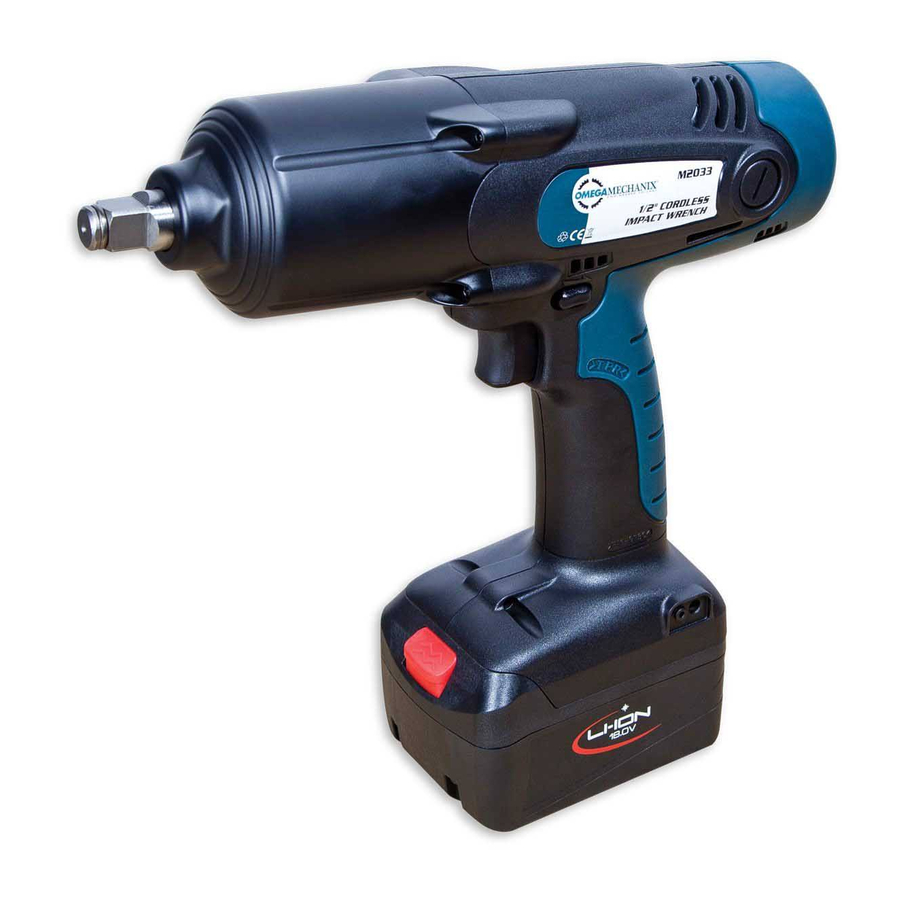
- Page 1 M2033 CORDLESS IMPACT WRENCH Installation and operating manual Roosendaal - The Netherlands http://www.sfeu.nl e-mail : sales@sfeu.nl...
-
Page 2: Operation Precautions
Operation Precautions General Safety Instructions Consider work area environment. Do not expose tools to rain. Do not use tools in damp or wet locations:Keep work area clean and well lit. Do not use tools in the present of flammable liquids or gases. - Page 3 Important Safety Instructions for Charger & Battery Pack Caution:To reduce risk of injury, charge only specific type rechargeable battery packs. Other types of battery packs may burst causing personal injury and damage. Before using charger, read all instructions and cautionary markings on battery packs and chargers.
-
Page 4: Specific Safety Rules And/Or Symbols
Specific Safety Rules and/or Symbols Recycle Class II Tool Do not throw in garbage Volts Alternating current Hertz Watts Kilograms d.c. Millimeter Direct current ft-lb Kilograms per Centimeter Foot - Pound kg-cm Revolutions or reciprocations /min per minute Specification Voltage 18 V d.c. - Page 5 Operation Instructions (Slide-In) Fig. 1 Installing or Removing Battery Pack (See Fig.1 Fig.2 ) Always switch off the machine before insertion or removal of the battery pack. To remove the battery pack, push the button on the battery pack and pull the tool unit from the battery pack in the direction. To insert the battery pack, align the tool unit slides with the battery pack sliding groove and push the tool unit into place.
- Page 6 The LED Light on the Charger WARNING Accessory - Charger Charger is plugged into a 100-240V a.c outlet only. If the battery pack is too hot or too cold, the charger will not fast charge the battery pack and the red Indicator light is “blinking”.
-
Page 7: Tool Operation
Tool Operation Installing or Removing Socket (Impact Wrench) Always be sure that the machine is switched off and the battery pack is removed before installing or removing the socket. Fig.4 Fig.5 Caution: To install the socket, push the socket into the driving spindle as far as it will go. (See Fig.4) To remove the socket, simply pull the socket from the driving spindle. - Page 8 Replaceable carbon brush Replace the new carbon brush, while the motor is not rotated and the carbon brush is run out. (Change the new motor after the carbon brush has been replaced 2~3 times) Replacement procedure is as follows: u Loose the carbon brush panel counterclockwise by using sltted bit. ( Fig.1 ). u Take out the carbon brush ( Fig.2 ).
- Page 9 Direttiva Macchine CE. In nome e per conto della Shinn Fu Europe B.V. M2033 Machinery Directive 2006/42/EC EN1494:2000 + A1:2008...
- Page 10 M2033 1/2” CORDLESS IMPACT WRENCH Roosendaal - The Netherlands http://www.sfeu.nl e-mail : sales@sfeu.nl...
- Page 11 M2033 1/2” CORDLESS IMPACT WRENCH Roosendaal - The Netherlands http://www.sfeu.nl e-mail : sales@sfeu.nl Description Description Front cover assy Housing (L & R) Washer Belt Washer Screw Bearing Screw Washer Housing label - L Front impact assy Housing label - R...
- Page 12 2014/07C...
Need help?
Do you have a question about the M2033 and is the answer not in the manual?
Questions and answers