Advertisement
Quick Links
Advertisement

Related Manuals for Meister Scale P-47

Summary of Contents for Meister Scale P-47
-
Page 1: Build Instructions
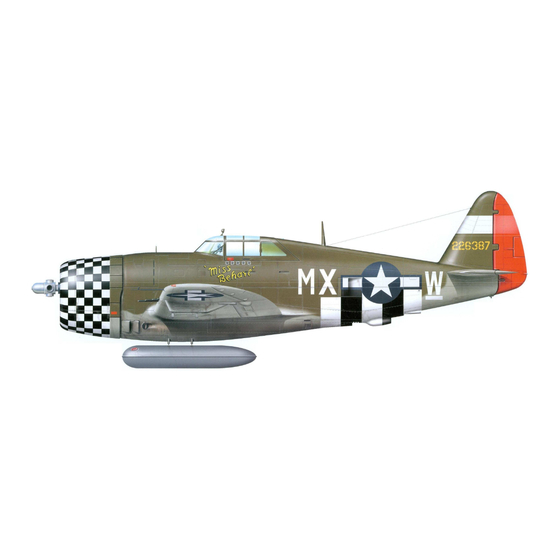
102” REPUBLIC P-47 THUNDERBOLT BUILD INSTRUCTIONS (COPYRIGHT PROTECTED 2014) ALL RIGHTS RESERVED... - Page 2 BEFORE YOUR START The fuselage self-jigging system used allows easy accurate assembly. But, attention to detail when cutting the parts from your patterns is very important. SUGGESTIONS FOR PARTS ACCURACY 1. Cut the patterns to within 1/4” of the outside lines. 2.
- Page 3 WING INSTRUCTIONS Note: This wing design has a flat bottom, thus no need for jigs, etc. However, you will need a flat surface to build your wing. If you don’t have a suitable surface, find an inexpensive hollow door from your local Home Depot or building supply store. Use a level to insure no twist exists.
- Page 4 WING SEPARATION FEATURE 11. Place your “Spar Brace” in place against the bottom spar. Wedge in place. Be sure the centerline on your “Spar Brace” is lined up with W-1. (Note: If you want a one piece wing, glue the “spar brace” to the bottom spar.) 12.
- Page 5 24. Make up 4 “D” and “E” sheets. Glue together. The “E” sheet is cut to size of “E” template shown. 25. The top and bottom “C” sheets are now installed. The front of these panels centers on to the secondary spar (front). Note: When cutting the edges so that they are straight, be sure the width of “C”...
- Page 6 5. Repeat step 3 and 4 to install S-6. Be sure you install the hinge blocks now. 6. Install S-8’s. 7. Install all ribs now. Be sure that they are not over length, as they will cause a bow in the S-8’s (use a straight edge along S-8 at this time). 8.
- Page 7 4. Install all ribs. 5. Use a large sanding block to angle sand from the “E”-8 to the trailing edge of the “E”-9. See cross section of elevator. If you want a scale like edge at the trailing edge you should sand the E-9 down to about 1/32” thick or less. 6.
- Page 8 RUDDER Note: All control surfaces on the full scale had their trailing edges end in a thickness of 1/16”. In order to duplicate this, a bit of patience is needed in properly sanding to the correct angle the two cover sheets and the center R-3. Study the cross section before proceeding.
- Page 9 6. Remove the U.B. and install the U.B.P.-8’s. 7. Install the 1/4” x 1/2” x 2” A/C ply part (for front U.B. hold down) to the F-2 into the opening called for on F-2 template. 8. Install the 1/8” x 1” x 3” A/C ply part to wing with 1/4” overhanging center of wing.
- Page 10 5. A simple method to keep the crutch from twisting follows. A. Install F-2 and F-8 to crutch. Make up 90° triangles from scrap to insure these bulkheads are glued at 90° to crutch. Very Important. B. Make up two supports from 1/8” x 7” x 12” pieces of light ply. Tack glue to front of F-2 and F-8 up against the fuselage sides.
- Page 11 STOP HERE: Because of the interesting features presented in this design you must take time here and now to decide on which features you want to incorporate into your project. We hope you decide on all of them. The following will describe the methods and reasons for prescribed steps for the several optional features.
- Page 12 20. Install the F.S.-2B bottom planks and the balsa blocks F-9 B & c to F9A. Shape. Note: Put the T.W. door part in exact position. Draw a line around the doors. Cut away the wood to this line. Now your T.W. is accessible. 21.
- Page 13 “mouse trap” be assured that all control systems shown are simple to install and very reliable. Amen! A. Retracts – Main. We offer custom struts for the P-47 and economical retractors for this model (see www.meister-scale.com...
- Page 14 FLYING The P-47 has the same “Fun Scale” characteristics as its predecessors. Very slow take off and landing capabilities so do not use much throttle on first take offs, if you want realism. The P-47 is very acrobatic if set up for it, so help yourself.
- Page 20 MEISTER SCALE FUSE SIDE DOOR...
- Page 26 FUSE LIST (BALSA) 1/16” x 3” x 36” Hard HRS, HRP, ARMOR PLATE 1/16” x 3” x 36” Soft UBP Planks 6, 7, 8 10 - 1/8” x 3” x 36” All non-ply bulkheads F9A, F9B, RB1, FS Parts, UB2A, BF4, HR 1/8”...
- Page 27 WING 1/16” x 4” x 36” Hard Ailerons 3/32” x 2” x 24” “H” and FT-2 3/32” x 4” x 36” Hard AIL Webbing 1/8” x 3/8” x 36” Hard Spar Extensions 10 - 1/8” x 3” x 36” Sheet “E”, FB1 & 2 FX, FH-2, F-G, F-T and GT Ribs W-1 Thru W-4, W-8 Thru W-14 LE-2 Flap &...
Need help?
Do you have a question about the P-47 and is the answer not in the manual?
Questions and answers