Table of Contents
Advertisement
Advertisement
Table of Contents
Troubleshooting

Subscribe to Our Youtube Channel
Related Manuals for Powermate L1 series

Summary of Contents for Powermate L1 series
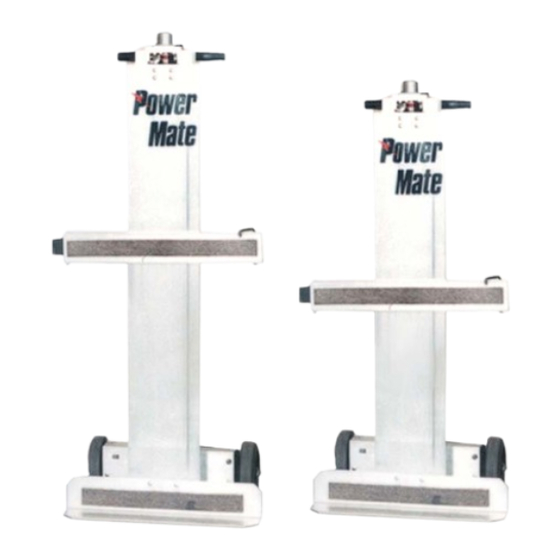
- Page 1 L1/L2 Series Model Repair Manual ® PowerMate /LP International Inc. P.O. Box 696, 151 Savannah Oaks Drive Brantford, ON, CA N3T5P9 Tel: (519) 759-3292 Fax: (519) 759-3298 Toll: 1-800-697-6283 Website: www.PowerMate.info Email: info@powermate.info Create Date: March 06/2007...
-
Page 2: Table Of Contents
® PowerMate L1/L2 Series Model Repair Manual TABLE OF CONTENTS Section A: Trouble Shooting..................PAGE 3 Trouble Shooting (con’t)................PAGE 4 Section B: Switch/Charge Plug Replacement L-1............PAGE 5 Section C: Bottom Guard Replacement..............PAGE 6 Section D: Strap Replacement.................PAGE 7 Section E: Solenoid Replacement................PAGE 8 Section F: Relay Replacement.................PAGE 9... -
Page 3: Trouble Shooting
® PowerMate L1/L2 Series Model Repair Manual Section A: Trouble Shooting Switches Both Switches Inoperative A. Check and replace fuse if necessary with 30A automotive fuse. B. Test battery and or batteries. C. Wiggle and visual test of wiring for loose, pinched or broken wires. -
Page 4: Trouble Shooting (Con't)
® PowerMate L1/L2 Series Model Repair Manual Section A: Trouble Shooting Continued Machine is Fully Open and Will Not Close A. If the drive screw just spins, the ballnut locknut is too loose. See Ballnut Locknut Adjustment. B. If the drive screw does not spin, the ballnut locknut is too tight. See Ballnut Locknut Adjustment. -
Page 5: Section B
® PowerMate L1/L2 Series Model Repair Manual Section B: Switch/Charge Plug Replacement L-1 PROCEDURE: *NOTE: Remove the fuse prior to any maintenance on this equipment. 1. Remove the two Handle Housing Covers by removing the four screws. TOGGLE SWITCH 2. Remove the Nut retaining the Toggle Switch, and dis-engage the Toggle Switch from the Handle Housing Cover. -
Page 6: Section C
- 7/16"socket wrench. - Two 2" C-clamps. 1. Extend PowerMate unit approximately 15"and rest the unit face down(wheels up) on a suitable work surface. The floor may also be used. Note: The view above is shown as the toeplate only for clarity. -
Page 7: Section D
® PowerMate L1/L2 Series Model Repair Manual Section D: Strap Replacement PROCEDURE: 1. Remove the two Screw Pan HD Slot (Item 13), 3 Washer Plates (Item 12), 2 Nuts 1/4-20 Ring Lock (Item 7), Strap & Toggle (Item 11) with slot screwdriver and 7/16” wrench. Discard. -
Page 8: Section E
® PowerMate L1/L2 Series Model Repair Manual Section E: Solenoid Replacement PROCEDURE: 1. Place the machine on a suitable work bench with the machine resting on its face (toeplate down). Remove the fuse. (See Pic E - A) 2. Remove the Battery Box Cover using a large fl at screw driver and hammer. (See Pic E - B) 3. -
Page 9: Section F
® PowerMate L1/L2 Series Model Repair Manual Section F: Relay Replacement PROCEDURE: 1. Place the machine on a suitable work bench with the machine resting on its face (toeplate down). Remove the fuse. (See Pic F - A) 2. Remove the Battery Box Cover using a large fl at screw driver and hammer. (See Pic F - B) 3. -
Page 10: Section G
® PowerMate L1/L2 Series Model Repair Manual Section G: Fuse Assembly Replacement PROCEDURE: 1. Place the machine on a suitable work bench with the machine resting on its face (toeplate down). Remove the fuse. (See Pic G - A) 2. Remove the Battery Box Cover using a large fl at screw driver and hammer. (See Pic G - B) 3. -
Page 11: Section H
® PowerMate L1/L2 Series Model Repair Manual Section H: Override Bearing Assembly PROCEDURE: NOTE: Read all instructions carefully before attempting to make repairs to any part of the drive screw assembly. Refer to the Screw Assembly Drawing. 1. Remove the brake assembly as outlined in the Brake Assembly procedure. -
Page 12: Override Bearing Replacement (Con't)
PROCEDURE: 1. Place the PowerMate on a suitable work bench with the machine resting on it’s wheels and rear handles (toeplate up). Activate the unit until it is extended approximately half-way. Remove the fuse. (See Pic I - A on pg 13) 2. -
Page 13: Motor Brush Replacement
® PowerMate L1/L2 Series Model Repair Manual Section I: Motor Brush Replacement (con’t) PROCEDURE (con’t): 9. Check the motor spline and ensure there are still three washers on the spline. These washers are very thin, it is best to put them between your thumb and index fi nger, separate and count them. (See Pic I - J on pg 14) 10. -
Page 14: Motor Brush Replacement (Con't)
® PowerMate L1/L2 Series Model Repair Manual Section I: Motor Brush Replacement (con’t) Pic I - I: Place the new motor brush into Pic I - G: Gently grasp top and middle Pic I - H: Loosen up the bolt on the cas-... -
Page 15: Section J
® PowerMate L1/L2 Series Model Repair Manual Section J: Drive Screw Assembly Replacement PROCEDURE: NOTE: Read all instructions carefully before attempting to make repairs to any part of the drive screw assembly. For this procedure, it will be necessary to remove any accessories like an extended toeplate, screw guard, strapbars, etc. -
Page 16: Section K
® PowerMate L1/L2 Series Model Repair Manual Section K: Brake Assembly Replacement PROCEDURE: NOTE: Read all instructions carefully before attempting to make repairs to any part of the drive screw assembly. Refer to the Screw Assembly Drawing on page 11. -
Page 17: Section L
Ballnut Locknut Adjustment PROCEDURE: 1. Place the PowerMate on a suitable work bench with the machine resting on it’s wheels and rear handles (toeplate up). Activate the unit until it is extended approximately half-way. Remove the fuse. Loosen the two Set Screws 5/16” (Item 16) on the Ballnut Locknut (Item 15). (See Pic L - A) (refer to screw assembly drawing on pg 11) 3. -
Page 18: Ballnut Bracket Replacement (Con't)
® PowerMate L1/L2 Series Model Repair Manual Section M: Ballnut Bracket Replacement (con’t) PROCEDURE: 3. Turn the Outer Frame over to expose the Ballnut Bracket. (See Pic: M - D on pg 18) Remove the four nuts on the Ballnut Bracket and separate from the Outer Frame. -
Page 19: Ballnut Bracket Replacement (Con't)
® PowerMate L1/L2 Series Model Repair Manual Page 19 of 19...
Need help?
Do you have a question about the L1 series and is the answer not in the manual?
Questions and answers